
Well it might be a dream, but I’ve certainly put a lot of thought into it! I really think I am on to something.
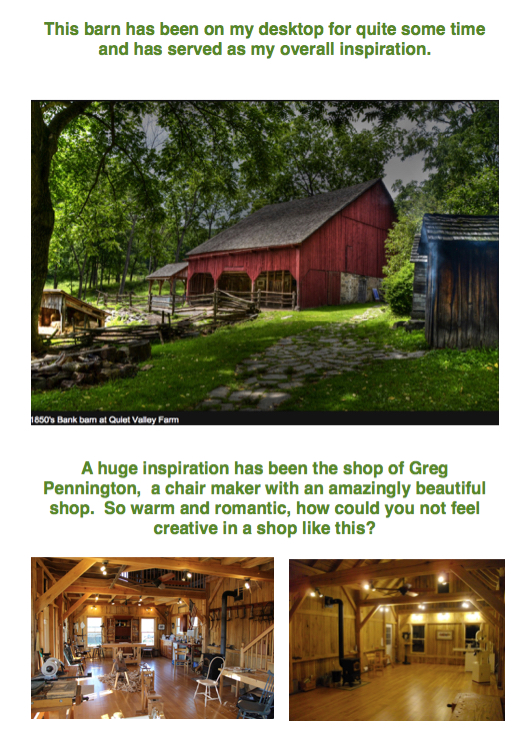
Let’s start with the exterior:
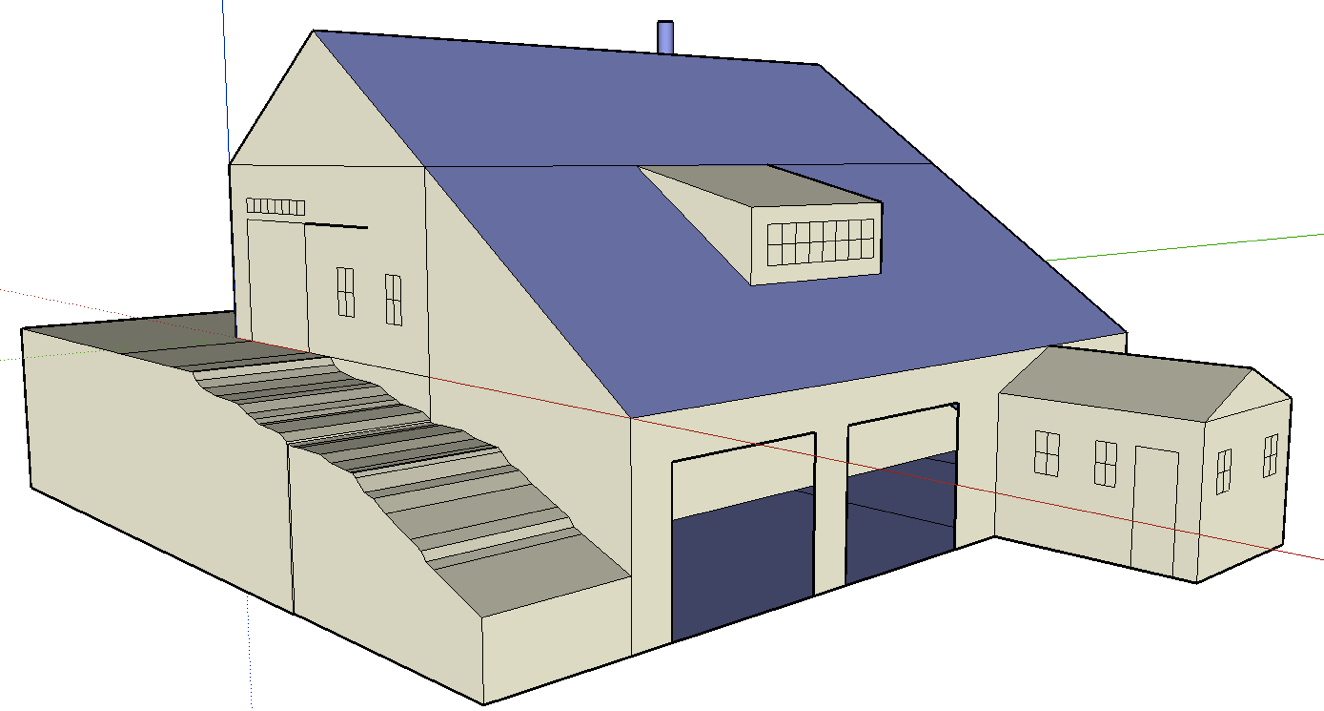
This is the view as you drive up the driveway. Below is a two car garage and a shed for outdoor tools

From the driveway you can drive up to a sliding barn door for easy unloading.

The side facing our house. These double doors would be the main entrance.


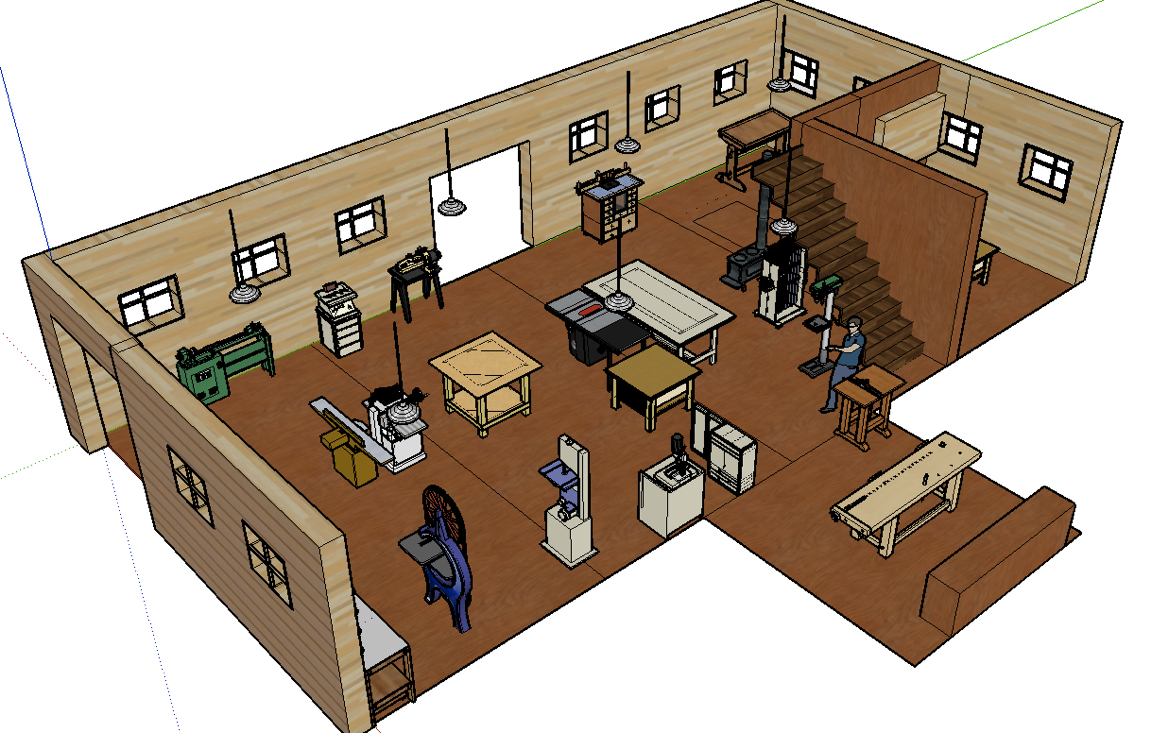
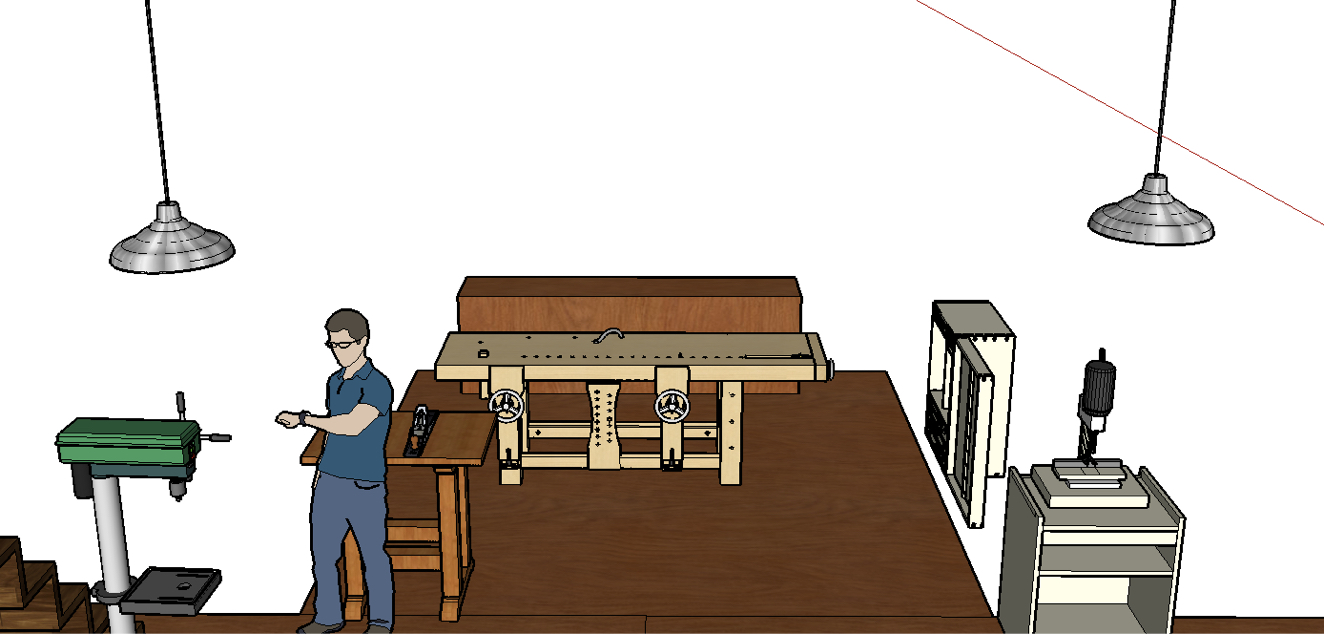
Now let’s go inside……

The overall space

The Breakdown
The Breakdown:
- The Office Space–Complete with drafting table and a roll top oak desk.
- The Finishing Room–I really wanted to create a separate dust free room for finishing, complete with slop sink
- Stairs to Loft–over the office and finishing space I put a storage loft with easy access
- Floor Access to basement–This floor board would be pulled up a pully and allow access to the lower level. I did not want to wast space with a door and full stairwell.
- Router Table
- Woodstove— I would most likely add another form of heat, just to keep the temperature above freezing, but, much like our house I would primarily use a woodstove while working in the winter, when we tend to be in the teens.
- Clamp Storage— I show a rolling clamp rack, but the space under the stairs seems like the perfect place to store clamps.
- Drill Press –I would definitely like to someday graduate to PM2800.
- Sharpening Station
- Hand Tool Area— I designed a dormer into the roof line of the saltbox style room in order to accommodate a window in front of which my bench could sit. There is not as much natural light as I would like, but this is a place I would find it quite important and well, just a pleasing place to work. These windows face the road, but given the height and the slope, the view will only be trees and the morning sun. I also really like the idea of having a nook exclusively for hand tools.
- Hand Tool Cabinet
- Saw Stop 3HP-– On the other side of the spectrum and in the center of the work area would be my Saw Stop cabinet saw.
- Outfield table–no more flimsy Rigid stand!
- Assembly Table
- 16-32 Drum Sander — would be a nice addition
- Oscillating Spindal Sander— I own the rigid orange one now, perhaps an upgrade.
- Lathe— I own a Jet 12-36
- Jointer— I own a Powermatic 8″ Jointer, 2HP with helical head
- Planer— I own a Dewalt 735 Lunch box. It would be nice to upgrade to a Powermatic.
- Chop Saw— Definitely an upgrade. Still use one of the 1st tools I bought: a Ryobi Chop saw–Chop being the operable word (but it works!). I’d love a Festool Kapex Compound Miter Saw.
- Antique Band Saw— On a surprise visit to a neighbor (who had found our cat) we were invited in to see their shop, complete with the most amazing and interesting collection of power tools. The stand out in their shop was a beautiful antique band saw. My wife was kind enough to say “you’ll own that some day”.
- Powermatic 13″ Band Saw— Which I presently own.
- Mortiser–I own a Delta which has served me well. If I used it more I’d be inclined to move up to a Powermatic.
- Large overhead factory lamps–always a favorite of mine. We installed 12 in our cheese shop and the provide plenty of light. I would never use fluorescent lamps. To me woodworking is the the most romantic activities I can think of and this lighting designer loves the warm glow of an incandescent bulb.
- Sliding Barn Doors— on the driveway side for loading and unloading.
- Double Doors–Main Entrance.
- Basement–Storage and large cyclone dust collector system.
- Two Car Garage
- Wood Storage under eaves— Not shown in the ground plan or model is the large amount of storage space under the eaves–I planned this for wood storage.
- and of course–ME


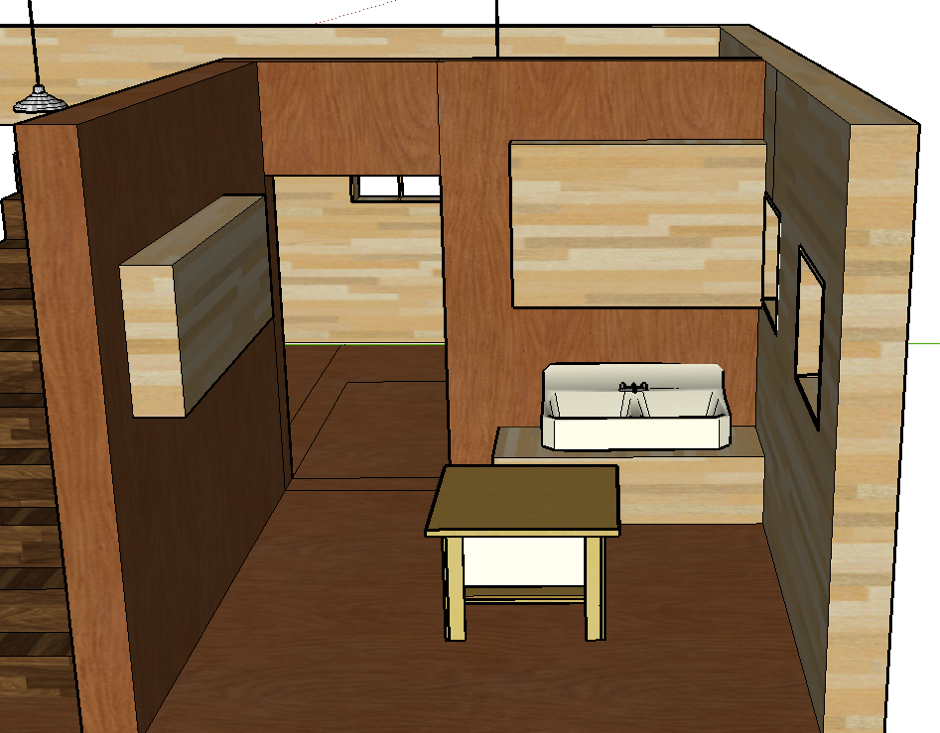
Finishing Rooom


The one thing I guess I’ve left out of the dream is that I really want to build it myself. I was scheduled to take a timber framing course this fall, but schedule wise that just wasn’t in the cards. No worries. I have years before I will need those skills. In the meantime I can perfect my timber framing, sketchup skills.


