Hand Tool Shelf

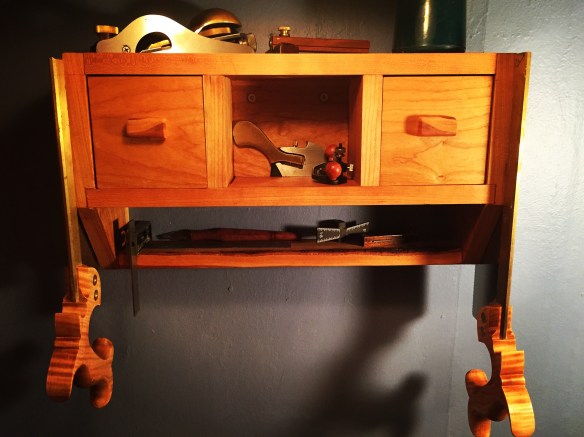
I built another project for my hand tool nook in the apartment. Naturally needed a place for small tools and accessories.  I made a hand tool shelf, out of cherry, to hang above my petite Roubo.  This is the second project I’ve done completely with hand tools (with the exception of milling the boards).

As with all things the idea developed in my head for quite some time, but I did draw it out and made some adjustments, such as loosing the center drawer.  One thing I did not really do, surprisingly, was to figure out where each and ever tool was going to go. Something I slightly regret, but overall I am very happy with the design.

As much as I needed a shelf, I wanted to create a project to challenge my hand tool skills and joinery.  I decided the carcass would be held together with dovetails,  the shelves would get rabbets (or grooves), the dividers would get stopped rabbets and the drawer fronts would get rabbets.  A little bit of everything, but only if it was appropriate in the design.

Box Details

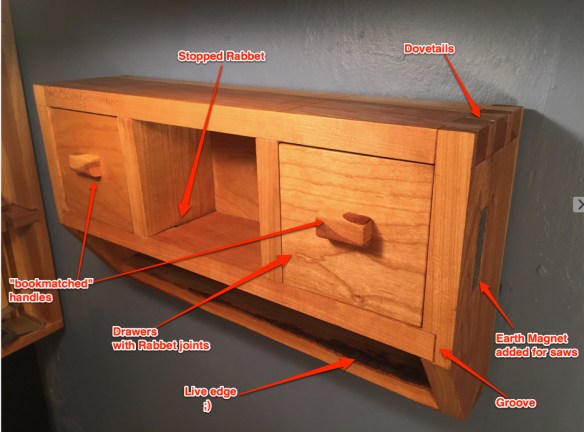
It wasn’t until I was nearly done that it occurred to me to add rare earth magnets to the size to house my dovetail saws.  I may add a few small magnets to the bottom shed to hold my marking gauge and similar items.

Hand Tool Shelf - 4Hand Tool Shelf - 5

Next up, a bow saw from the Tools for Working wood kit.

Advertisement

Roubo’s Apartment Workbench, part deux

I could have built three benches in the time it took me to finishing blogging about one.

I attempted to use hand tools as much as possible, but given my skills, not to mention my patience, I certainly used a combination of hand and power tools.

Here are the details of the build. I figure a picture tells a thousand words, so perhaps I’ll start doing more pictorial blog posts for builds.  Let me know what you think about this format.

Apartment Bench 1Apartment Bench 2

Apartment Bench 3

Apartment Bench 4

Apartment Bench 5

I went back and forth about how I wanted to integrate a Moxon vice.  I decided I wanted to have it permanently mounted to the front of the bench,  a choice that I have been very happy with.  I needed to install a locking nut within the sliding dovetail joint in order to allow the bolt to lock.  Pretty proud for coming up with this one on my own and it worked like a charm.  It should be noted that I did not install the Moxon vice until I got thru the tight apartment doors in Brooklyn.

Apartment Bench 6

Apartment Bench 7

Roubo Bench - 1 (1)

Packed for the trip to Brooklyn!

The Complete Encyclopedia of Spill Planes

This weekend I did a few small projects. Nothing really,  I turned a handle, I milled a few boards from firewood and I played with my spill plane.

My wife bought me a Veritas Spill Plane several years ago and I’ve only used it once, so it was time to break it out.  I added a tiny bench hook that kept it from sliding around. 

Spill pic - 4

Ready to light our six burner Garland stove.

What’s a spill plane you ask? If you are interested you can explore more about spill planes here:  The Complete Encyclopedia of Spill Planes.

Nah… I’m just kidding….. I did a little of googling and came up with the same three sentences.  

In essence– a spill is a long, straight curl of wood that was used to transfer a flame from a fire to a stove or a lantern, before matches came along in 1860.  Seems simple enough. Easy to light and easy to extinguish. 

Spill pic - 2

Apparently the name “spill” comes from the way the wood spills out of the plane as its cut, curling as it exits. 

Spill pic - 1

Of course like everything else in woodworking there are a variety of designs. The best examples I found can be seen here at the Tool Shed.

Spill pic - 1 (1)
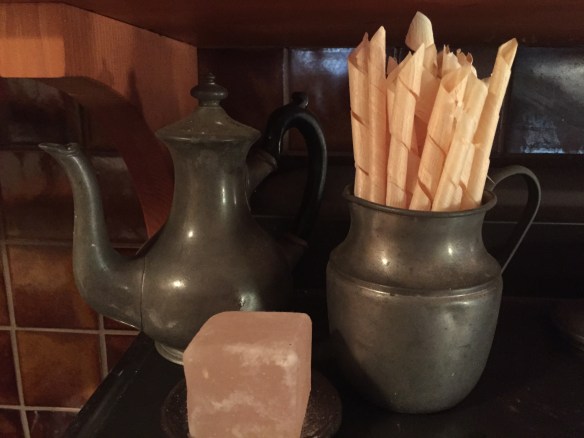
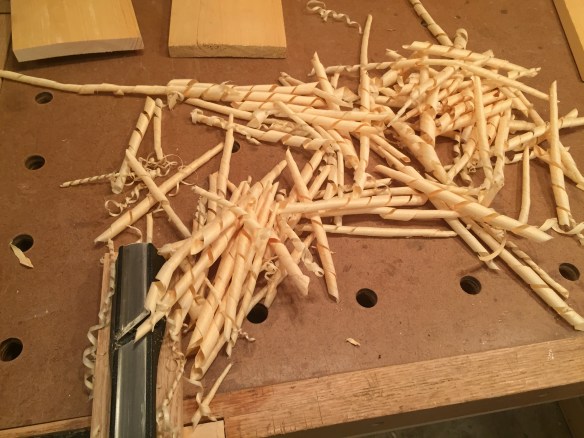
Also in my research I discovered others are able to make much tighter, cleaner spills than me. What else is new??

What could be better?  A woodworking plane that isn’t even used to build anything– except maybe a fire.

For more info check out these videos: