Finally, I wanted to share some pics of my petit Roubo bench and the corner of my home office I chipped away for handtool woodworking.


Finally, I wanted to share some pics of my petit Roubo bench and the corner of my home office I chipped away for handtool woodworking.
I recently finished up two loft beds for my son and daughter and I realized that before I blogged about that I needed to actually post the final results of the Twin Cradle. I know, I know. I’m a terrible blogger. But then again, on the internet time kinda stands still. I could blog about about anything and pretend it’s current. Half the time I go back and catch up on ancient blog posts filling my reader. Well enough procrastinating… Here in one post is the end of the Cradle Series.
Twin Cradle; Part 4 The Wrap up
Well the twins are off to college by now…well not really, but they have certainly outgrown this cradle.
You might remember that one of my goals as to build this sans hardware. I wanted it to be a piece of furniture that could be quickly assembled and then knocked down for easy storage. It needed to be a beautiful piece of “temporary” furniture. I’ll let you be the judge.

The finished product
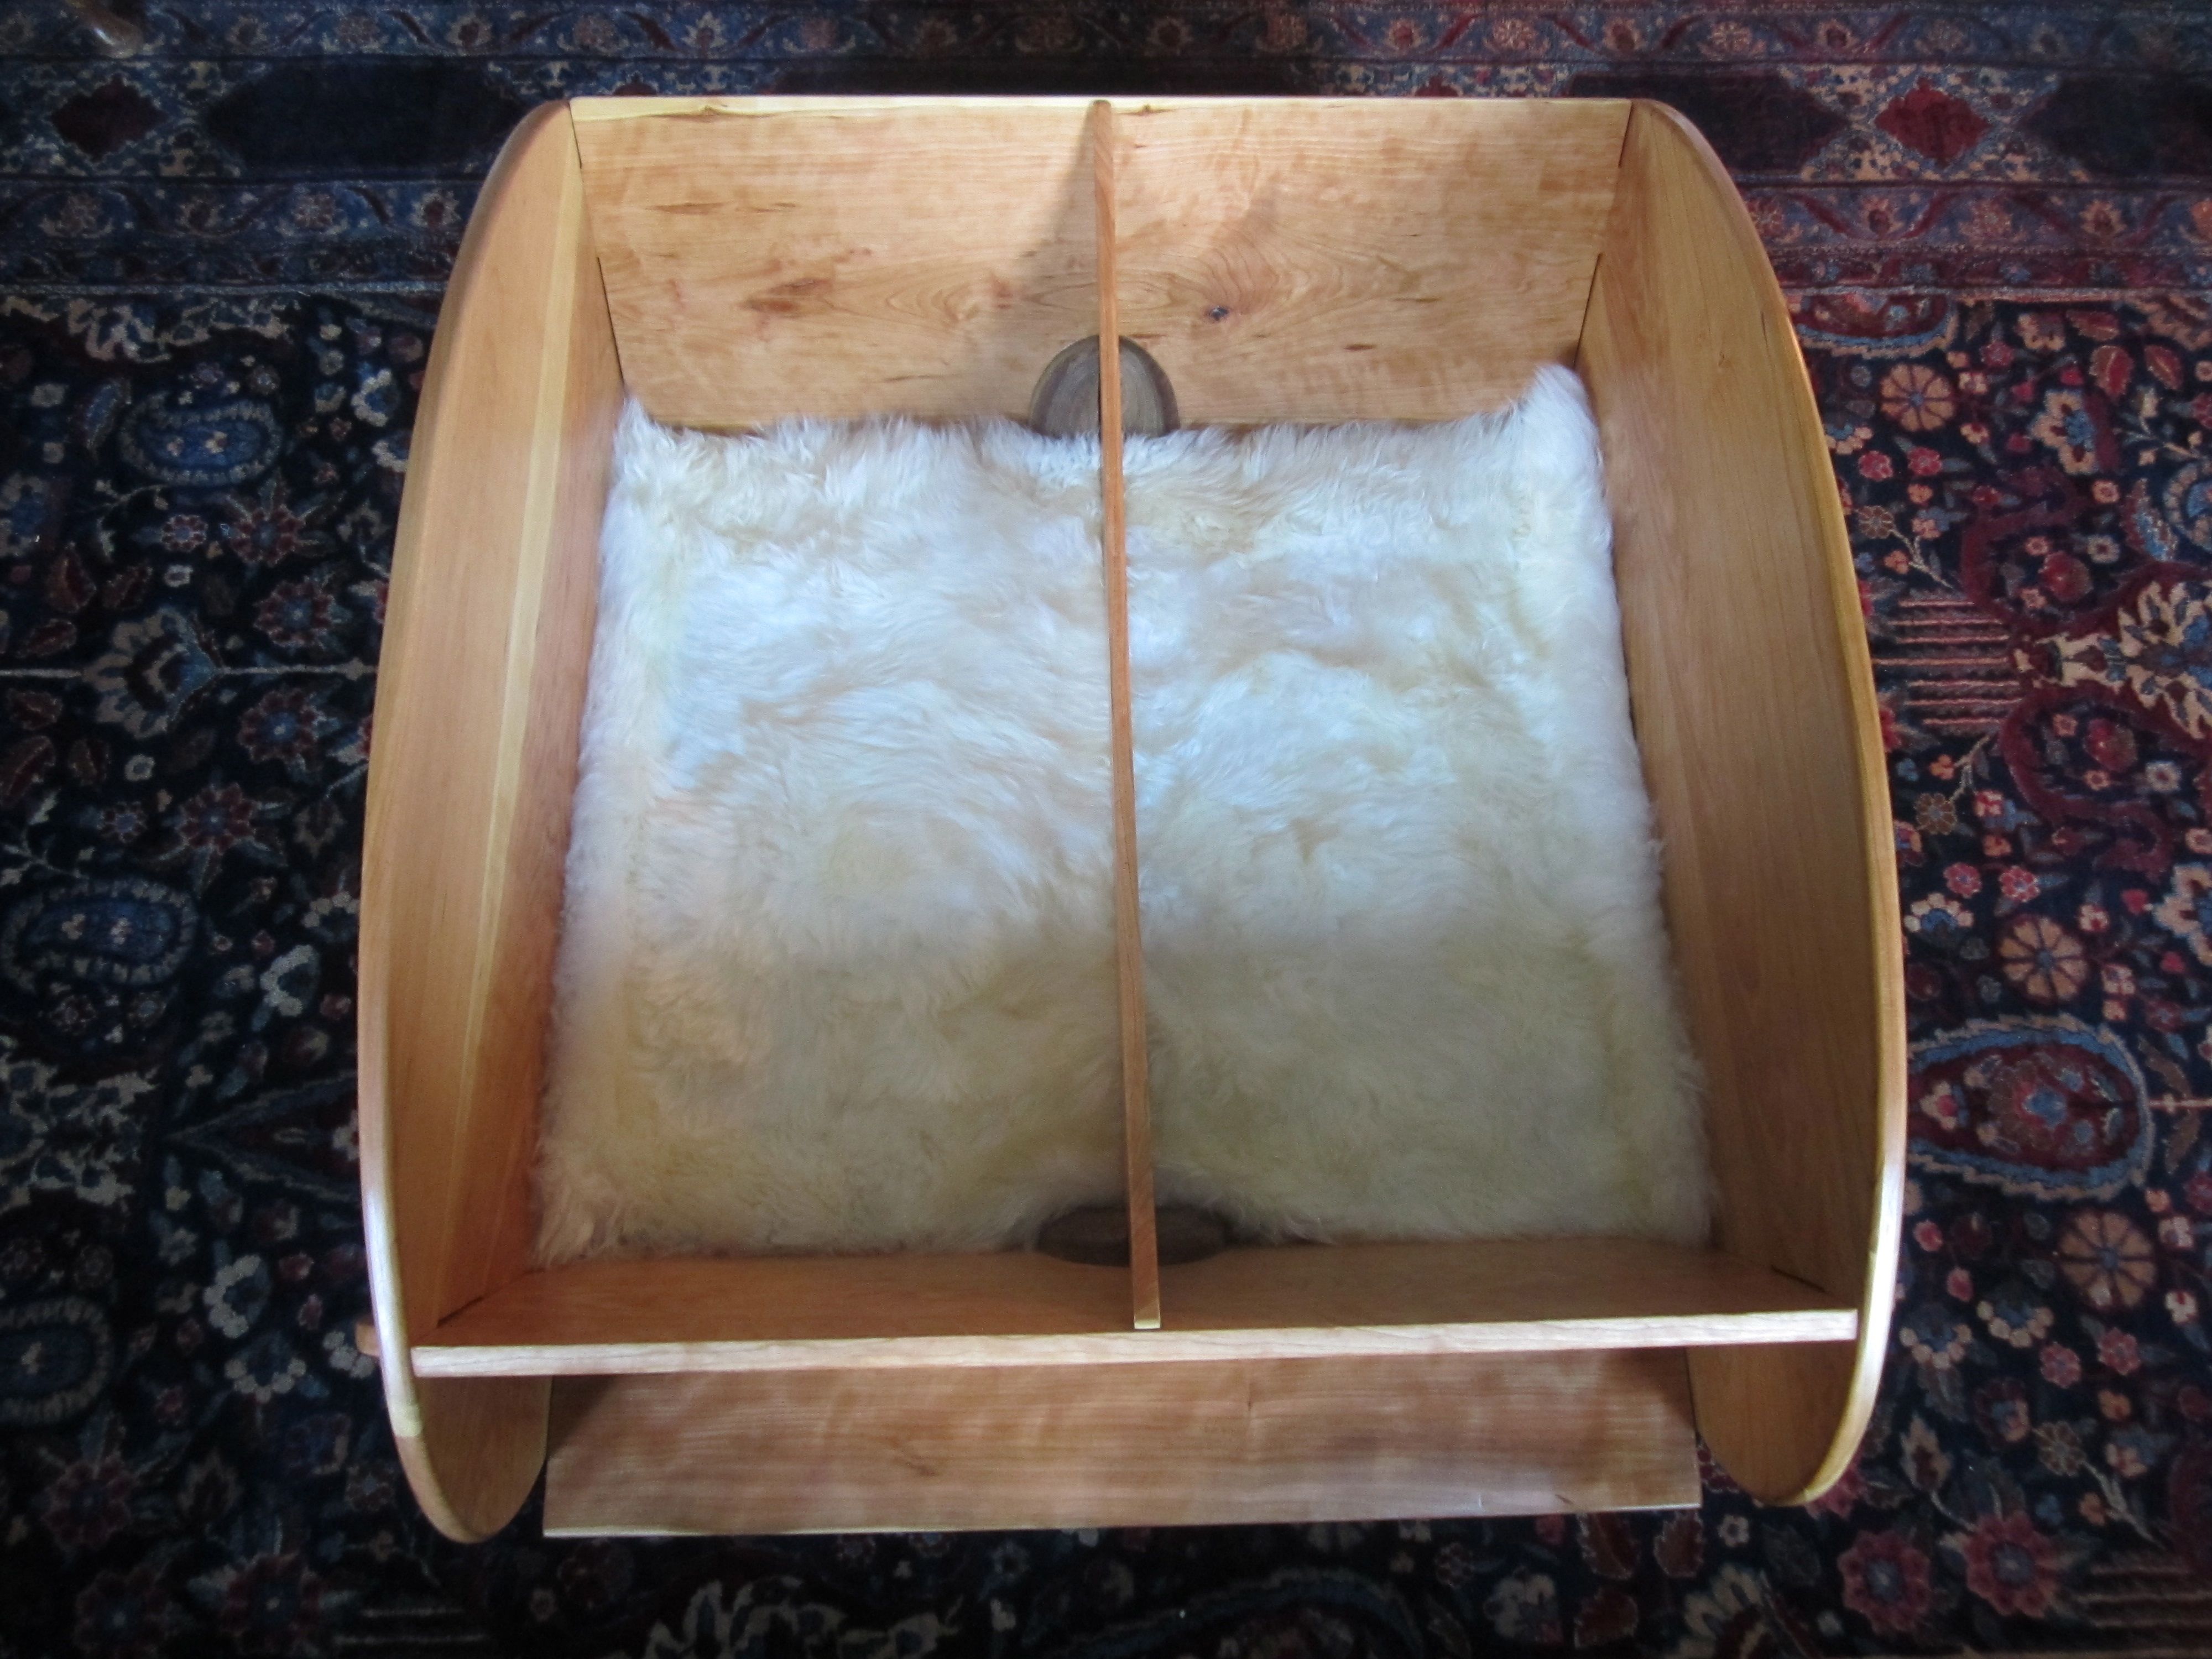
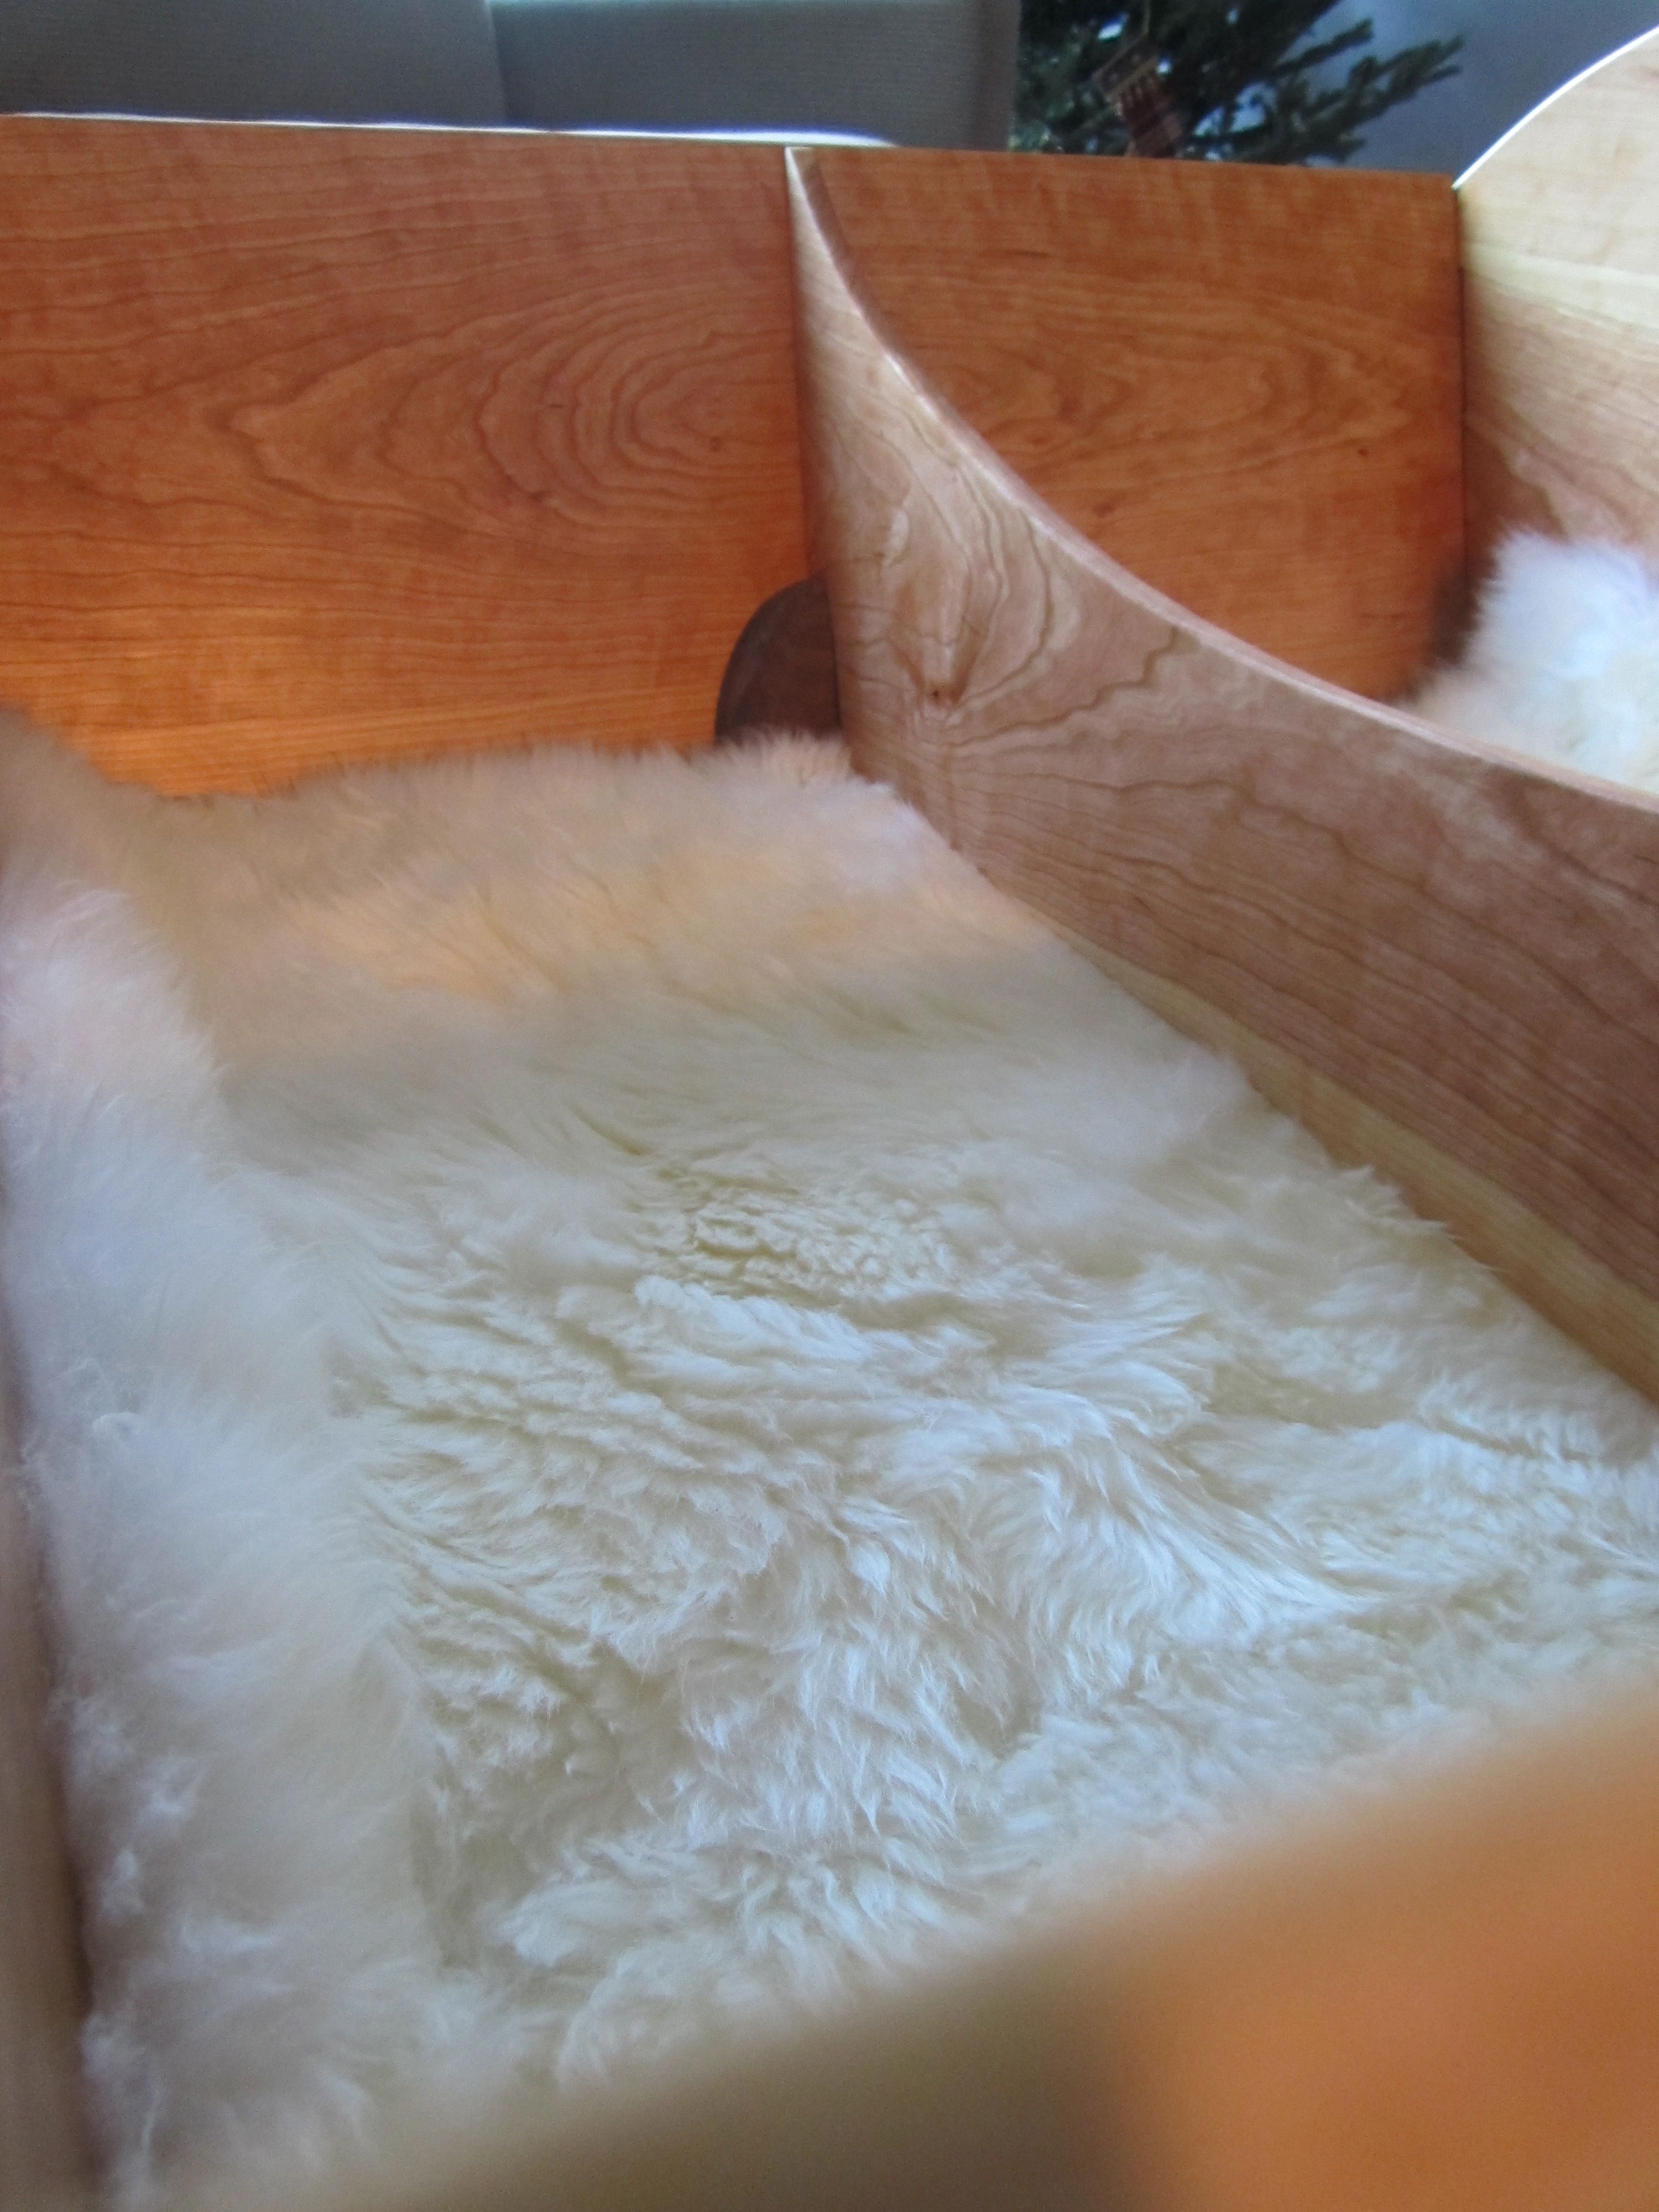
My wife provided a luxurious pad for them to sleep on.

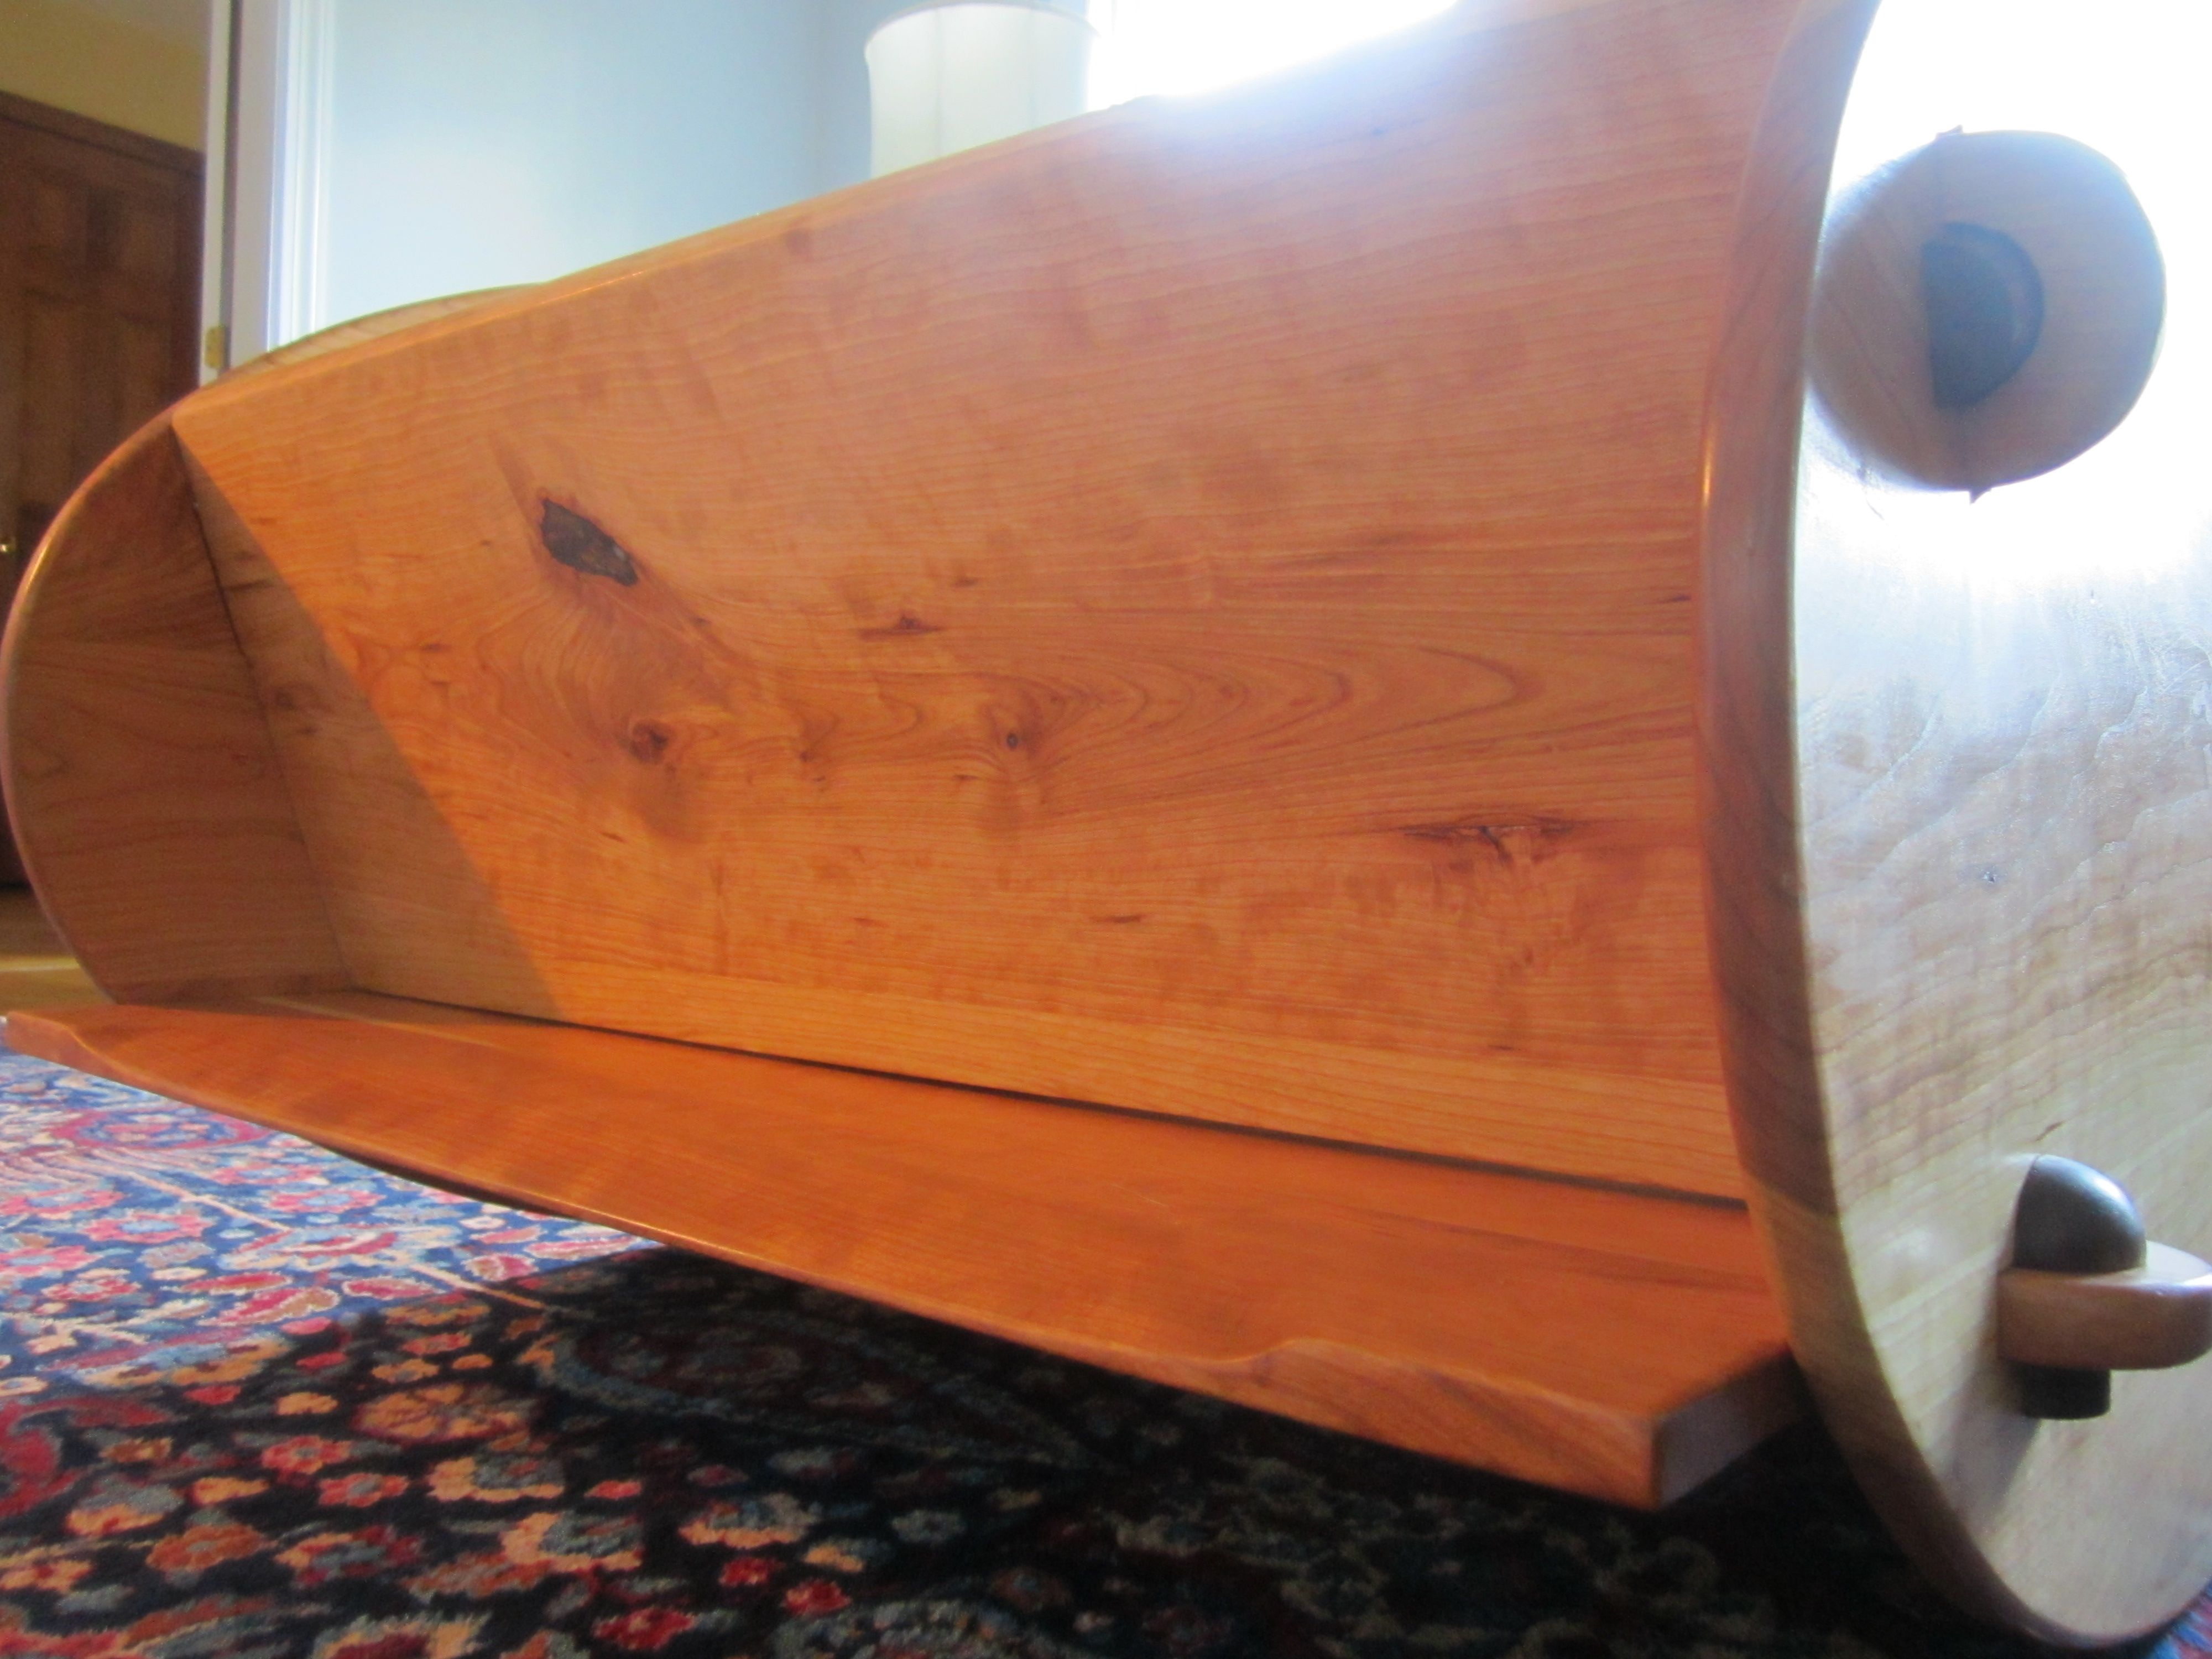
I was very happy with the grain selection in this beautiful piece of cherry.
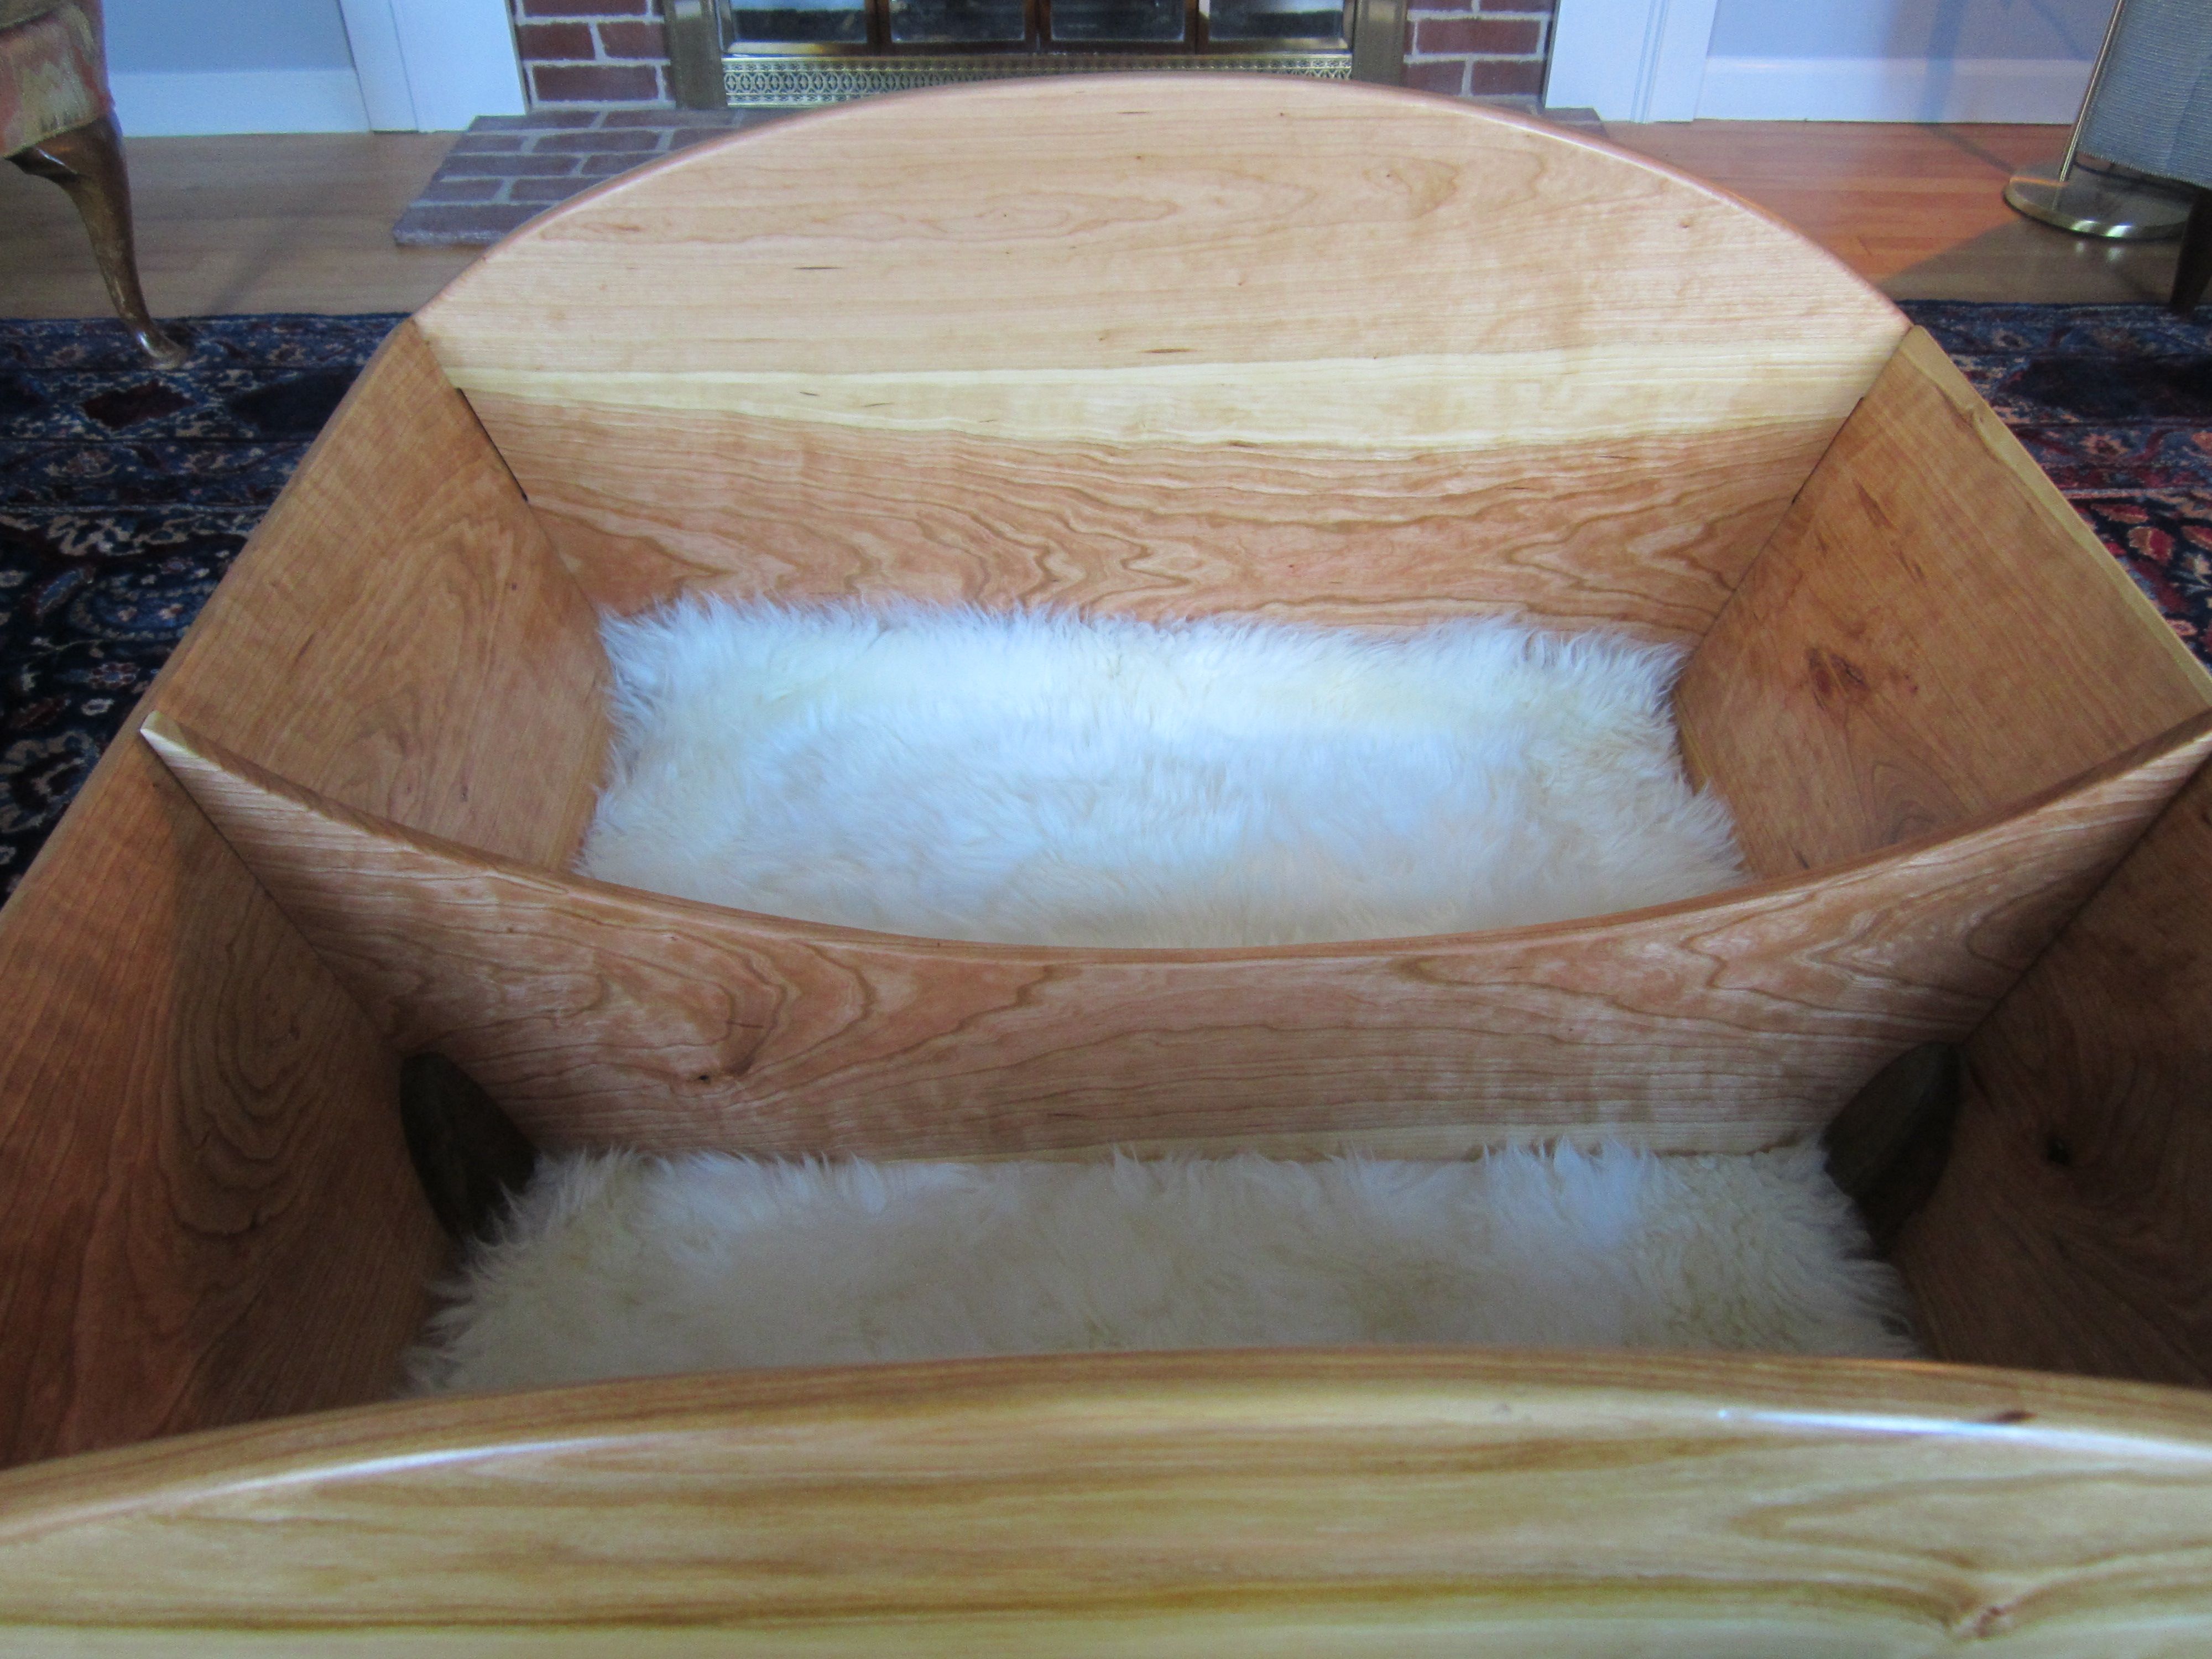
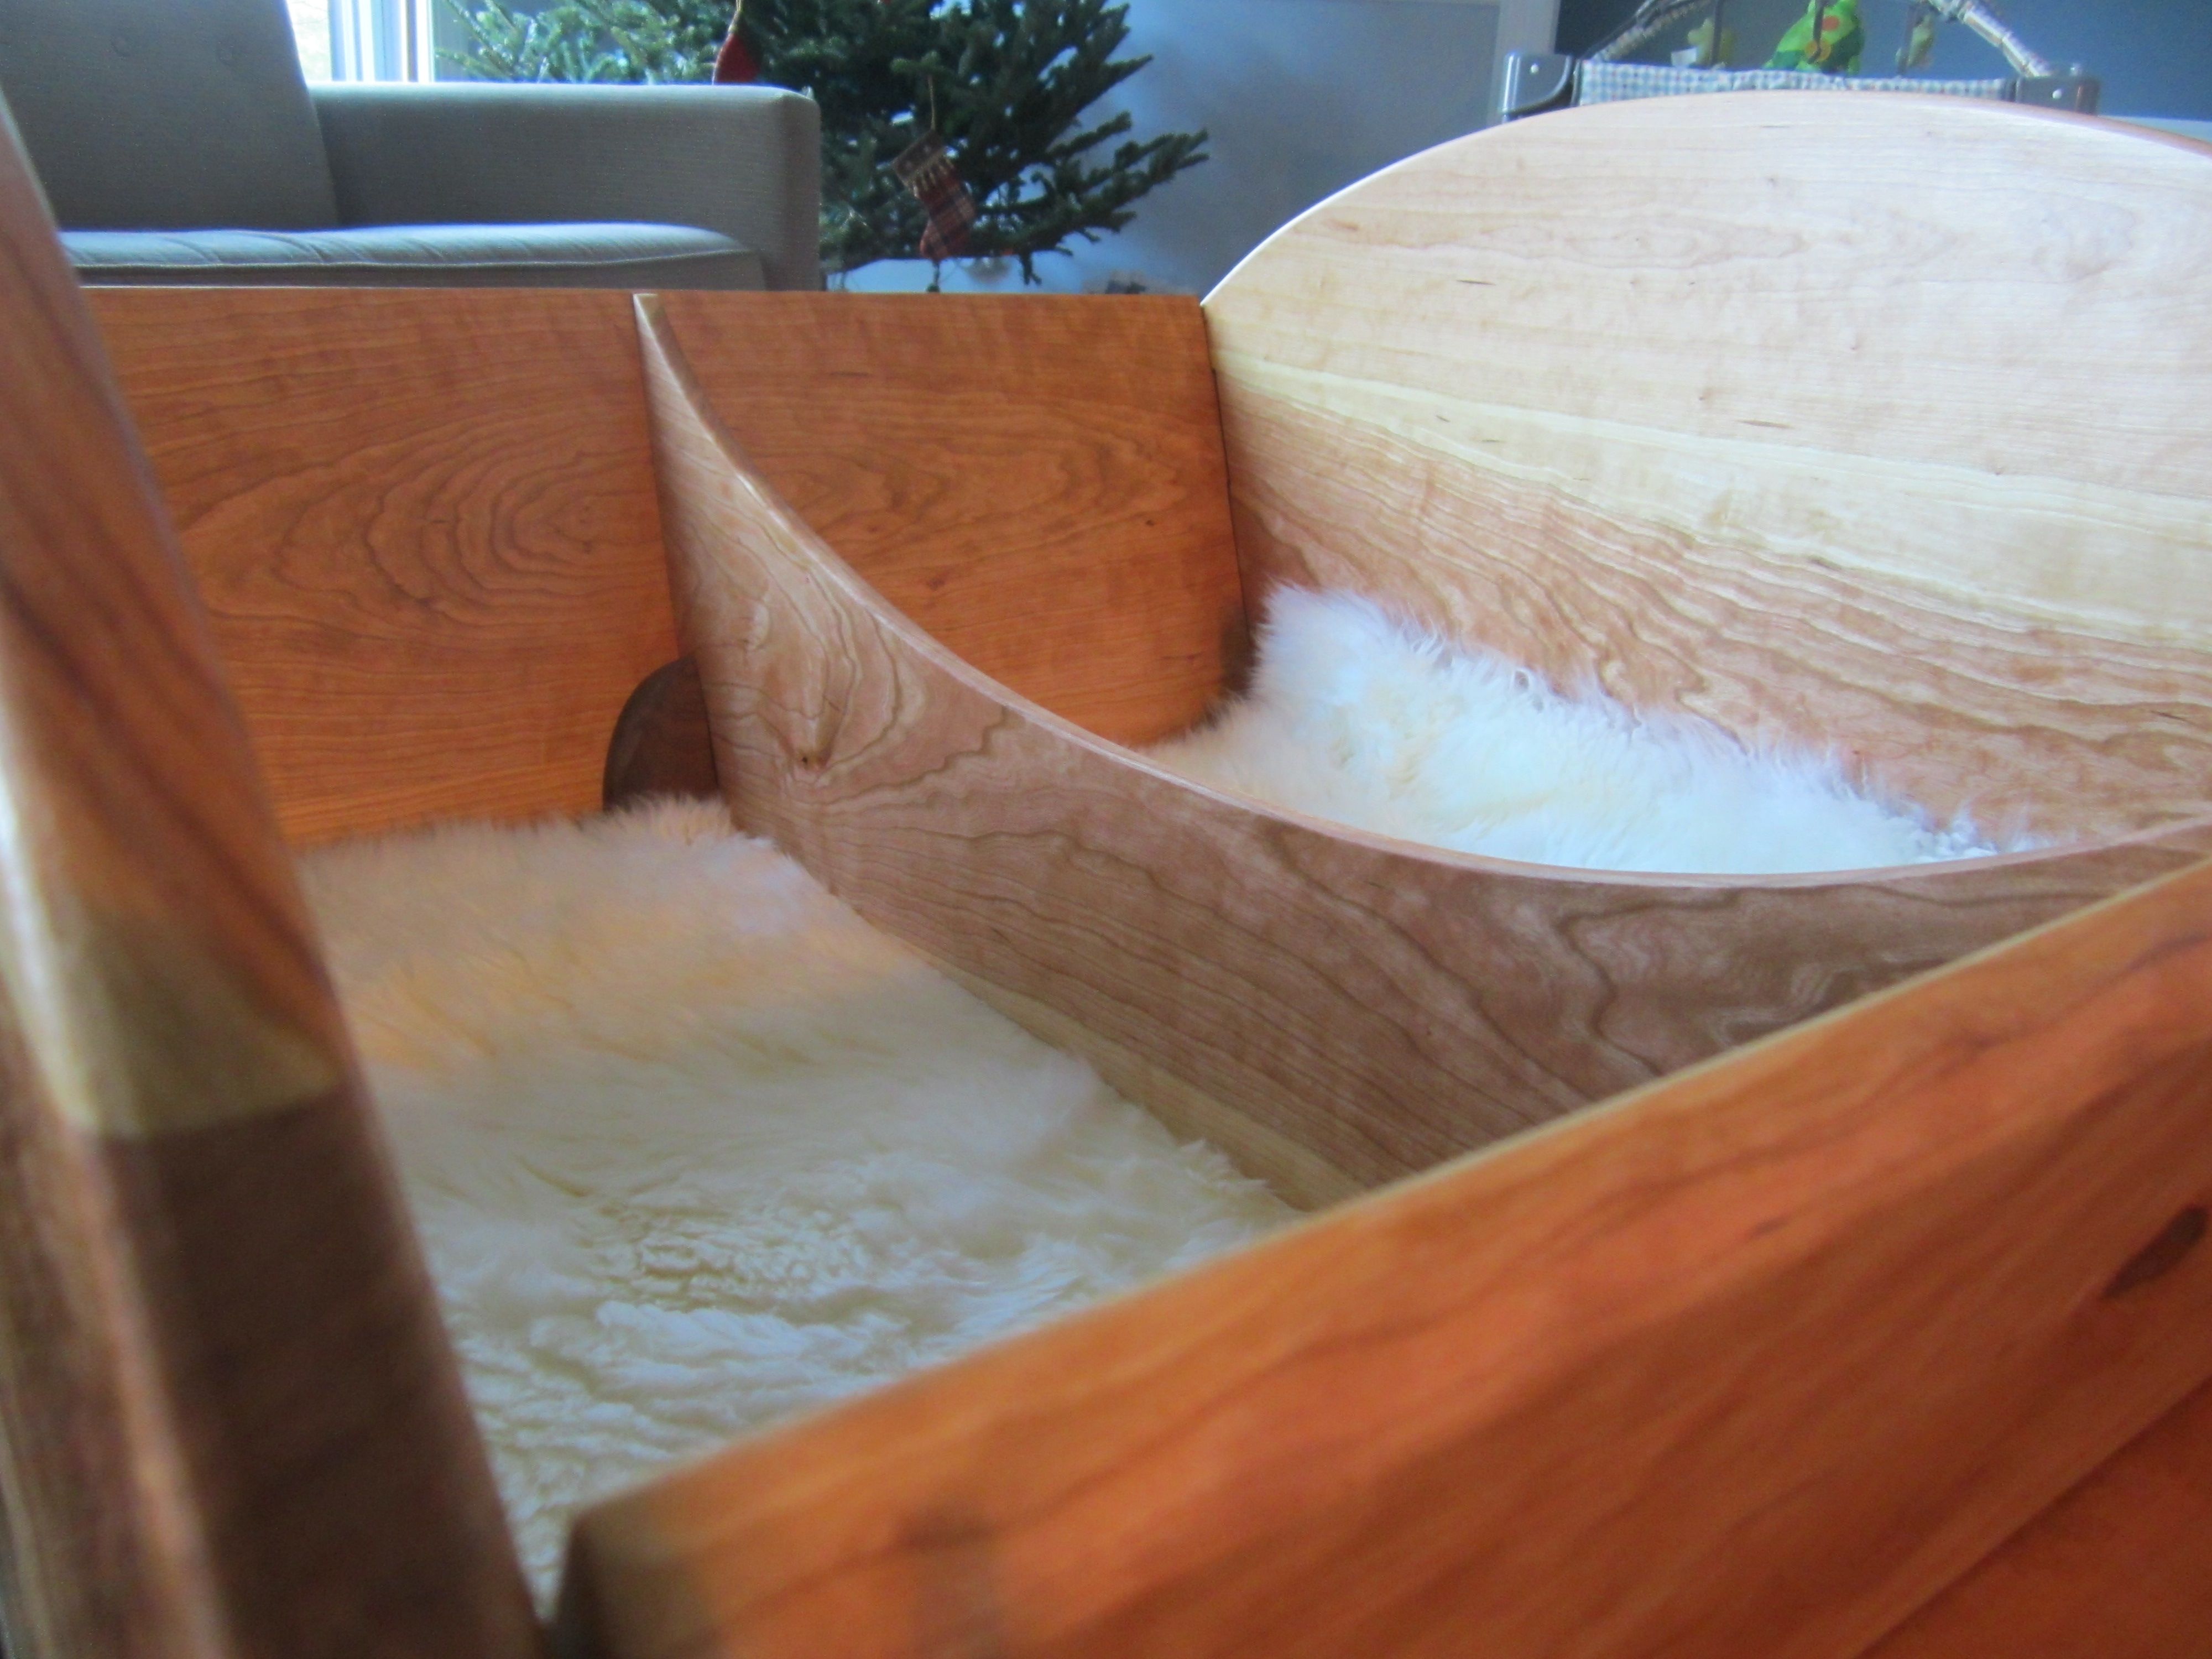
A side view showing the curves and the divider
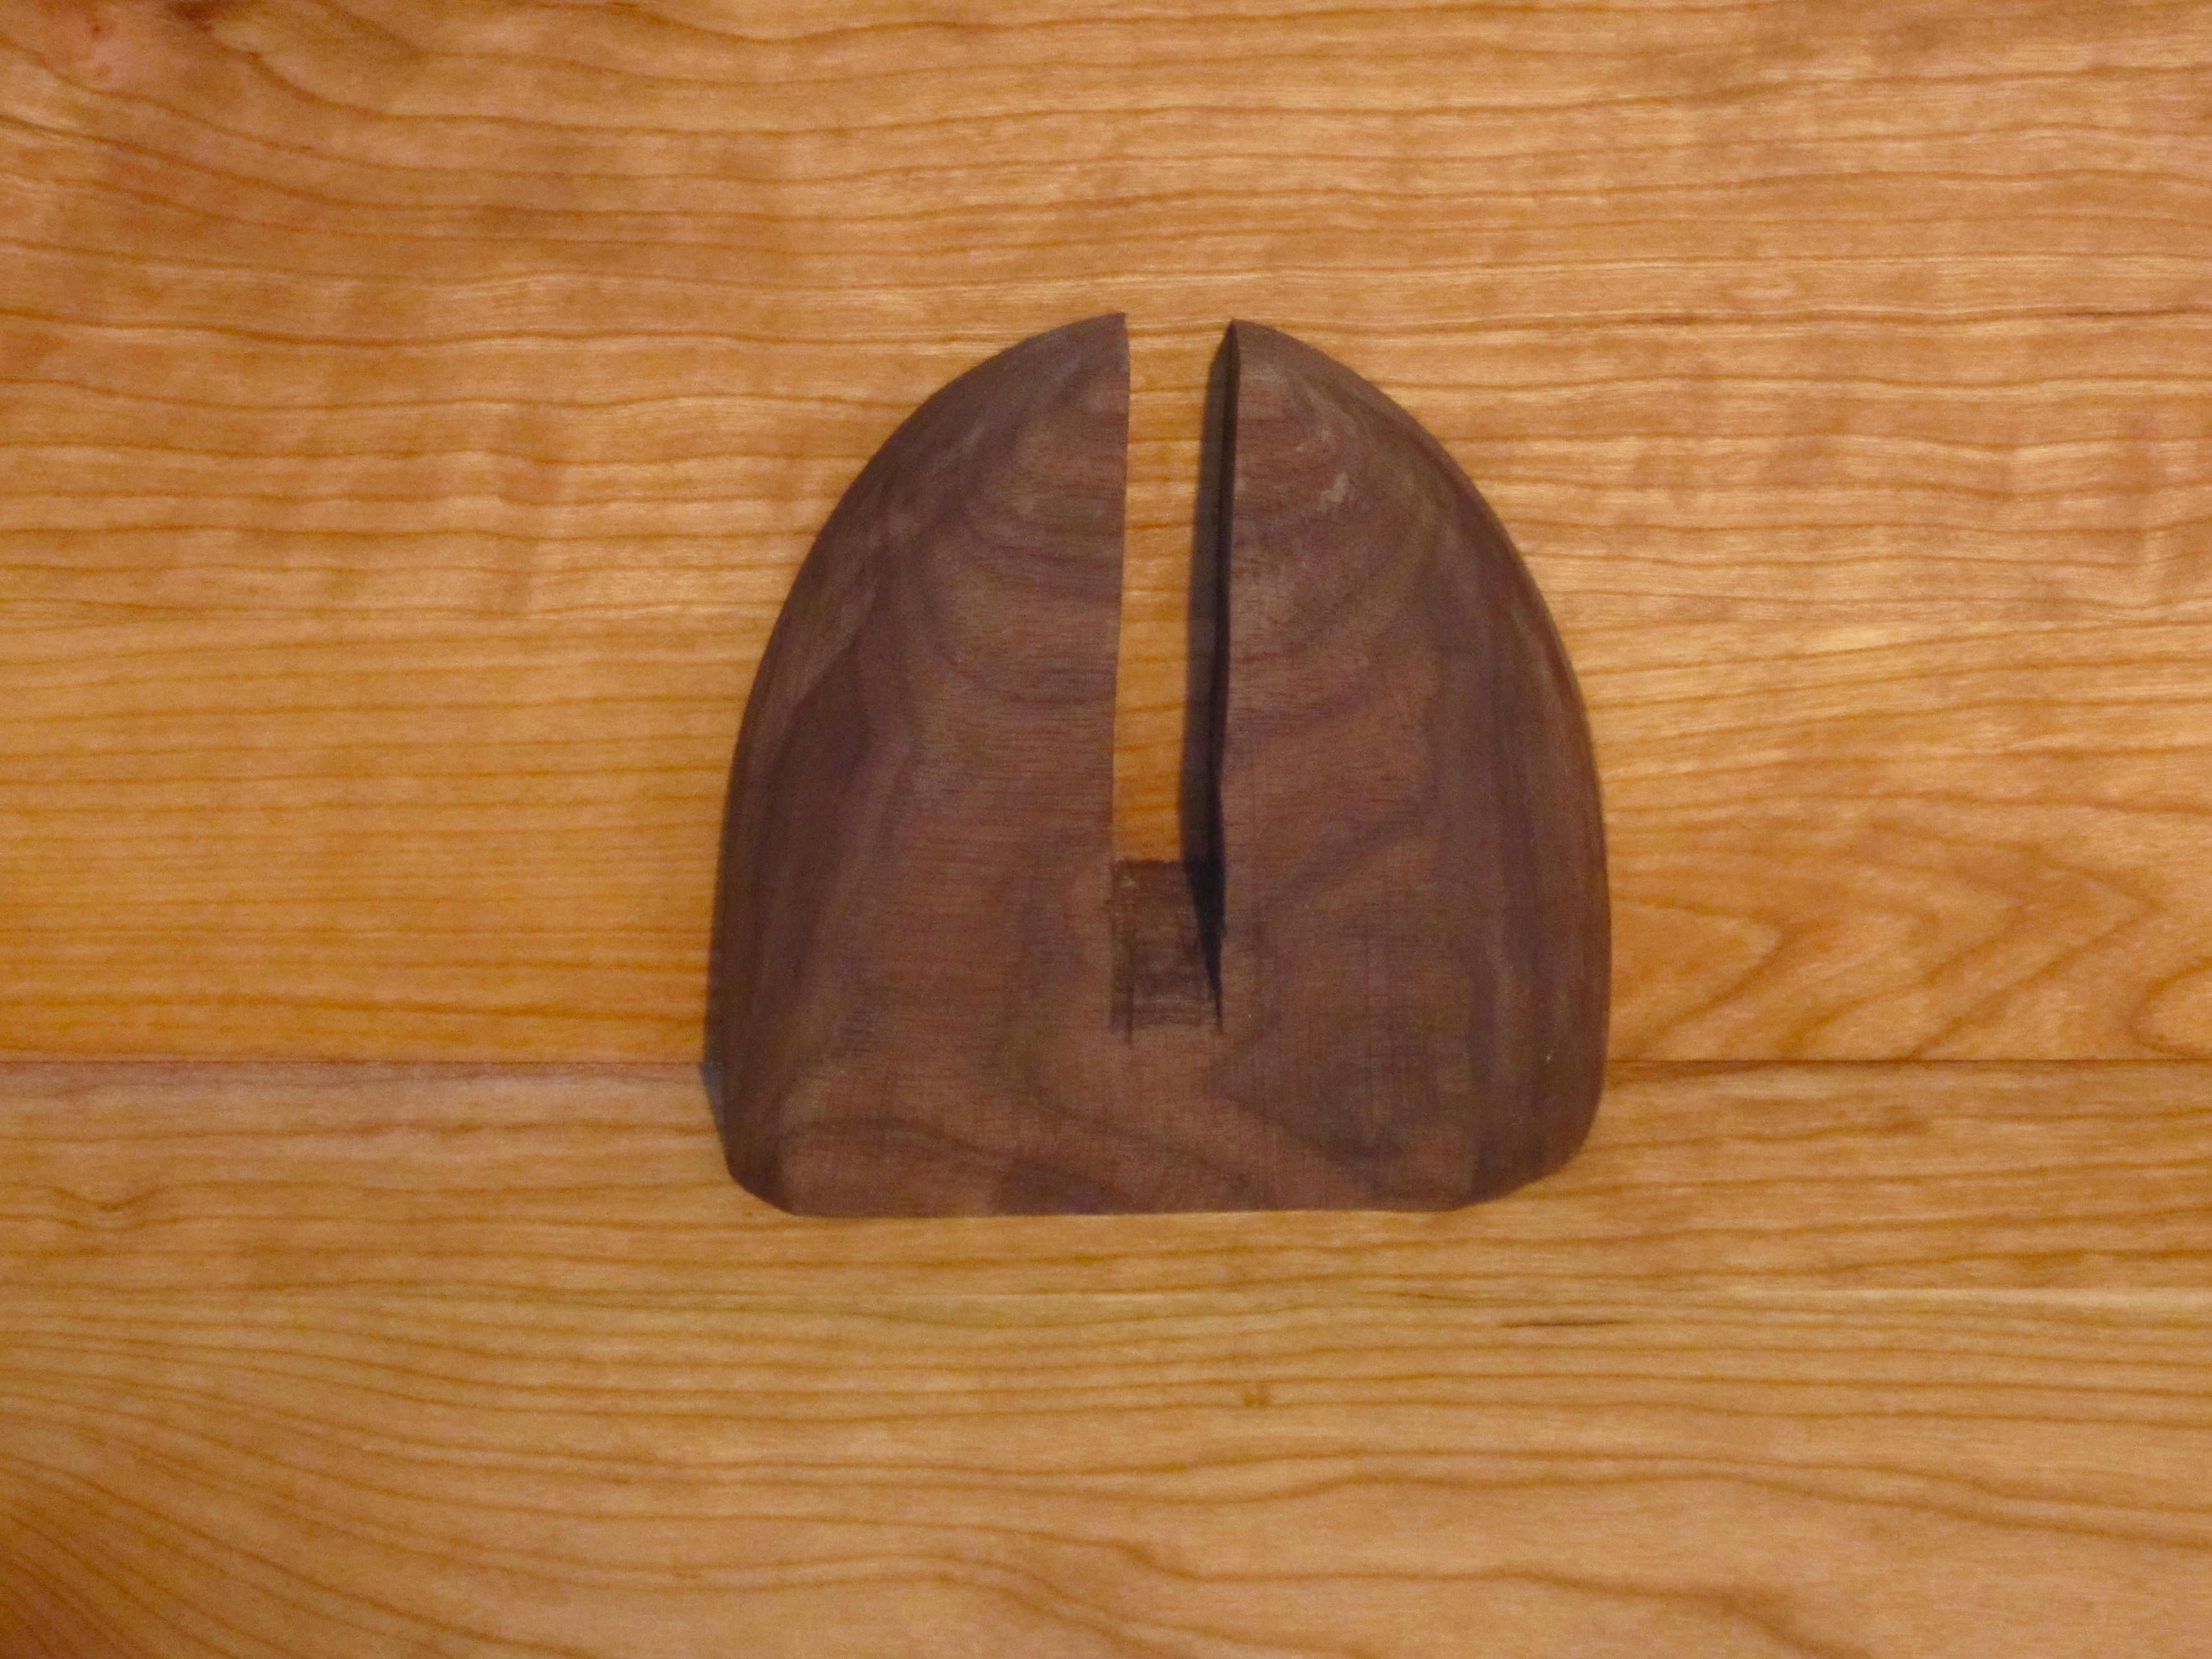
This little piece I designed to hold the divider in place.

…said divider in place.
The divider can easily be removed, allowing the twins to sleep together.
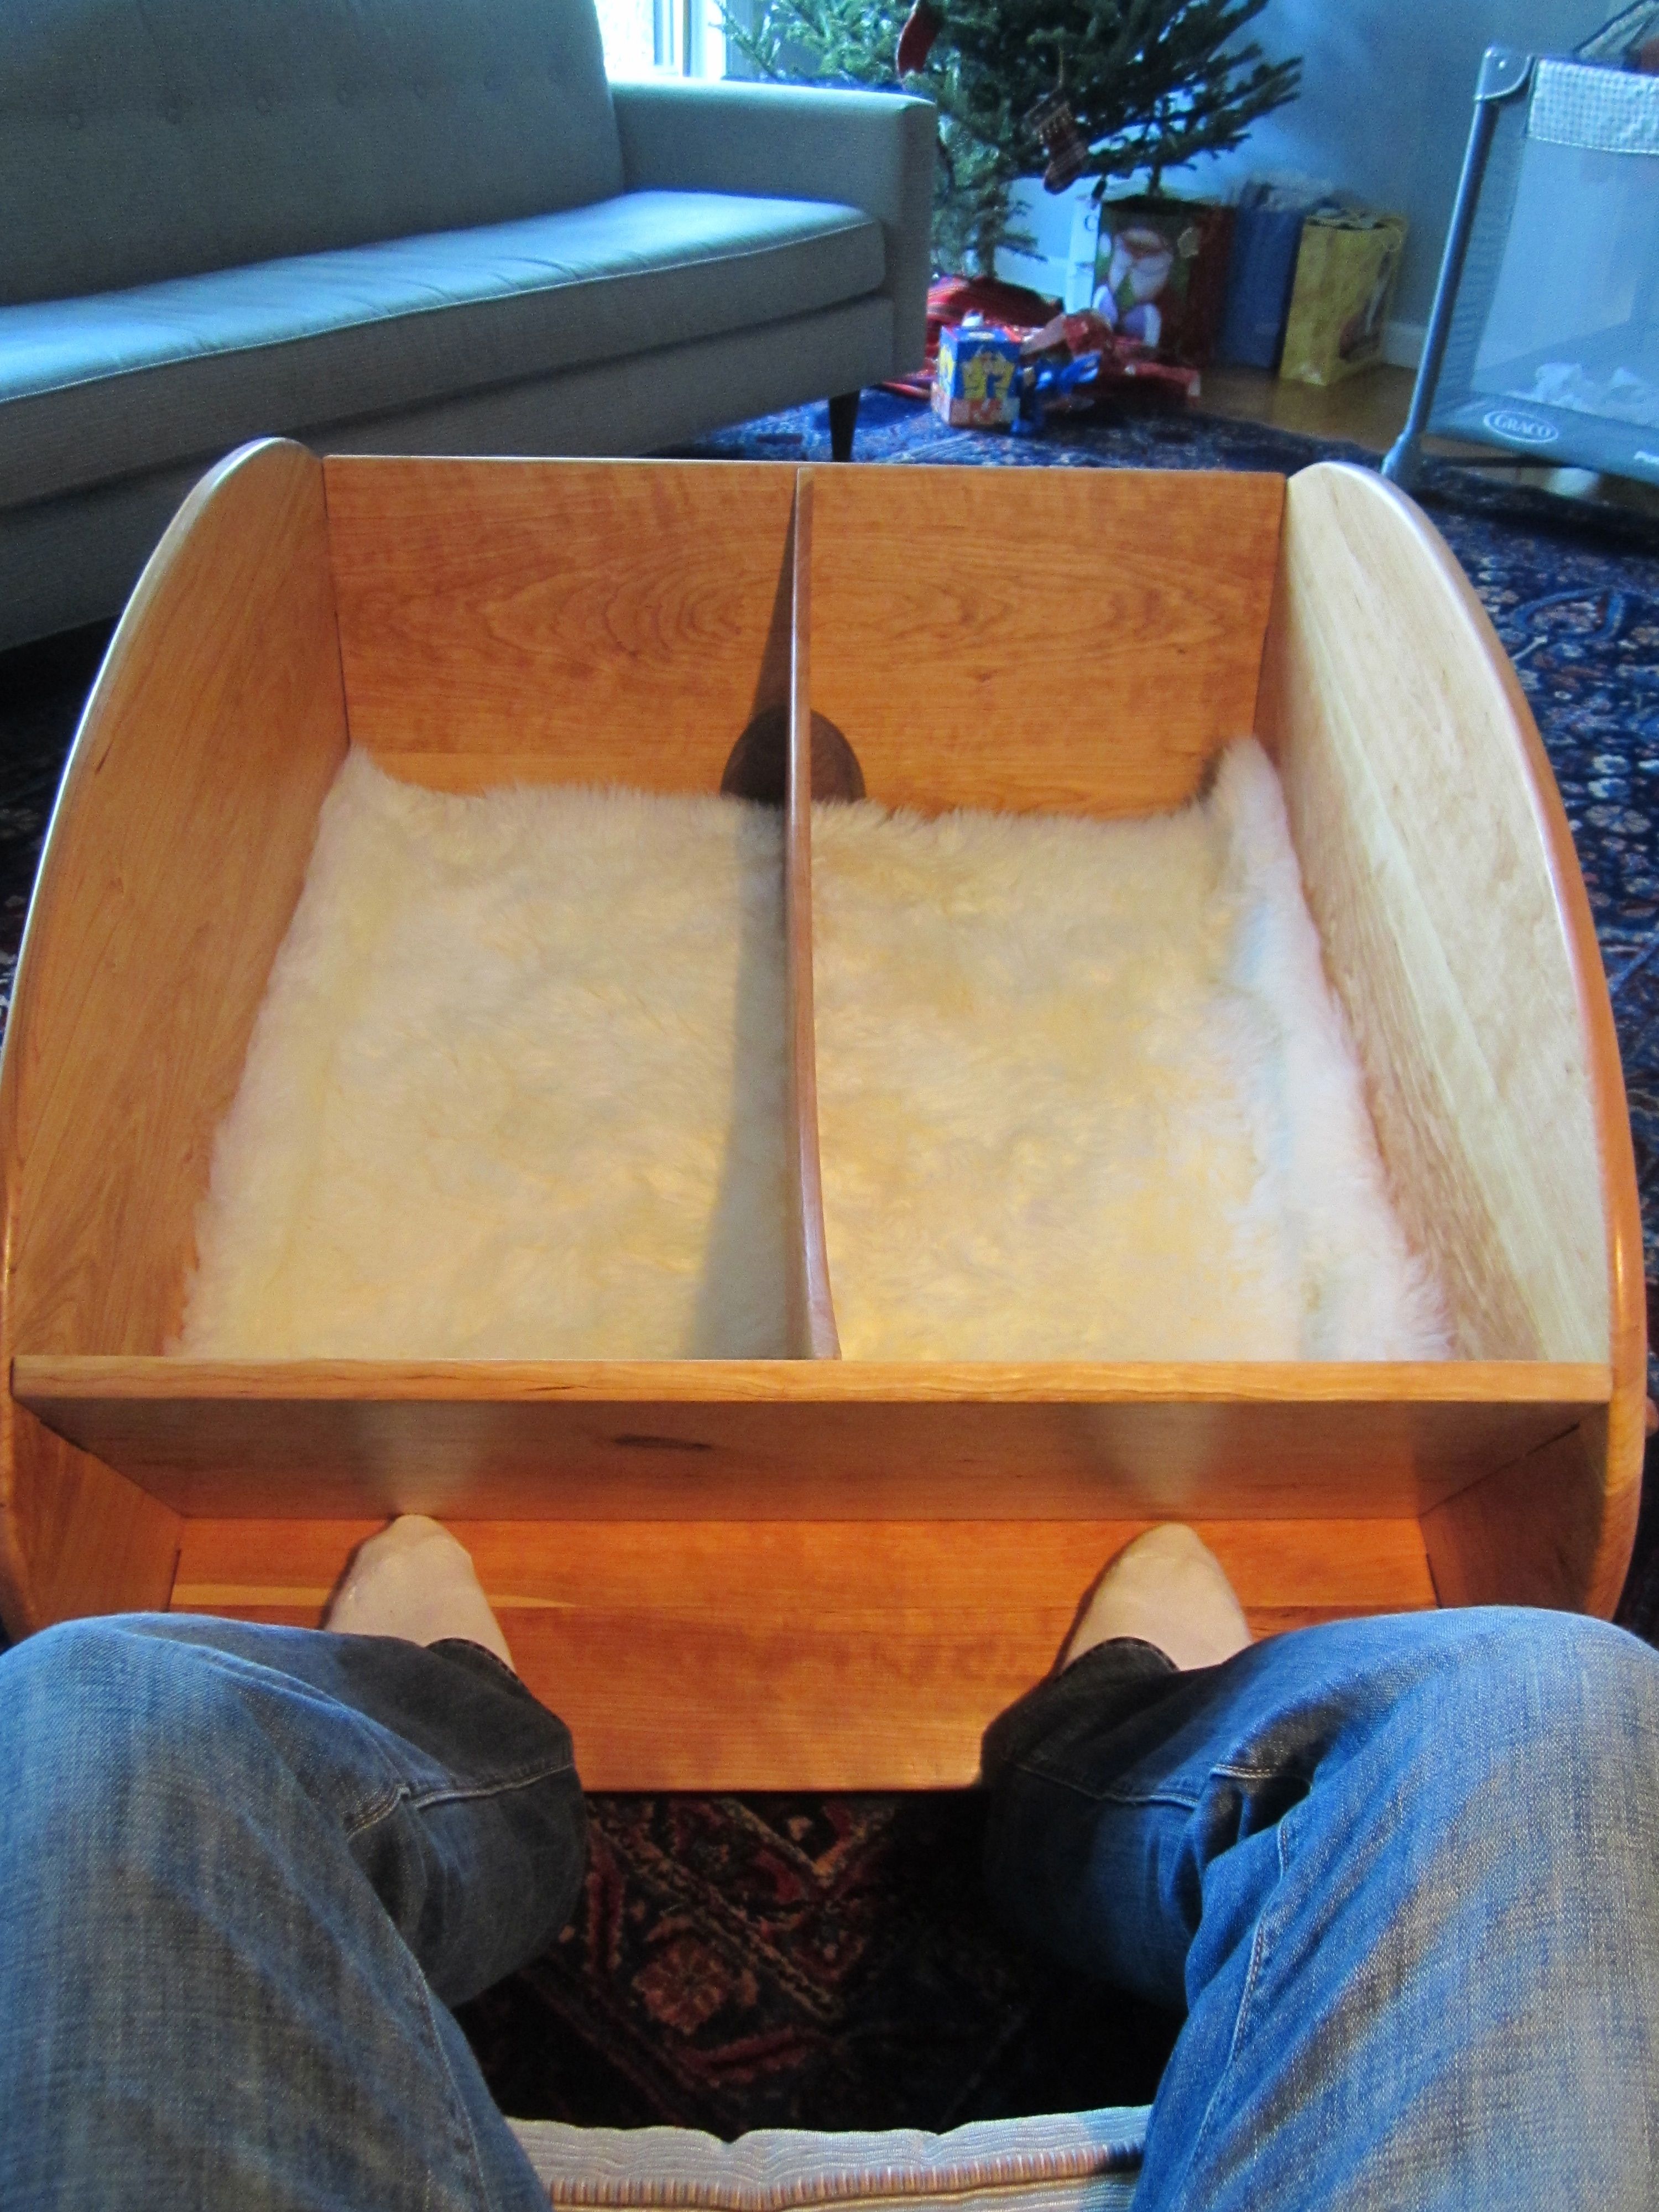
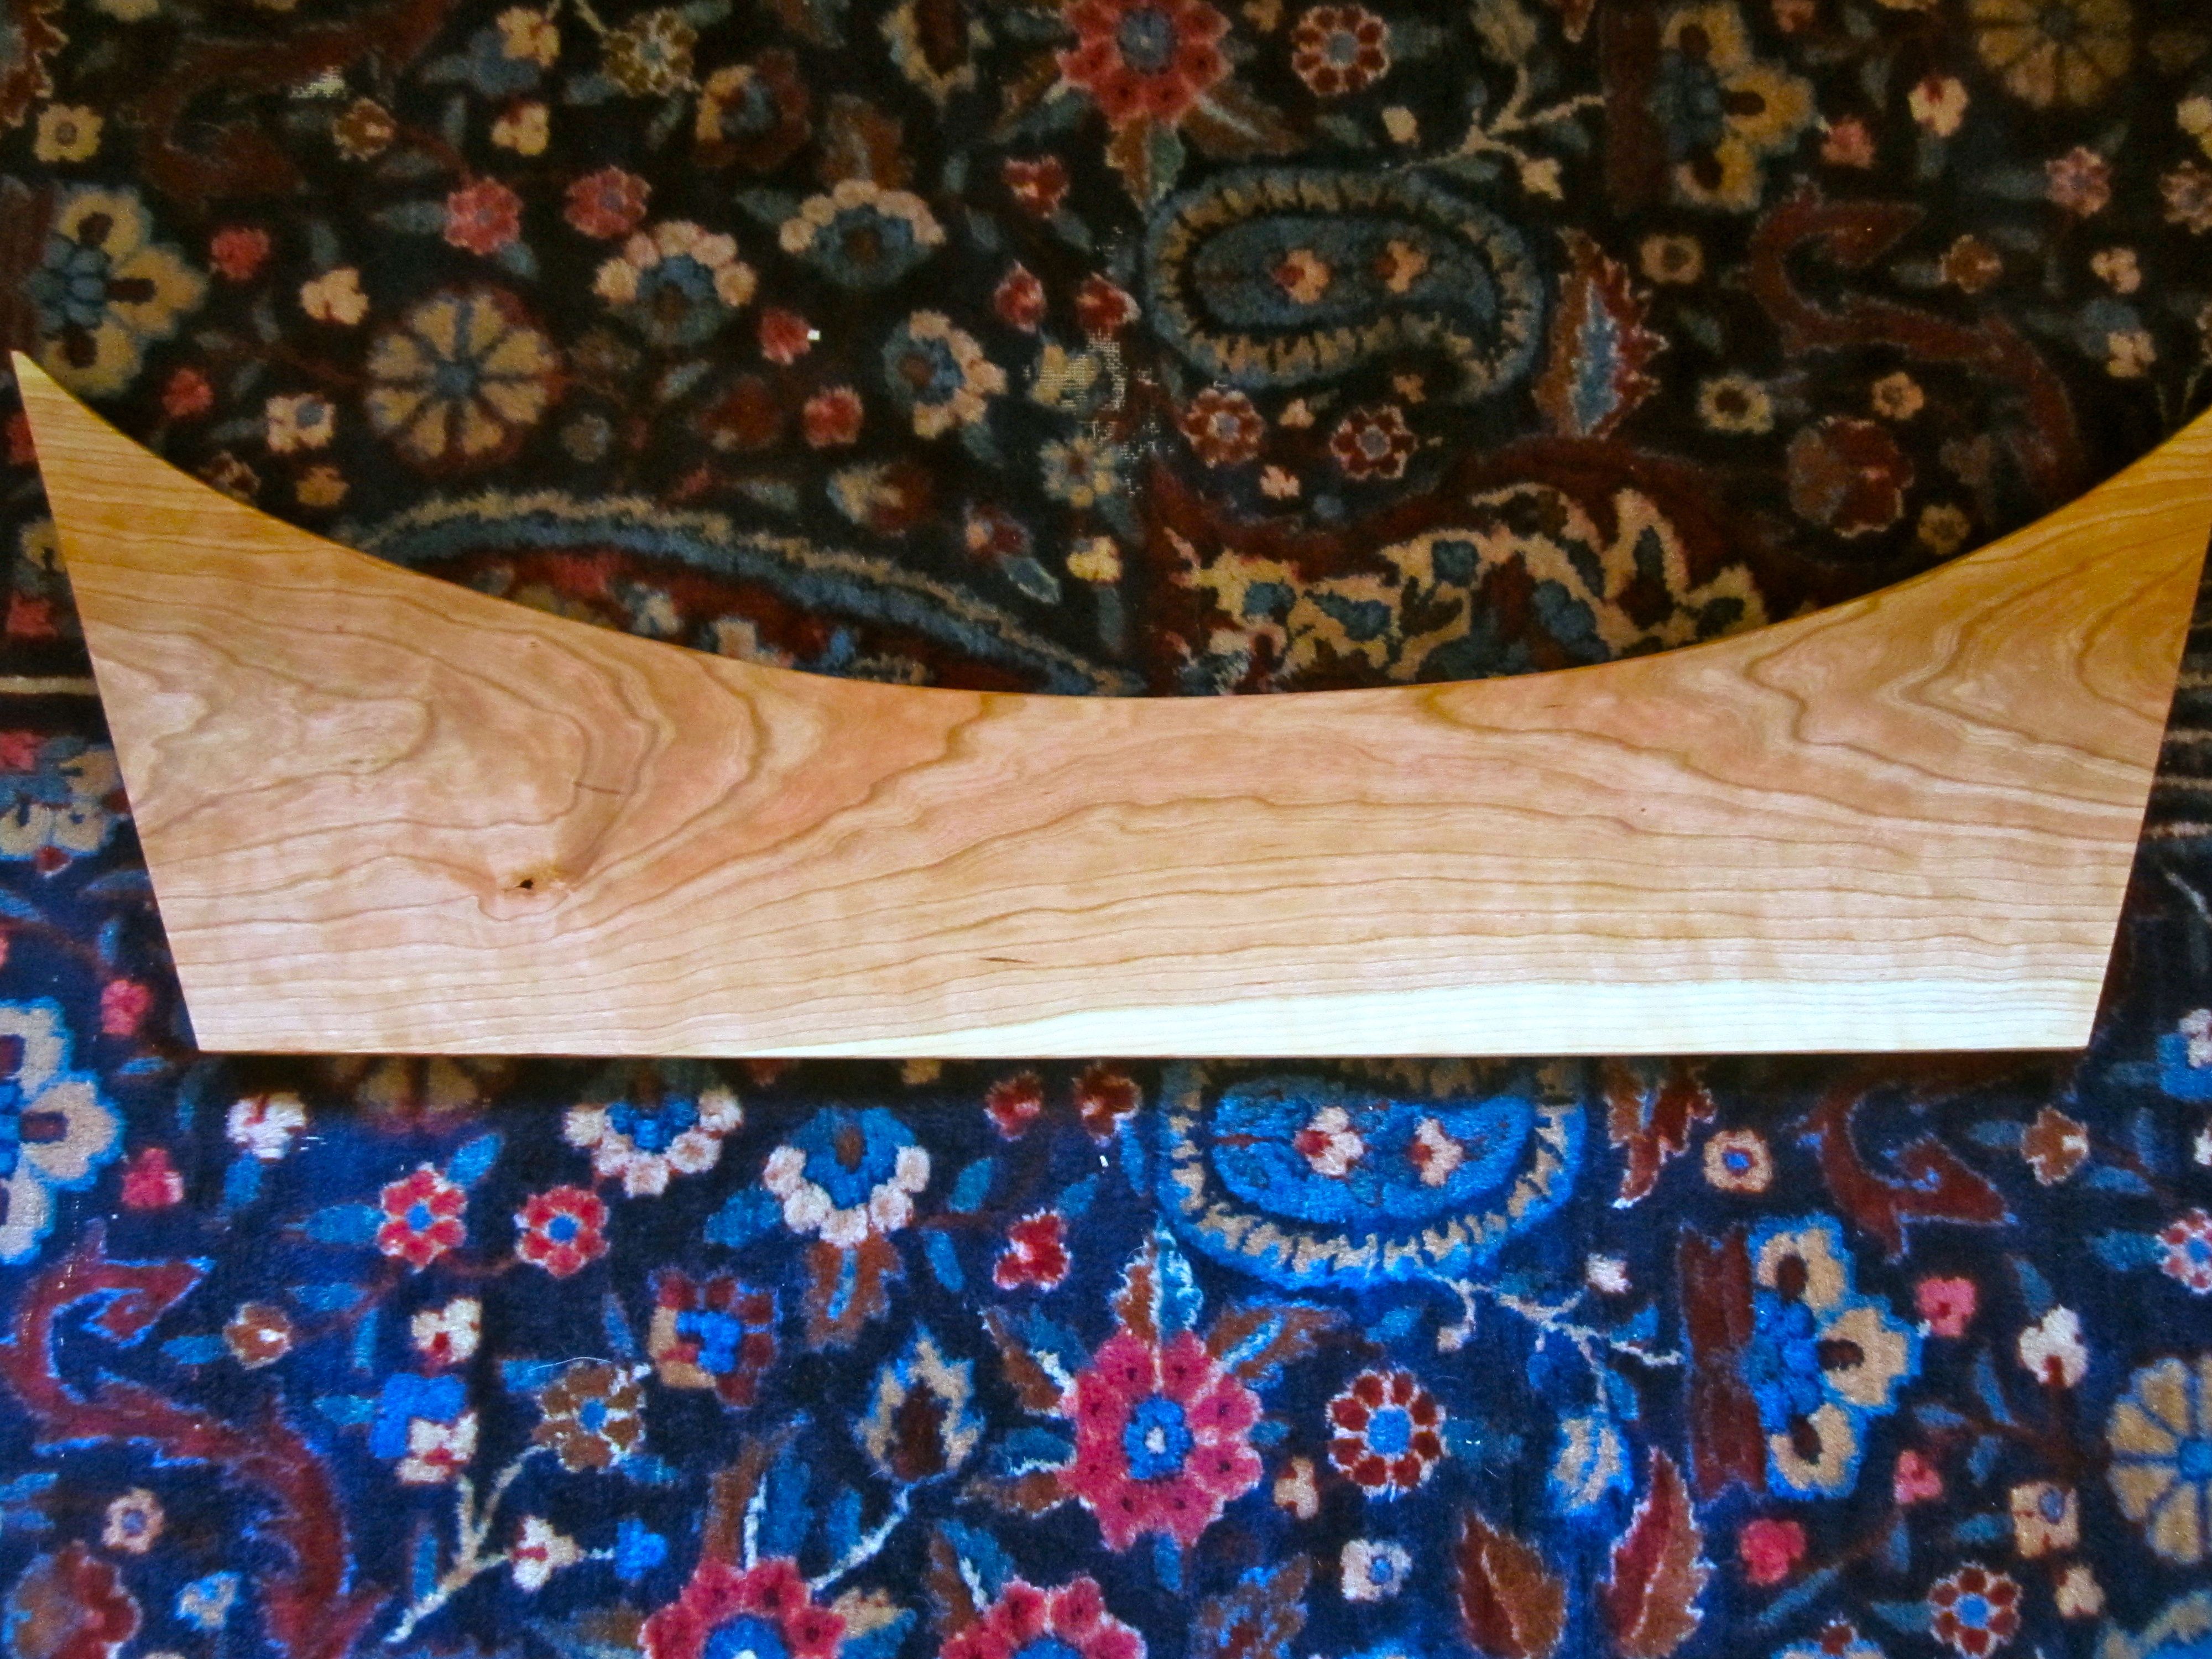
I designed & built foot rests on each side, so the cradle could be easily rocked with your feet.

The peg and though mortise

Introducing Alex and James!

Me and the best clients a guy could ask for!


So that wraps my cradle series. I’ll post one more related post on how I built the pegs, so look for that. Then I’ll catch up and share the loft beds. I’ve also been building a chicken coop!
Thanks for stopping by the shop, it’s great to get back to blogging.
-Through Tenons; Mortise failure/solution
It was not until I went to cut my mortises that I realized I should have laid these out and cut them before I cut my board into an oval, with no straight edges to register a cut. To make matters worse, the mortises were angled at 12 degrees to receive the headboard and footboard.

Attempt at chiseling out the mortise
It was my intention to use a chisel out the mortises. I started on one and failed. In hindsight, I am not sure what I was thinking. It took me forever and I ended up with blow out on the bottom despite my best efforts. Ugh.

The result of my chiseling = Blow out on bottom side

Plan B: Drill holes for my saw
I then went to plan B. I drilled out holes and rough cut the mortises with my skill saw. This seem to do the trick, at least at this point of the process. I then went in with my rasps and snuck up to my layout pencil line. At least I thought I did, there were places that I ended up over compensating as I was trying to dry fit the pieces.

Perhaps overkill: I used my jig saw to cut the mortises.
As my hand tool skills have refined since, I believe I would now go in with a small saw, perhaps a keyhole saw. But my Jig saw certainly kept me moving.
**If you’re reading this and nodding your head (up or down), I’d love to hear your feedback on how you would approach some of the tasks I struggled with. As with all things woodworking there are infinite ways to skin a cat, and we can all learn by sharing our experiences.
Knot The Right Epoxy Fill—

I love me knot….
I am a huge fan of knotty pine, and I am always looking to see how I can incorporate the knots into my layout. I have not, however dealt with the knots properly, until now, well almost.

How beautiful is this–Knot!
(I have more knot knot jokes, but I will save them for another post.)

Ugh. Nice Job, Genius.
The 1st ‘epoxy’ I purchased was from the local hardware store. It was a grey paste. I am not sure what I was thinking as I applied it. Did I really think this was going to sand out and look anything different than a cement patch? And yet I proceeded.
Obviously I was not happy with the outcome. I moved on, but I tried another epoxy, this time a clear product (makes sense, huh!).

Better luck, but I still wasn’t thrilled with how it sanded out. I need to try West Systems Epoxy and spend a couple hours experimenting with it.
Thanks for stoping by the shop. I’d love to hear your comments and thoughts on how you might have approached things differently!
I must say it’s taken me four times longer to spit out this blog post than it did to actually build the cradle!
I learned several fundamental lessons on this project. The key lessons having to do with biscuits, filling knots, layout and what I’ll call the order of execution.
The Sides:
I laid out my templates and copied them onto the wood. Careful to mark out orientation, keeping the wood grain parallel on my ovals.

The Layout
I then cut my pieces on the band saw…

Rough Cut on the Band Saw

The sides

Smoothing the sides with my Rigid Oscillating Edge/Belt Spindle Sander (looks like an ad for Rigid!)
I cleaned up the edges on my Rigid Oscillating Sander, I then routed the sides with a 1/8″ router bit before smoothing it out by hand:

My new Moxon Vise got a good workout for smoothing the edges.
The Base:
I dry fitted my boards together and then laid out the base using my templates. I then cut each piece individually. Given the round tenons and the foot boards I thought it would be easier to work on smaller pieces rather than the final base size (I wish I had that forethought on the side pieces, but more on that later).
The Footrest: I designed the cradle so that it could be rocked easily with your foot as you sat in a chair. Each side needed a comfortable edge that contoured to a foot. This operation left me know choice but to invest in a set of rasps for TFWW. What was I to do? I was thinking of my families comfort after all!

I am lucky enough to live about a mile from Tools for Working Wood. I read all I could on rasps, to decide which would best suit my needs. Unfortunately, or fortunately, when I got there, tried them out and chatted with Tim, I over did it and bought a set of four. I went with the Gramercy Tools Hand Cut Cabinetmaker’s Rasps and I have no regrets. It has changed how I approach projects.
There are others that are much more schooled in the nuances of the rasps. I suggest you check out these articles:
Jointing and Biscuits- I know biscuits are one of those things that half the folks say you don’t need them and the other half uses them because that’s what Norm did. Well the truth is I never watched that much Norm, but it was the way I was taught to joint two boards together, and well I’m just more comfortable doing it that way. No harm, no foul. And besides- what else would I do with that biscuit joiner I bought!
So I jointed my boards together before laying out my templates. Then I learned a valuable lesson regarding biscuit placement. While Inset the biscuits about 6″ from the edge I forgot that these rectangle boards I created were going to be shaped into an oval and a rectangle with tenons. See where this is going? I got lucky though– on the side ovals I cut out 4 biscuits at the corners and missed the others. Not so much for the bottom piece– lucky again though since that edge will never be exposed. It’ll be our little secret!
In the interest in getting this out, look for part 3.2!….
to be continued…
Quite a weekend in the Northeast!

We got a little dusting this weekend!
I started the weekend with a private dovetailing lesson (more on that in the next post), when the snow started coming down, and boy did it come down! By the time we were done we had 20″!! We live on a mountain that seems to have it’s own climate. It could be dry in town, and we could be have a blizzard at our house. But in this case, as you know, the Northeast got hit pretty hard witha pre-Halloween storm. Our accumulation is just more than yours!
So my kids played in the snow, my wife sat, curled up reading her ipad and I headed to the shop to get going on the twin cradle. Life is good!
I must admit, this is the most unsupervised milling I’ve done to date. I’ve got a powermatic 8′ Helvetica jointer and a dewalt 735 planer, which I’ve used for small projects, but this was what I bought the powermatic, a serious project with beautiful stock. Enough messing around, it was time to put this machine to the test. I was not disappointed. I was treated to smooth, easy cuts that revealed the beautiful grain and color of the cherry. Awesome.

Rough Cherry from Berkshire Products
A little back story on the jointer and planer. As I starting getting serious about woodworking several years back, I realized, as many do, that this was going to require a little more precision, both from the wood and the tools (and of course me!). You see, wood needs to be dry and square and….well, lets assume you know that if your reading this blog! But seriously, it wasn’t that long ago when things like that were like a light bulb going on in my head. At this point hand tools were still more intimidating than power tools, so I went the power tool route. After doing some research and looking at what I could afford, I decided on a Jet JJP-10BT Planer/Jointer combo. Talk about a deal! I could get BOTH machines in one for around 400 bucks!! Awesome!! It’s a two-fer! Well you know how this story ends. In fairness, the jointer portion worked ok, but the planer really never worked right and switching the machine between the two operations wasn’t a nightmare, but it was just stupid. So I have a $400 collecting sawdust in the basement. Low ball offers are being accepted.
So like all bad relationships I moved on. I saved up and bought the Dewalt 735 on sale at Lowes and when Amazon had a sale on powermatic tools I jumped on it. Of course I had to get their awful credit card, but it was 0% financing for 18 months and 20% off. Such a deal! I can justify anything. As the old adage goes “you get what you pay for”. I saved, I paid for quality and I’m really happy. Both machines did not let me down. It almost seemed like I knew what I was doing!

Milled Cherry

Max
The best part of the day was spending time with my assistant in the shop.

Dust collector is full
*Milling wood creates lots of saw dust.
Note to self:
Empty dust collector before it backs up all over shop.

Done! All square and ready to go.
Sleeping cherry….

Remember to cover your milled cherry as it can stain with exposure to light. Goodnight wood……


