We woodworking bloggers might not be here without this guy!
Matt Vanderlist of Matt’s Basement Workshop and Spoken Wood Podcast AND Wood Talk Online Radio took time out of his busy schedule to answer 12 of our lighthearted questions.
1- As the grand-daddy of woodworking podcasts: what podcast did you listen to and say: “I can do that!”?
There were three shows I listened to early on that convinced me I could do this crazy thing called a podcast. First was Adam Curry’s (yep…THAT Adam Curry of MTV) “The Daily Source Code“. Adam was always talking about how wide open it was for people to make their own content and would ask people to send him clips to promote their shows. So I took the plunge.
In fact, my sign-off “Straight Grains & Sharp Blades” was inspired by Adam.
Adam’s a pilot and always wished his fellow pilots “Tail winds” in reference to having a good flight with tail winds pushing you the whole way.
Non-pilots would leave a message for his show and end it with “Tail winds”, so one day he said something about ONLY pilots could say that and everyone else would have to come up with their own phrase.
So I did just that, every pilot wants “Tail winds”? As a woodworker I often wanted “Straight Grains & Sharp Blades” when I work on my projects.
The other two shows at the time that heavily influenced me to give it a go were “Dawn & Drew” a couple still podcasting today. And a now long defunct show, called “Who’s your daddy?” These two shows convinced me if they could do it, I could do it.
2- What was your first paid commission?
A set of side tables for an old co-worker of my wife. Like so many people, she was convinced somehow “custom woodworking” was cheaper than buying it a big box retail store.
Sadly, I was green enough to say “OK” and take the job. If I calculated the time it took me (minus the materials) I probably made $.25/hour.
3- Did you grow up wanting to be a Cytotchnologist?
I never even heard the word until a college guidance counselor (Mrs. Garza) approached me at a career fair on campus. She said it was a career with a lot of promise and good pay.
I’ve been doing this for 16 years now, I’m still waiting…
4- Have you ever taken a chisel to work and looked at your sharpening skills under the microscope?
Nope, I work with a light microscope silly! You’d need an electron scope to get those kind of awesome pics.
All it would look like on my scope would be a re-enactment of the last solar eclipse.
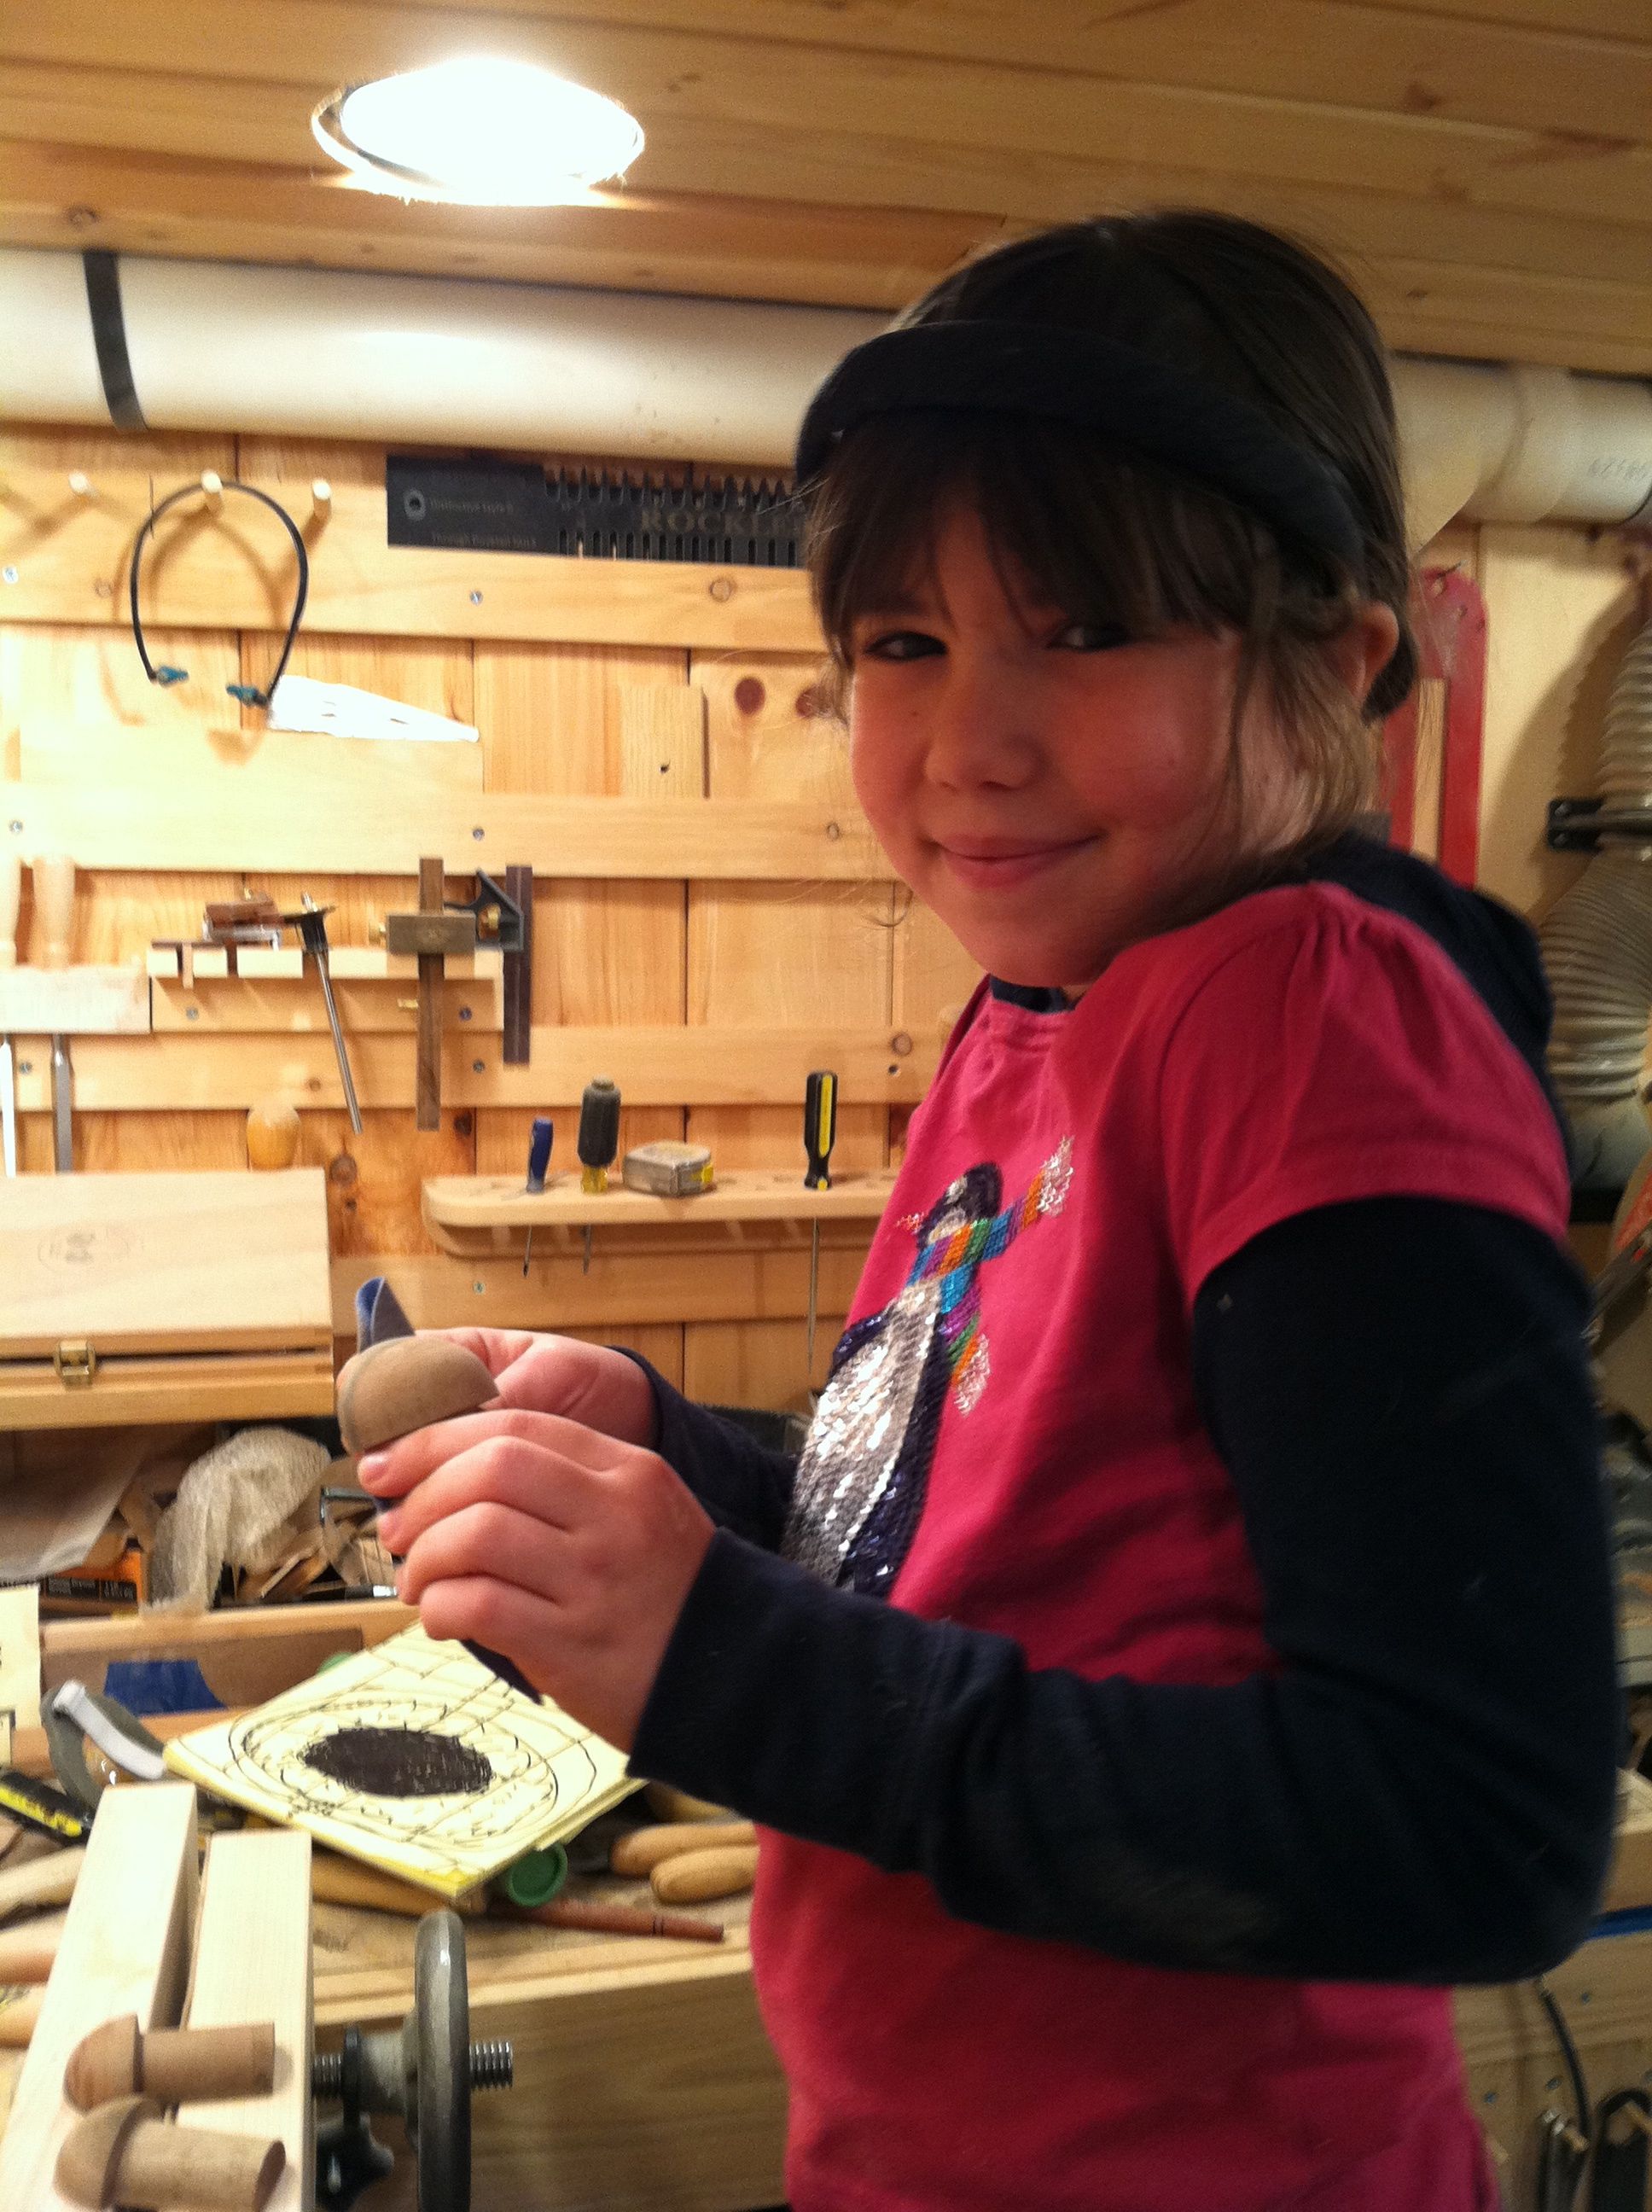
5- What’s with the hat?
Keeps my head warm in a cold drafty basement.
Actually it was a gag gift from my wife on Xmas a few years ago, apparently I didn’t get the joke until much later. So quite literally, the joke is on me.
6- What tool, that you inherited from your grandfather, do you value the most?
It would have to be two things; a pair of chisels that I underestimated their shop-worthiness for years and a small adjustable square.
The adjustable square is the perfect size for tool setups and so much more, that I go into a complete freak out if I can’t find it. But the pair of chisels is what surprised me the most.
They’re a set of simple wooden handled chisels from all places…Montgomery Wards…and I remember as a kid using them to pry open cans and as screwdrivers. It wasn’t until I was attempting to teach myself how to sharpen my tools that I reshaped and honed them and made this discovery that they take and hold a sharp edge like no other chisel I own.
7- Have you ever built a project and then couldn’t get it out of the basement?
YES! In fact getting this project out of the basement was probably the closest my wife and I have ever come to divorce.
It happened in my first shop at our old house. The project was an armoire style entertainment center and I swear to this day I measured for the clearances to get it up the stairs and out the door to my garage so I could apply the finish.
What I didn’t account for was the extra height added by the moulding on the top of the unit (added at the last minute because “it just needed something up there…”).
When we were attempting to get it angled to go up the stairs, the finished ceiling dipped a little lower at the base of the stairs and it got wedged.
Shortly afterwards all hell broke lose and my kids and the whole entire neighborhood were treated to some of the most colorful language anyone had ever heard (almost entirely spewing from beautiful wife).
Needless to say, eventually when cooler heads prevailed we removed part of the moulding on top and discovered we had just enough clearance to get it up and out of the basement.
8- What’s the latest you have ever turned off the shop lights?
I’ve been known to stay in the shop until as late as 1 or 2 in the morning. Typically when this happens, the wife and kids are off visiting friends and family out of town.
9- How many different woodworking catalogs are in your bathroom right now?
I think only one and it’s from Winter 2009? I now do a lot of my shopping and perusing with my iPad or iPhone when visiting the little woodworker’s room. I bet after reading, that people will think twice about borrowing them in the future.
10- I know you spend your days staring into a microscope, did you create the Spoken Wood Podcast simply so someone would read to you at work?
Pretty much yes. I’ve always been amazed at the number of requests I would receive, before I launched the Spoken Wood Podcast, for more audio only content. A large part of the audience listens to the show while commuting, working out, walking the dog and at work.
Add to it the requests for recommendations for favorite blogs and authors and it only made sense this would work. I can’t take all the credit for the idea though, it was largely inspired by two other podcasts I’m huge fans of myself;
Escape Pod – a science fiction podcast in which short stories are read to the audience, and Slate Magazine’s daily podcast – where the host reads articles from their website.
I figured I enjoyed it so much and so did their audiences why not do the same thing with woodworking?
11- How many hours a week do you spend watching woodworking videos and reading woodworking blogs?
I can’t say for sure. It’s surprisingly low when you think about it. I’m slightly preoccupied creating my own content. But I’d say it’s a fair guess to estimate I spend easily 2-3 hours a day.
12- What project are you most proud of?
This is where I answer with the old “that’s like asking which of your kids do you like better?”. But when push comes to shove, the one project I absolutely love hands down is our kitchen table.
I haven’t talked much about it before, but it’s big and heavy and covered with scars. It doesn’t look pretty to most people and I’ve only recently come to appreciate its significance.
Besides being the place we gather around to eat and do homework and play games and talk and…whatever else it is we do there, it’s also a reminder of the woodworker I started out as and the woodworker I’ve become.
It’s made entirely of ash and I designed it less for show and more for just being used. There’s a lot of things I would do differently now if I were to build it again, but there’s also a lot of the beginner woodworker foolishness that I wish I still had.
When we first get started many of us don’t realize there’s limitations to what we can do with our materials and our designs. We just jump in feet first and start swimming to the shore. At some point we realize we’re in over our heads but by that point it’s too late. You either finish swimming or drown.
I’m afraid of deep water, so I guess I kept swimming and never looked back. That’s the personality flaws in myself I wish I could exploit more than ever. The “I’ve got nothing to lose” and the “what do you mean you can’t do that…I just did didn’t I?”
I think that’s where conventional thinking messes us up in our endeavors. If you don’t experiment and fail once in a while you’ll never find out what you can actually do.

Many Thanks Matt!!

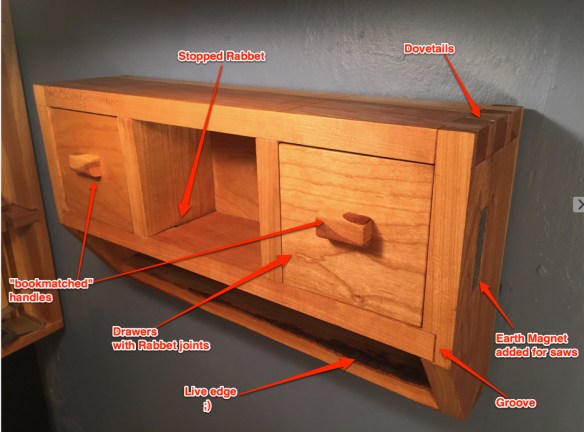
")
")
")