
When I was designing the cradle I went back and forth about what I would use for the though tenons. I really like the look of through tenons and found quite a few options I responded to, but they were all linear spikes that didn’t feel right with the curves of the cradle. I decided I needed to come up with a curved, or rounded tenon. I also wanted to create one that would be easy to take in or out when the time came.
Sketchup was certainly my friend on this project:
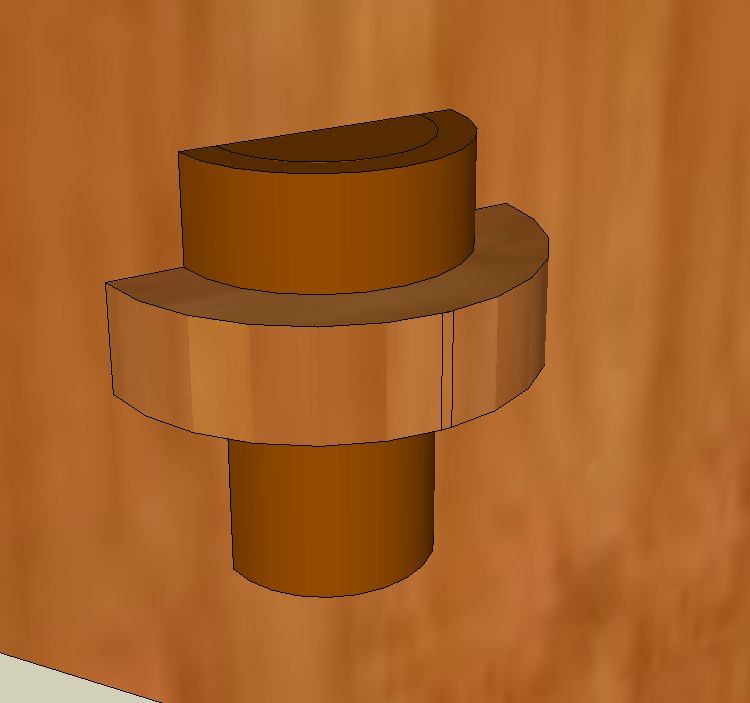
My Sketchup helped me realize the head needed to be curved. My sketchup skills however were not going to allow that!
Once I was happy with the design I needed to approach the one tool in my shop that I had yet to even come close to perfected–the lathe!

I started by glueing up two pieces of walnut.

Next I headed to the nearly unused lathe to start to rough my stock
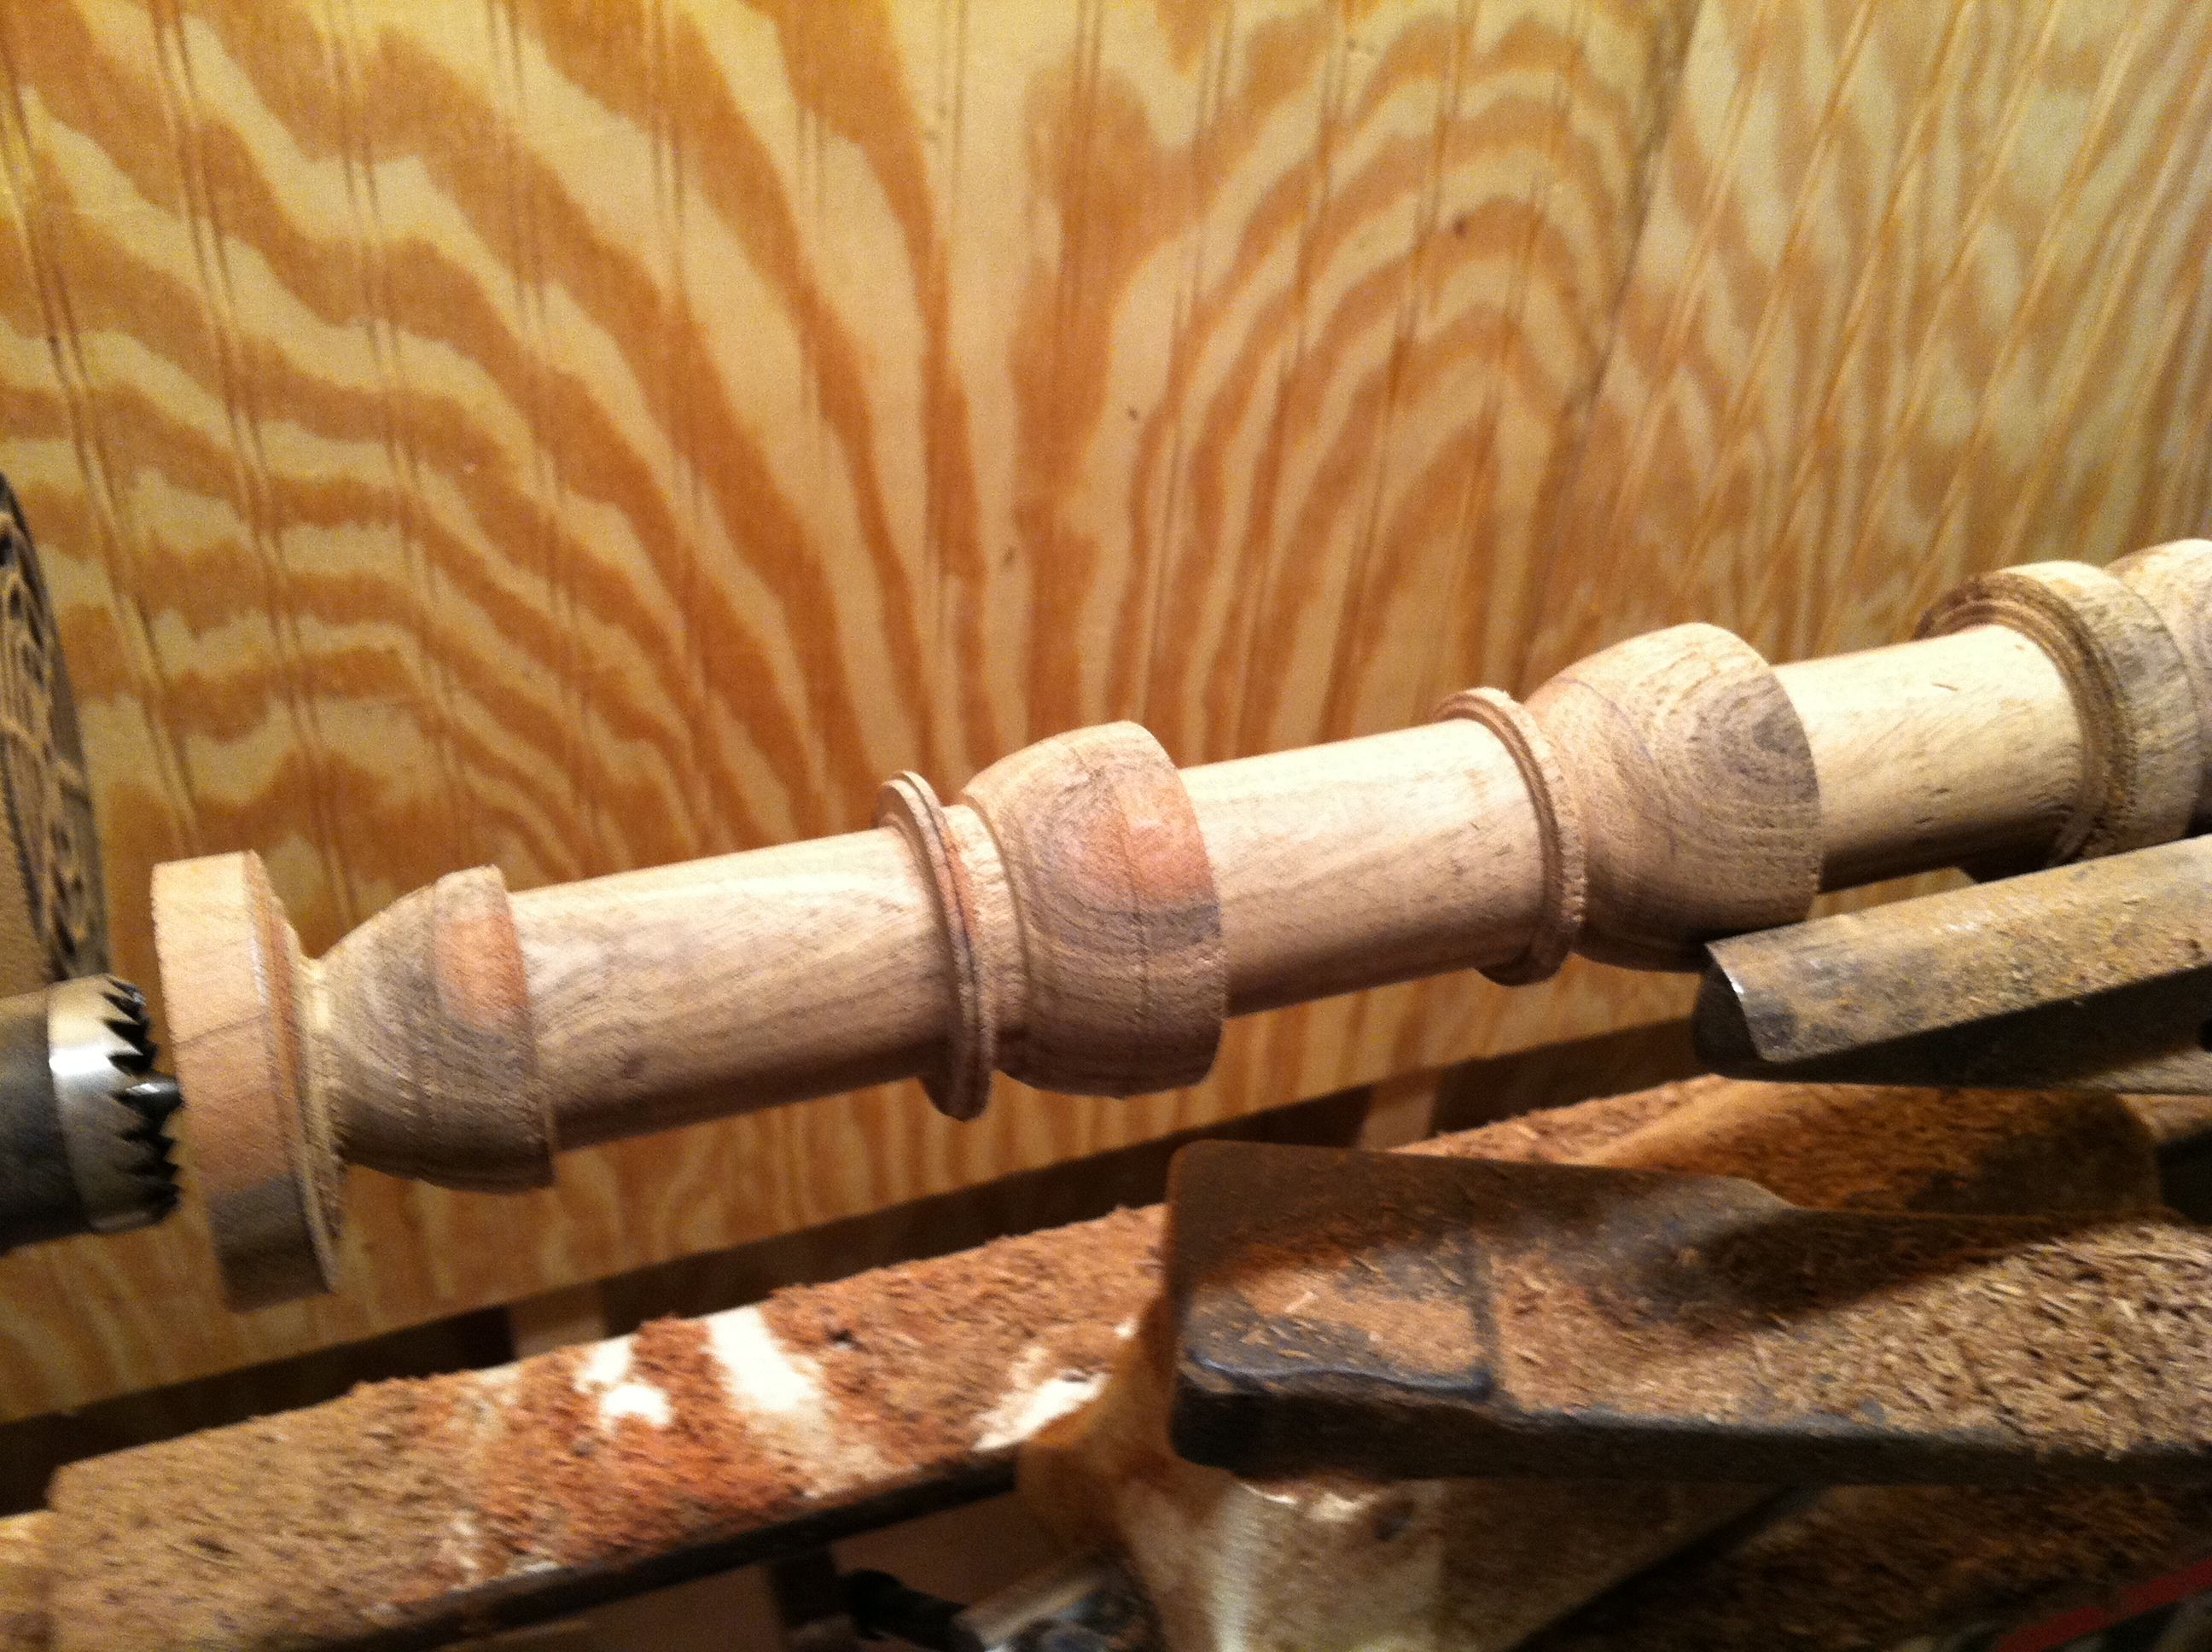
Based on the lines I roughed in–the pegs actually began to take shape.
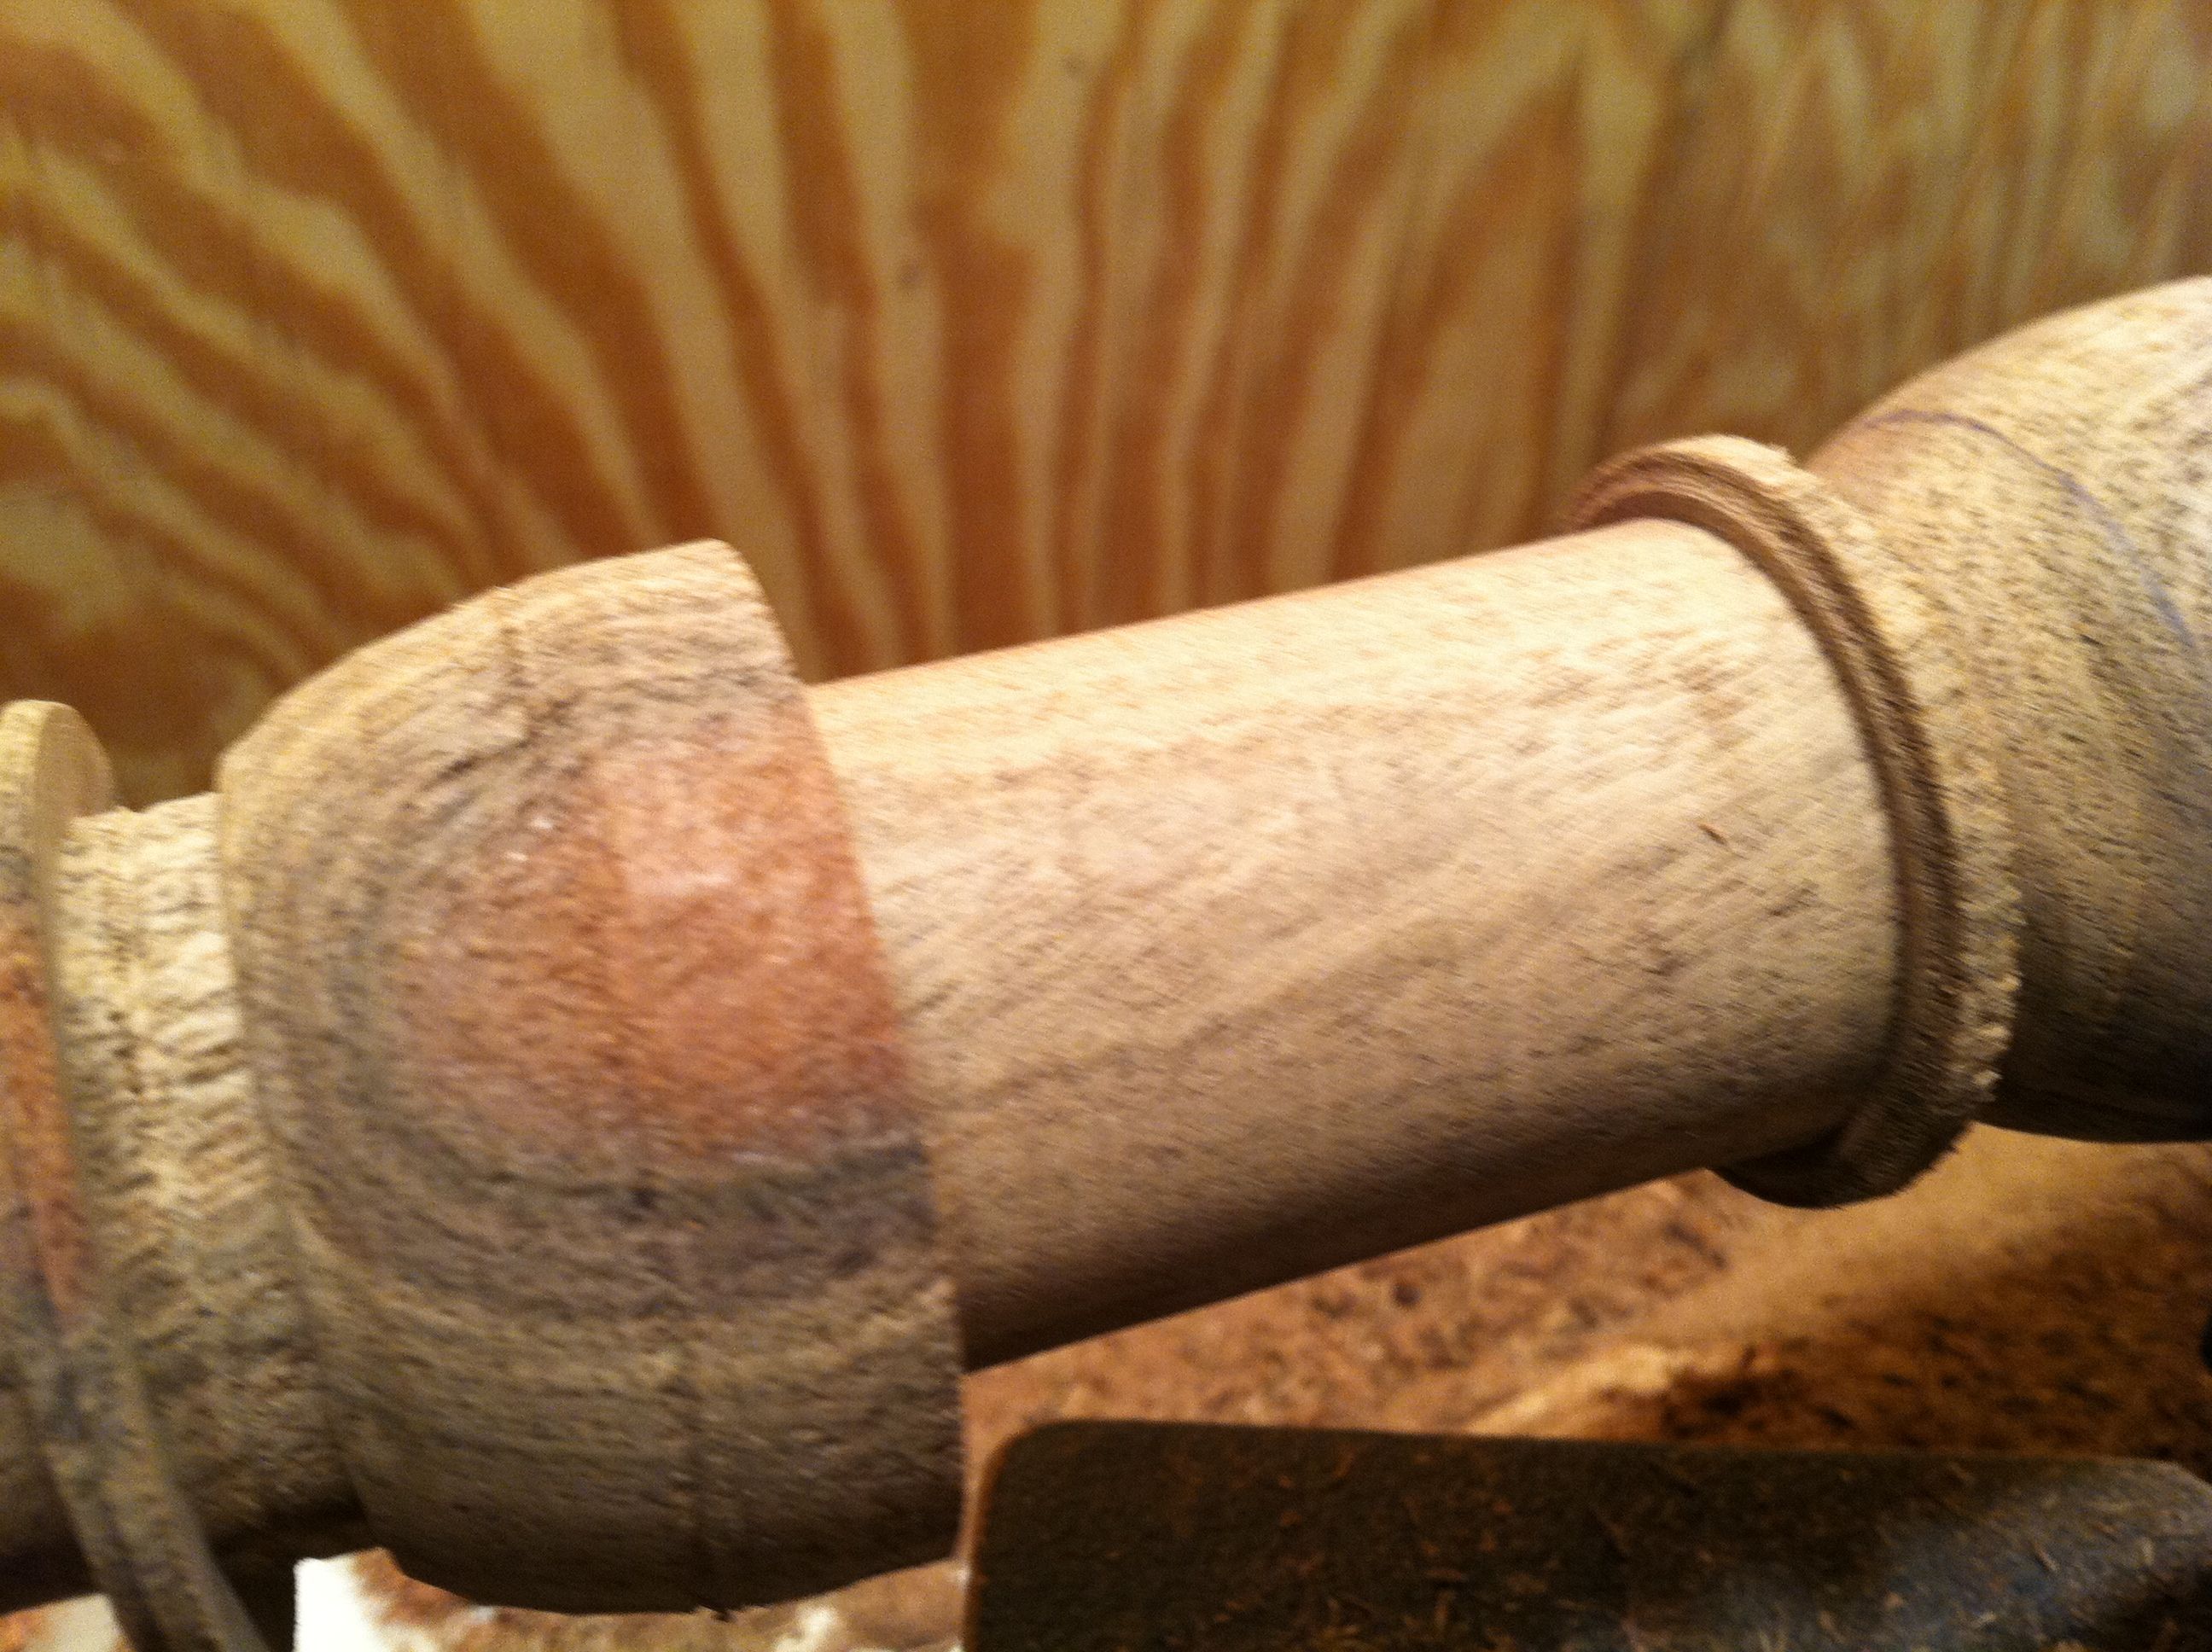
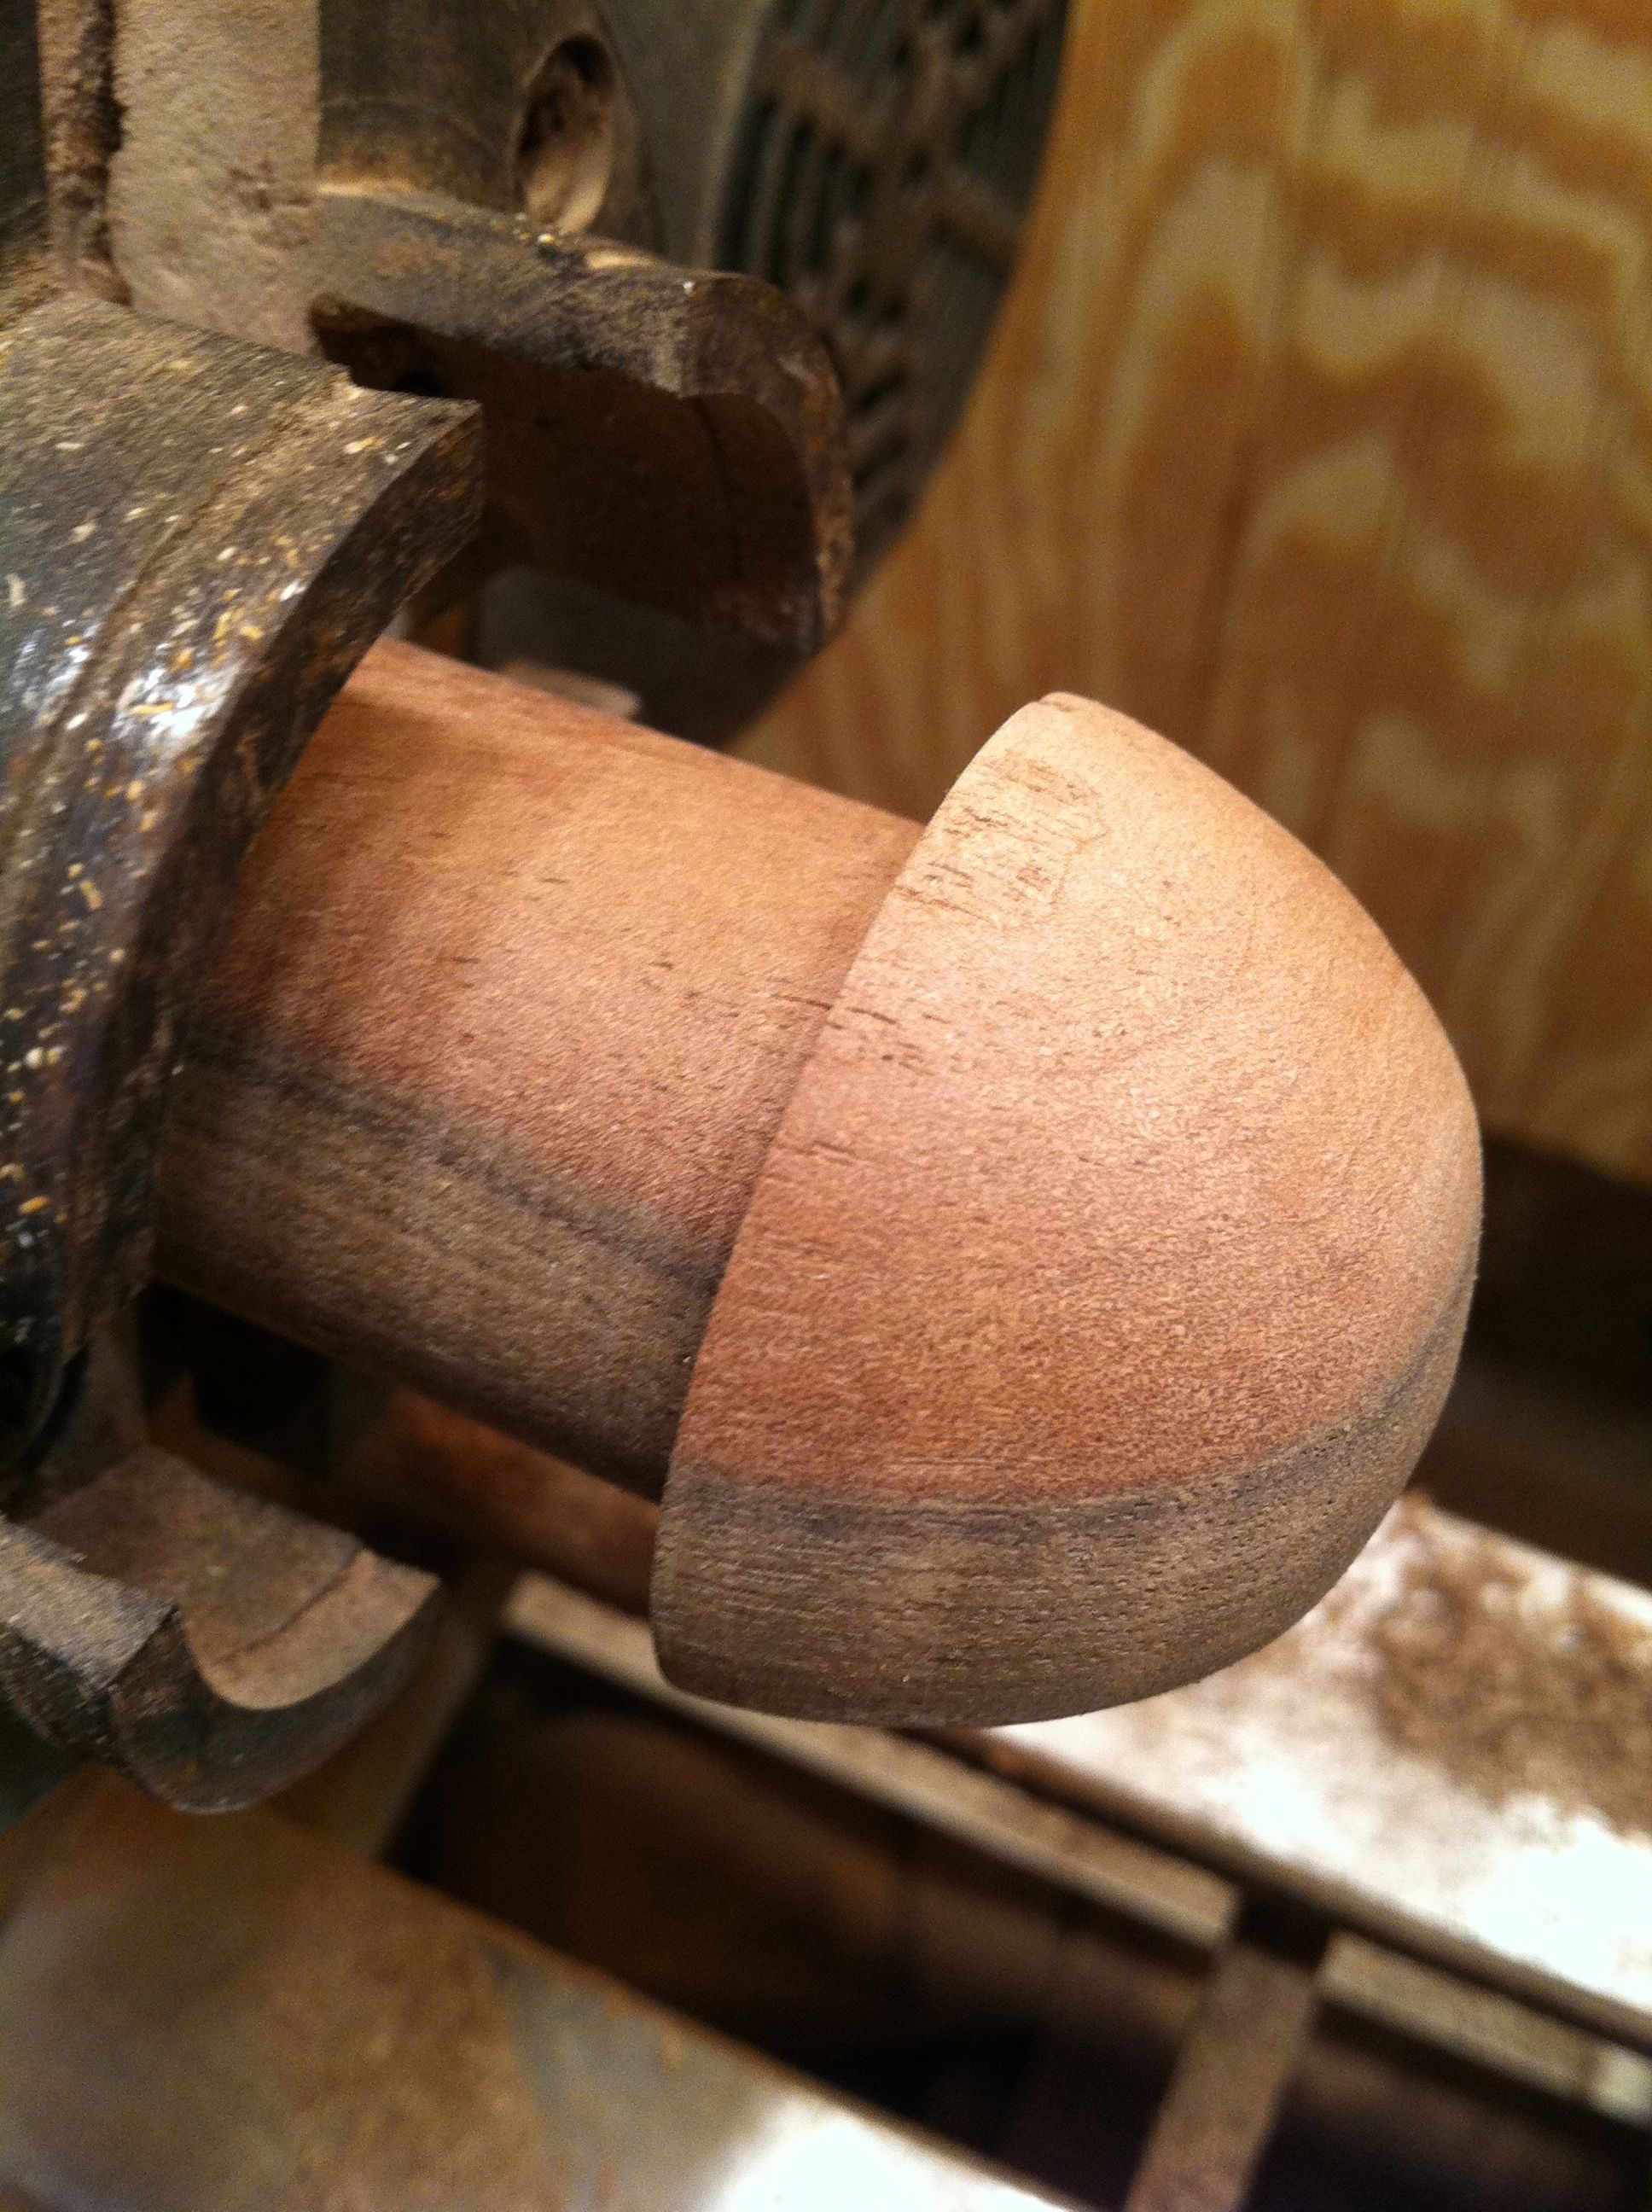
As I got closer, I cut the pieces down in order to create a smooth curved top for each.

Dance of the Wooden Soldiers
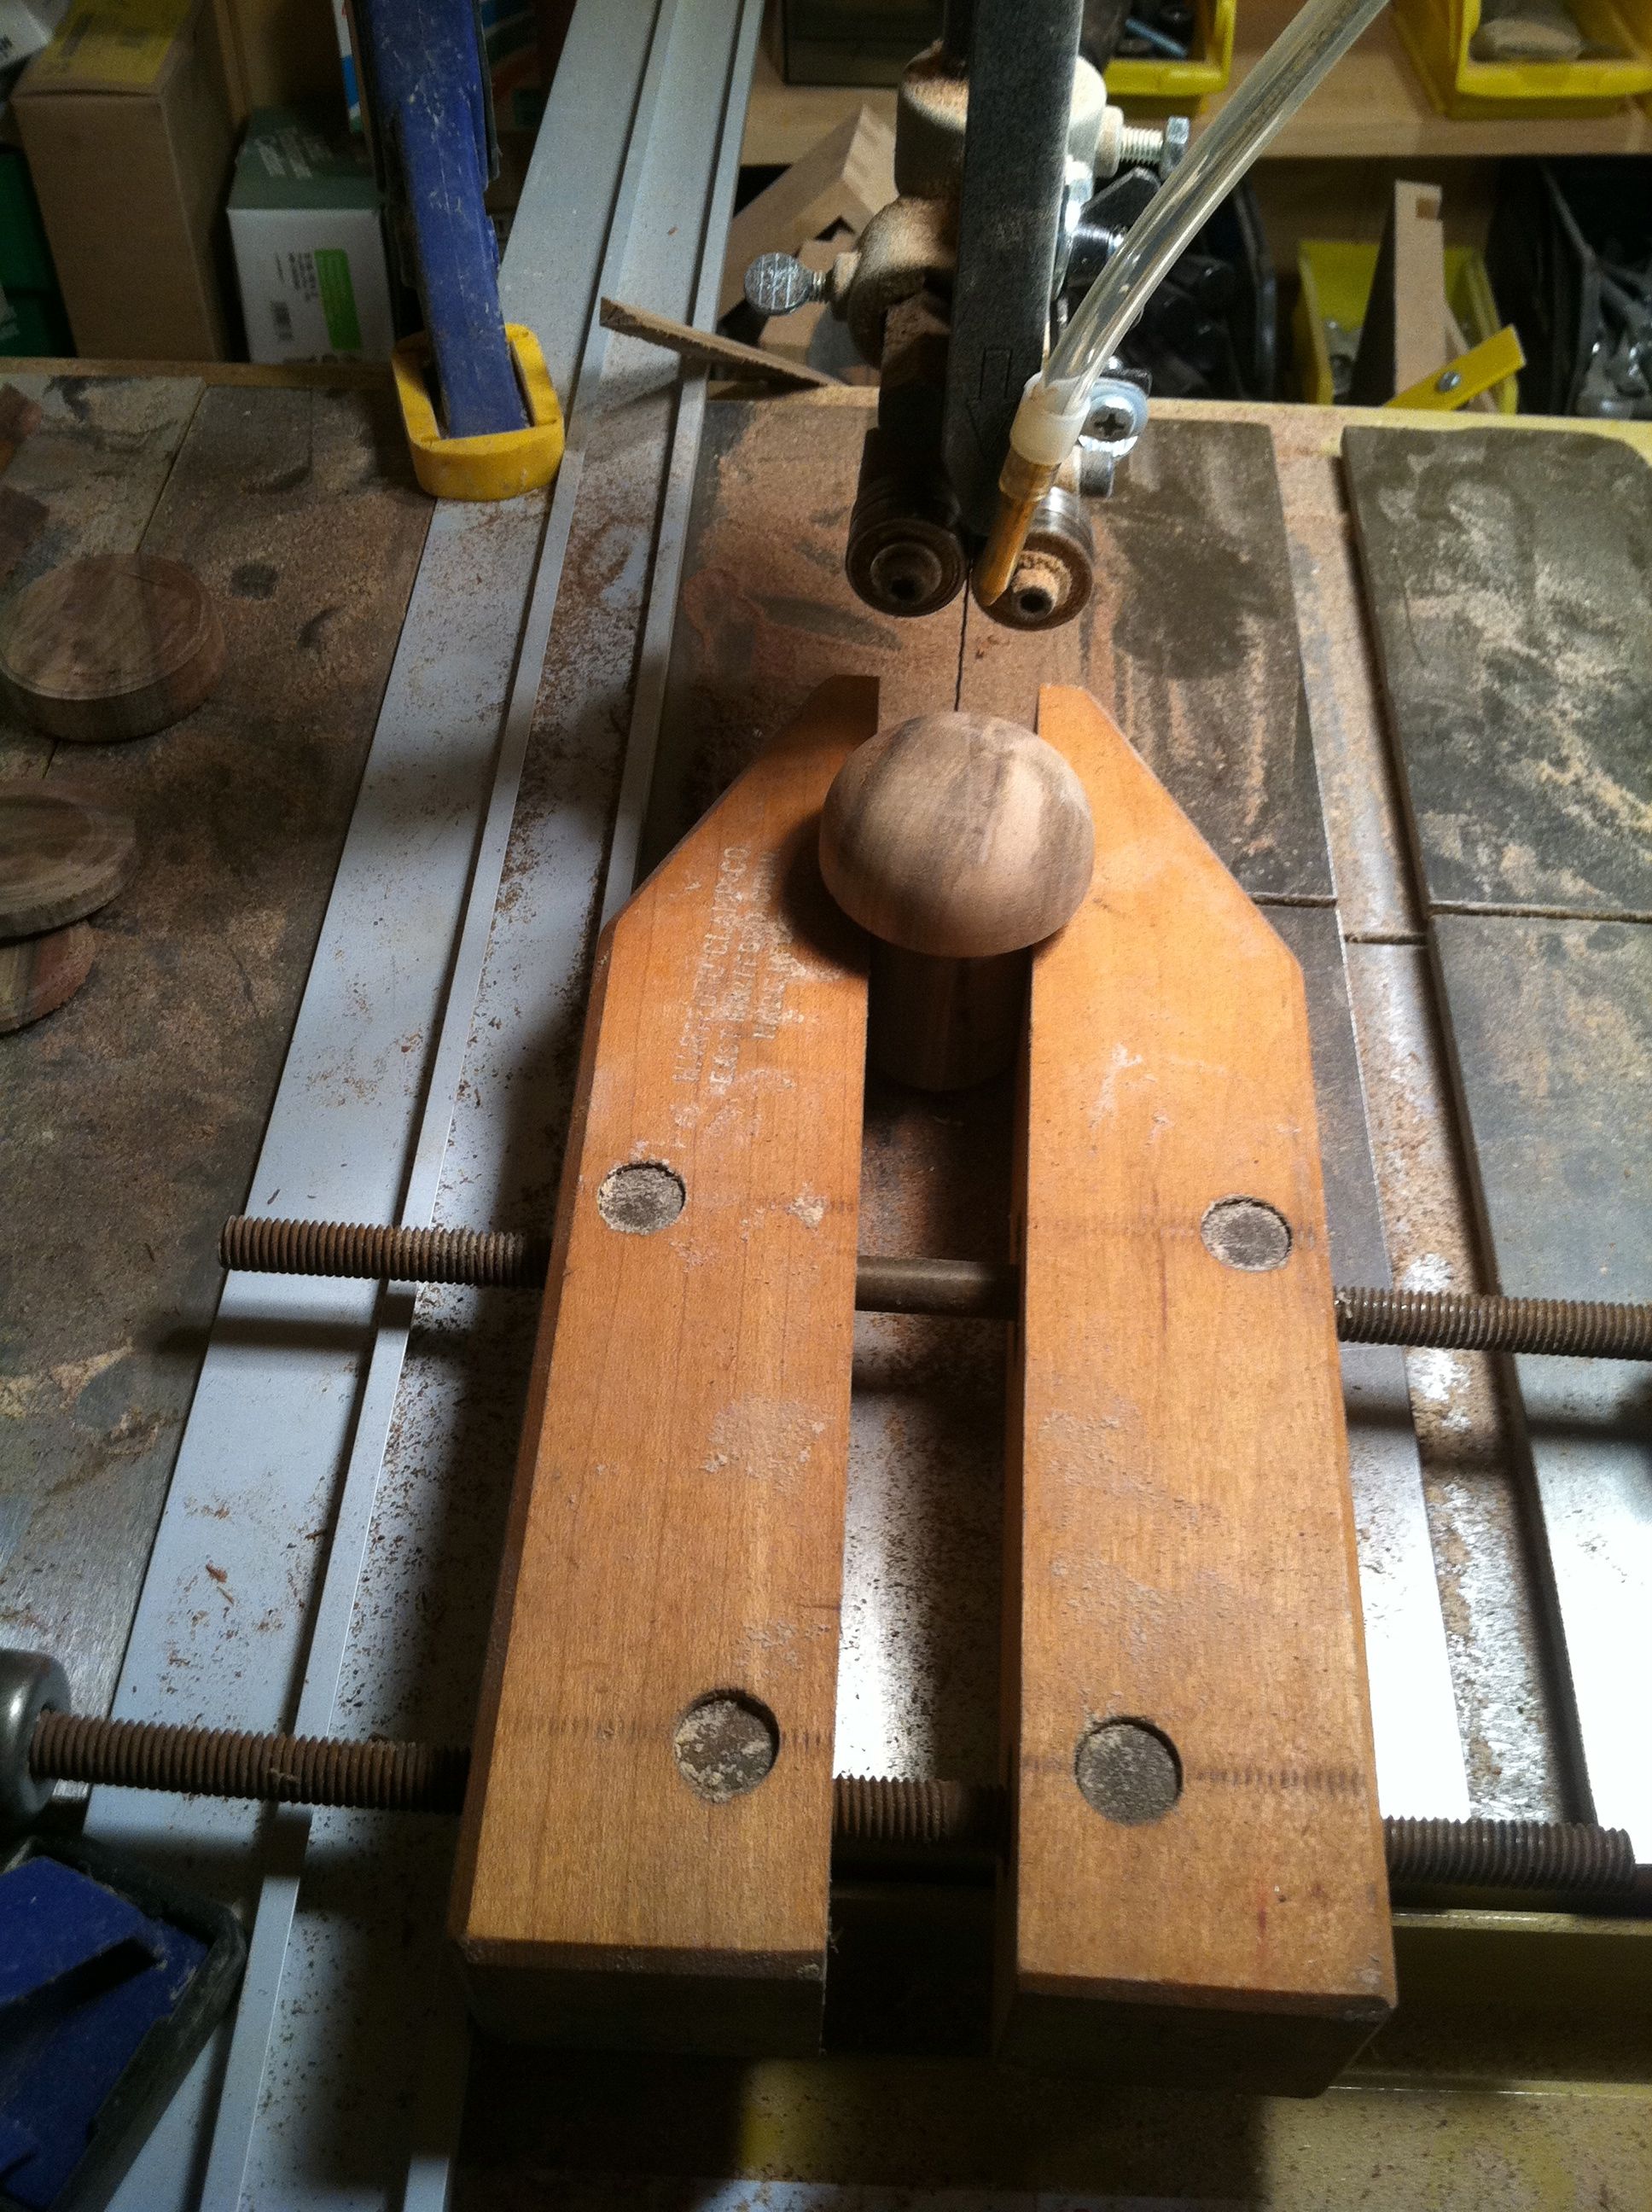
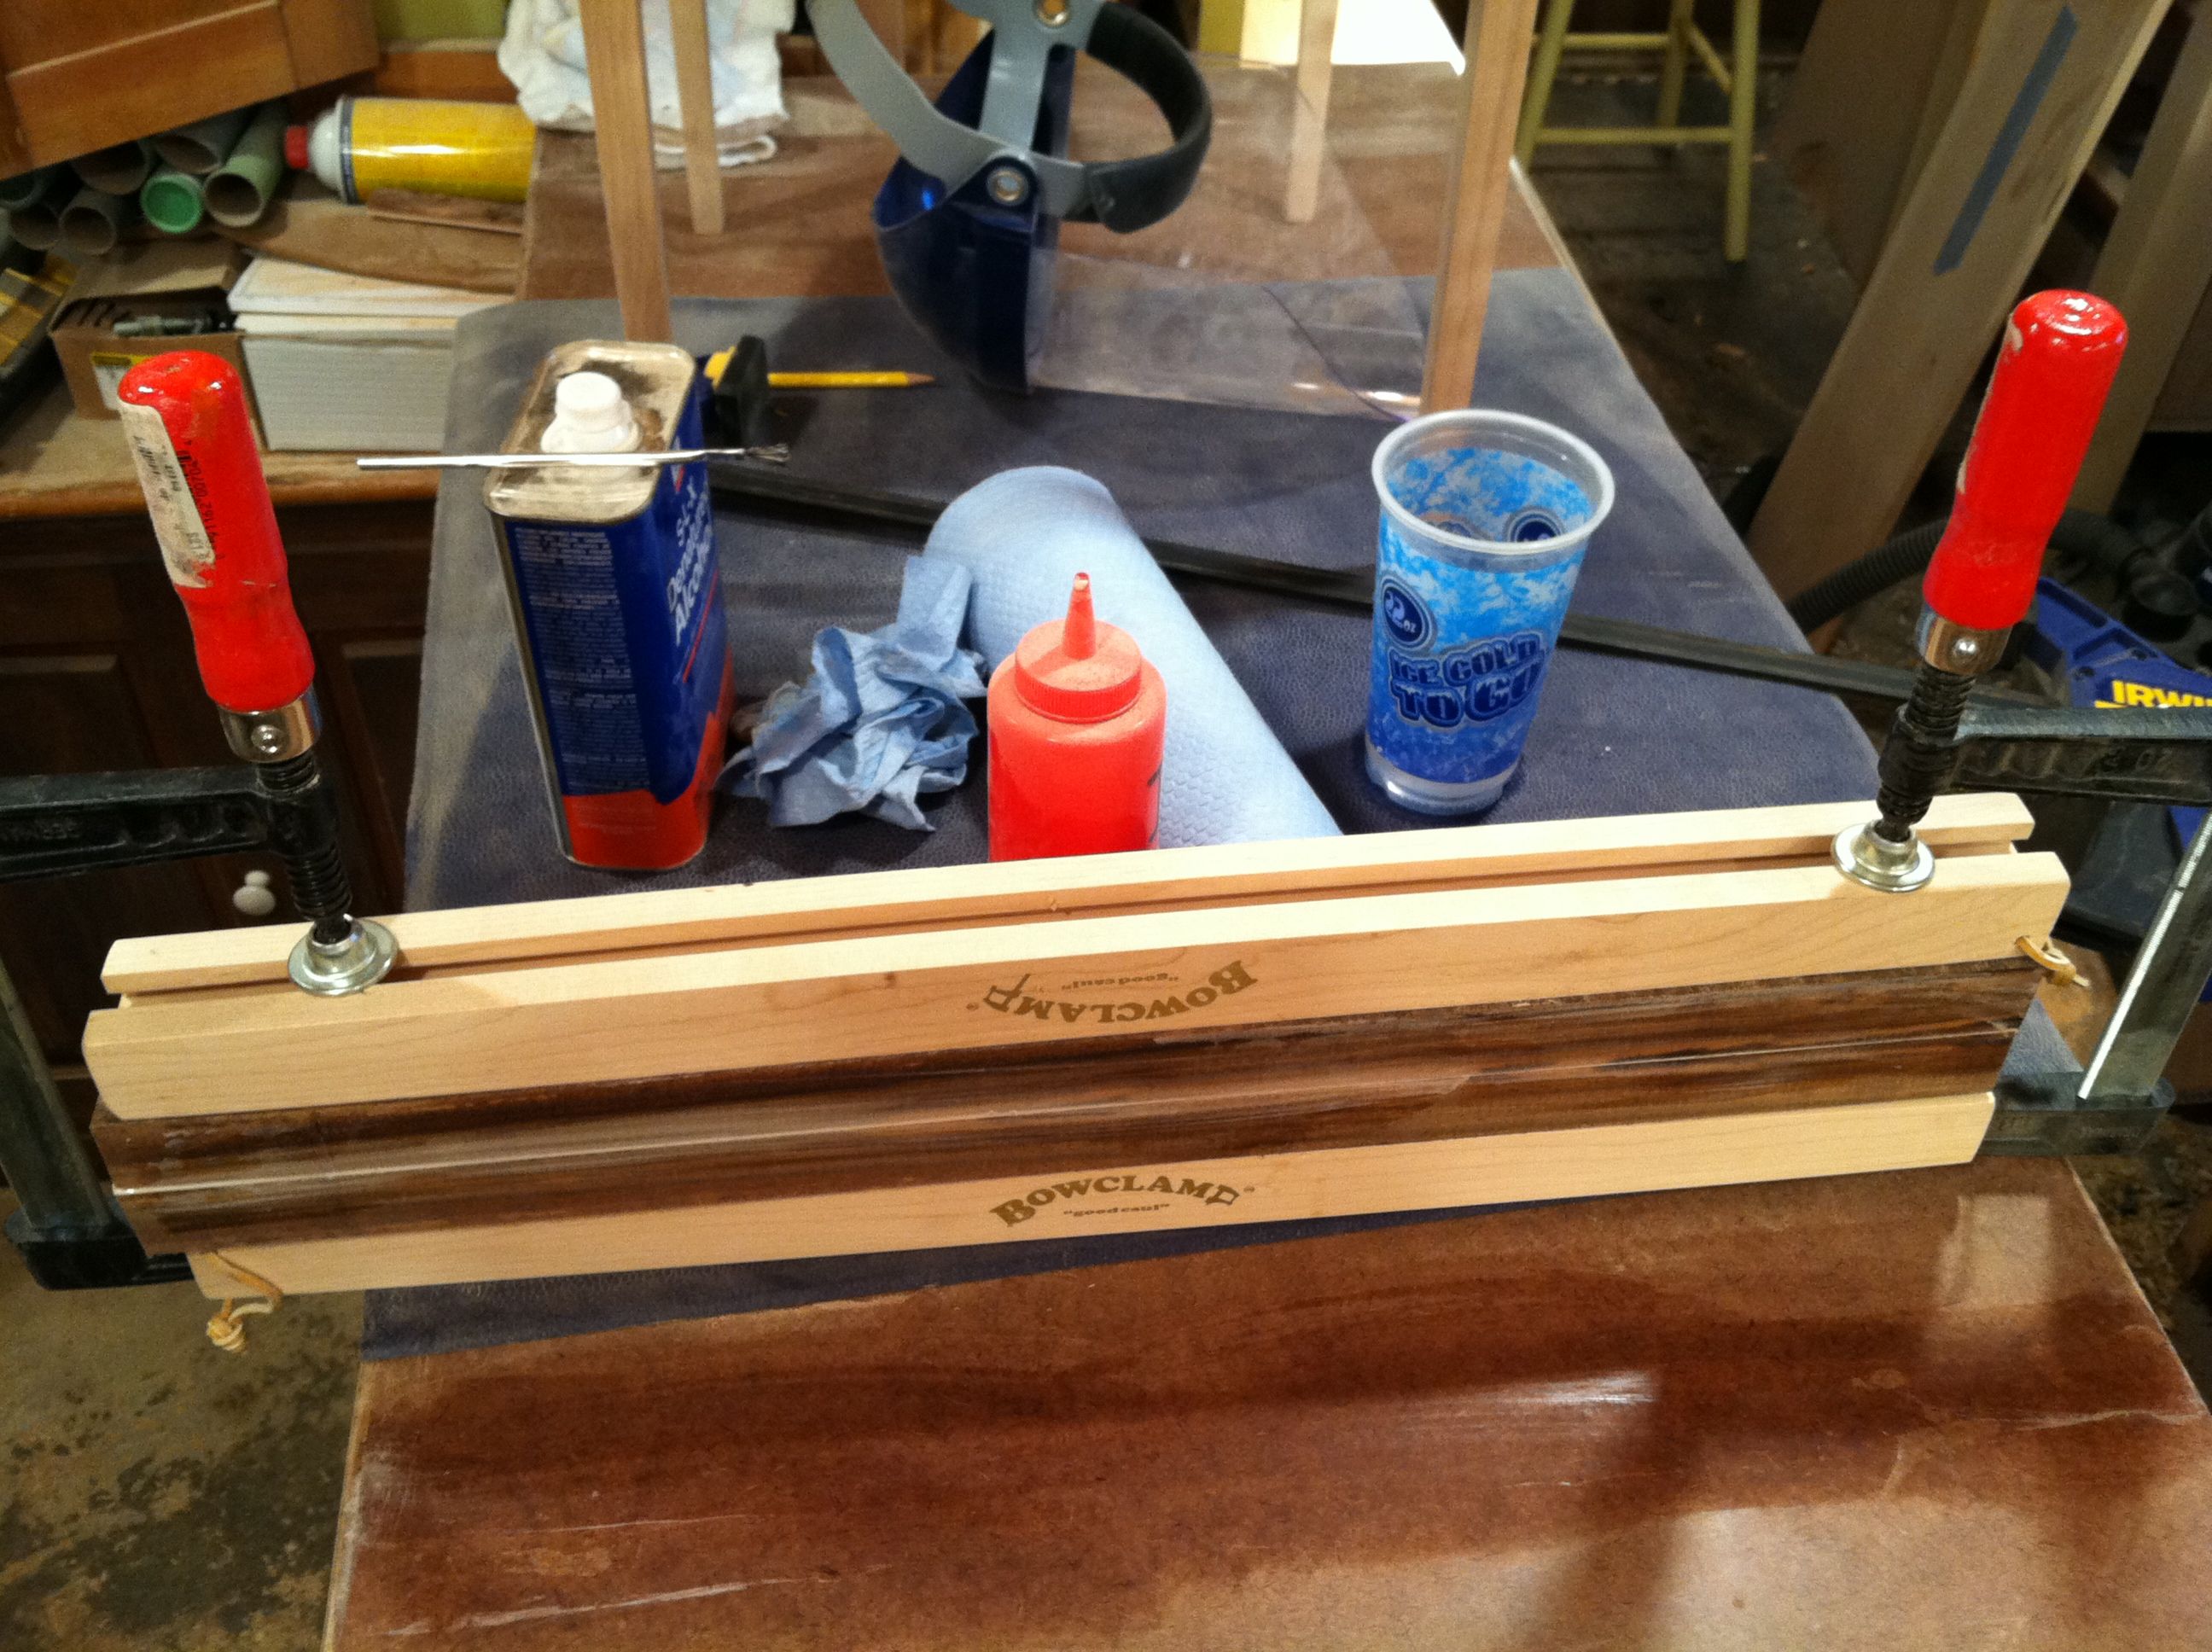
Next I headed to the band saw in order to cut the pegs cleanly in half. I don’t use these wooden clamps often enough, but sometimes they really come in handy!

and then there were eight…
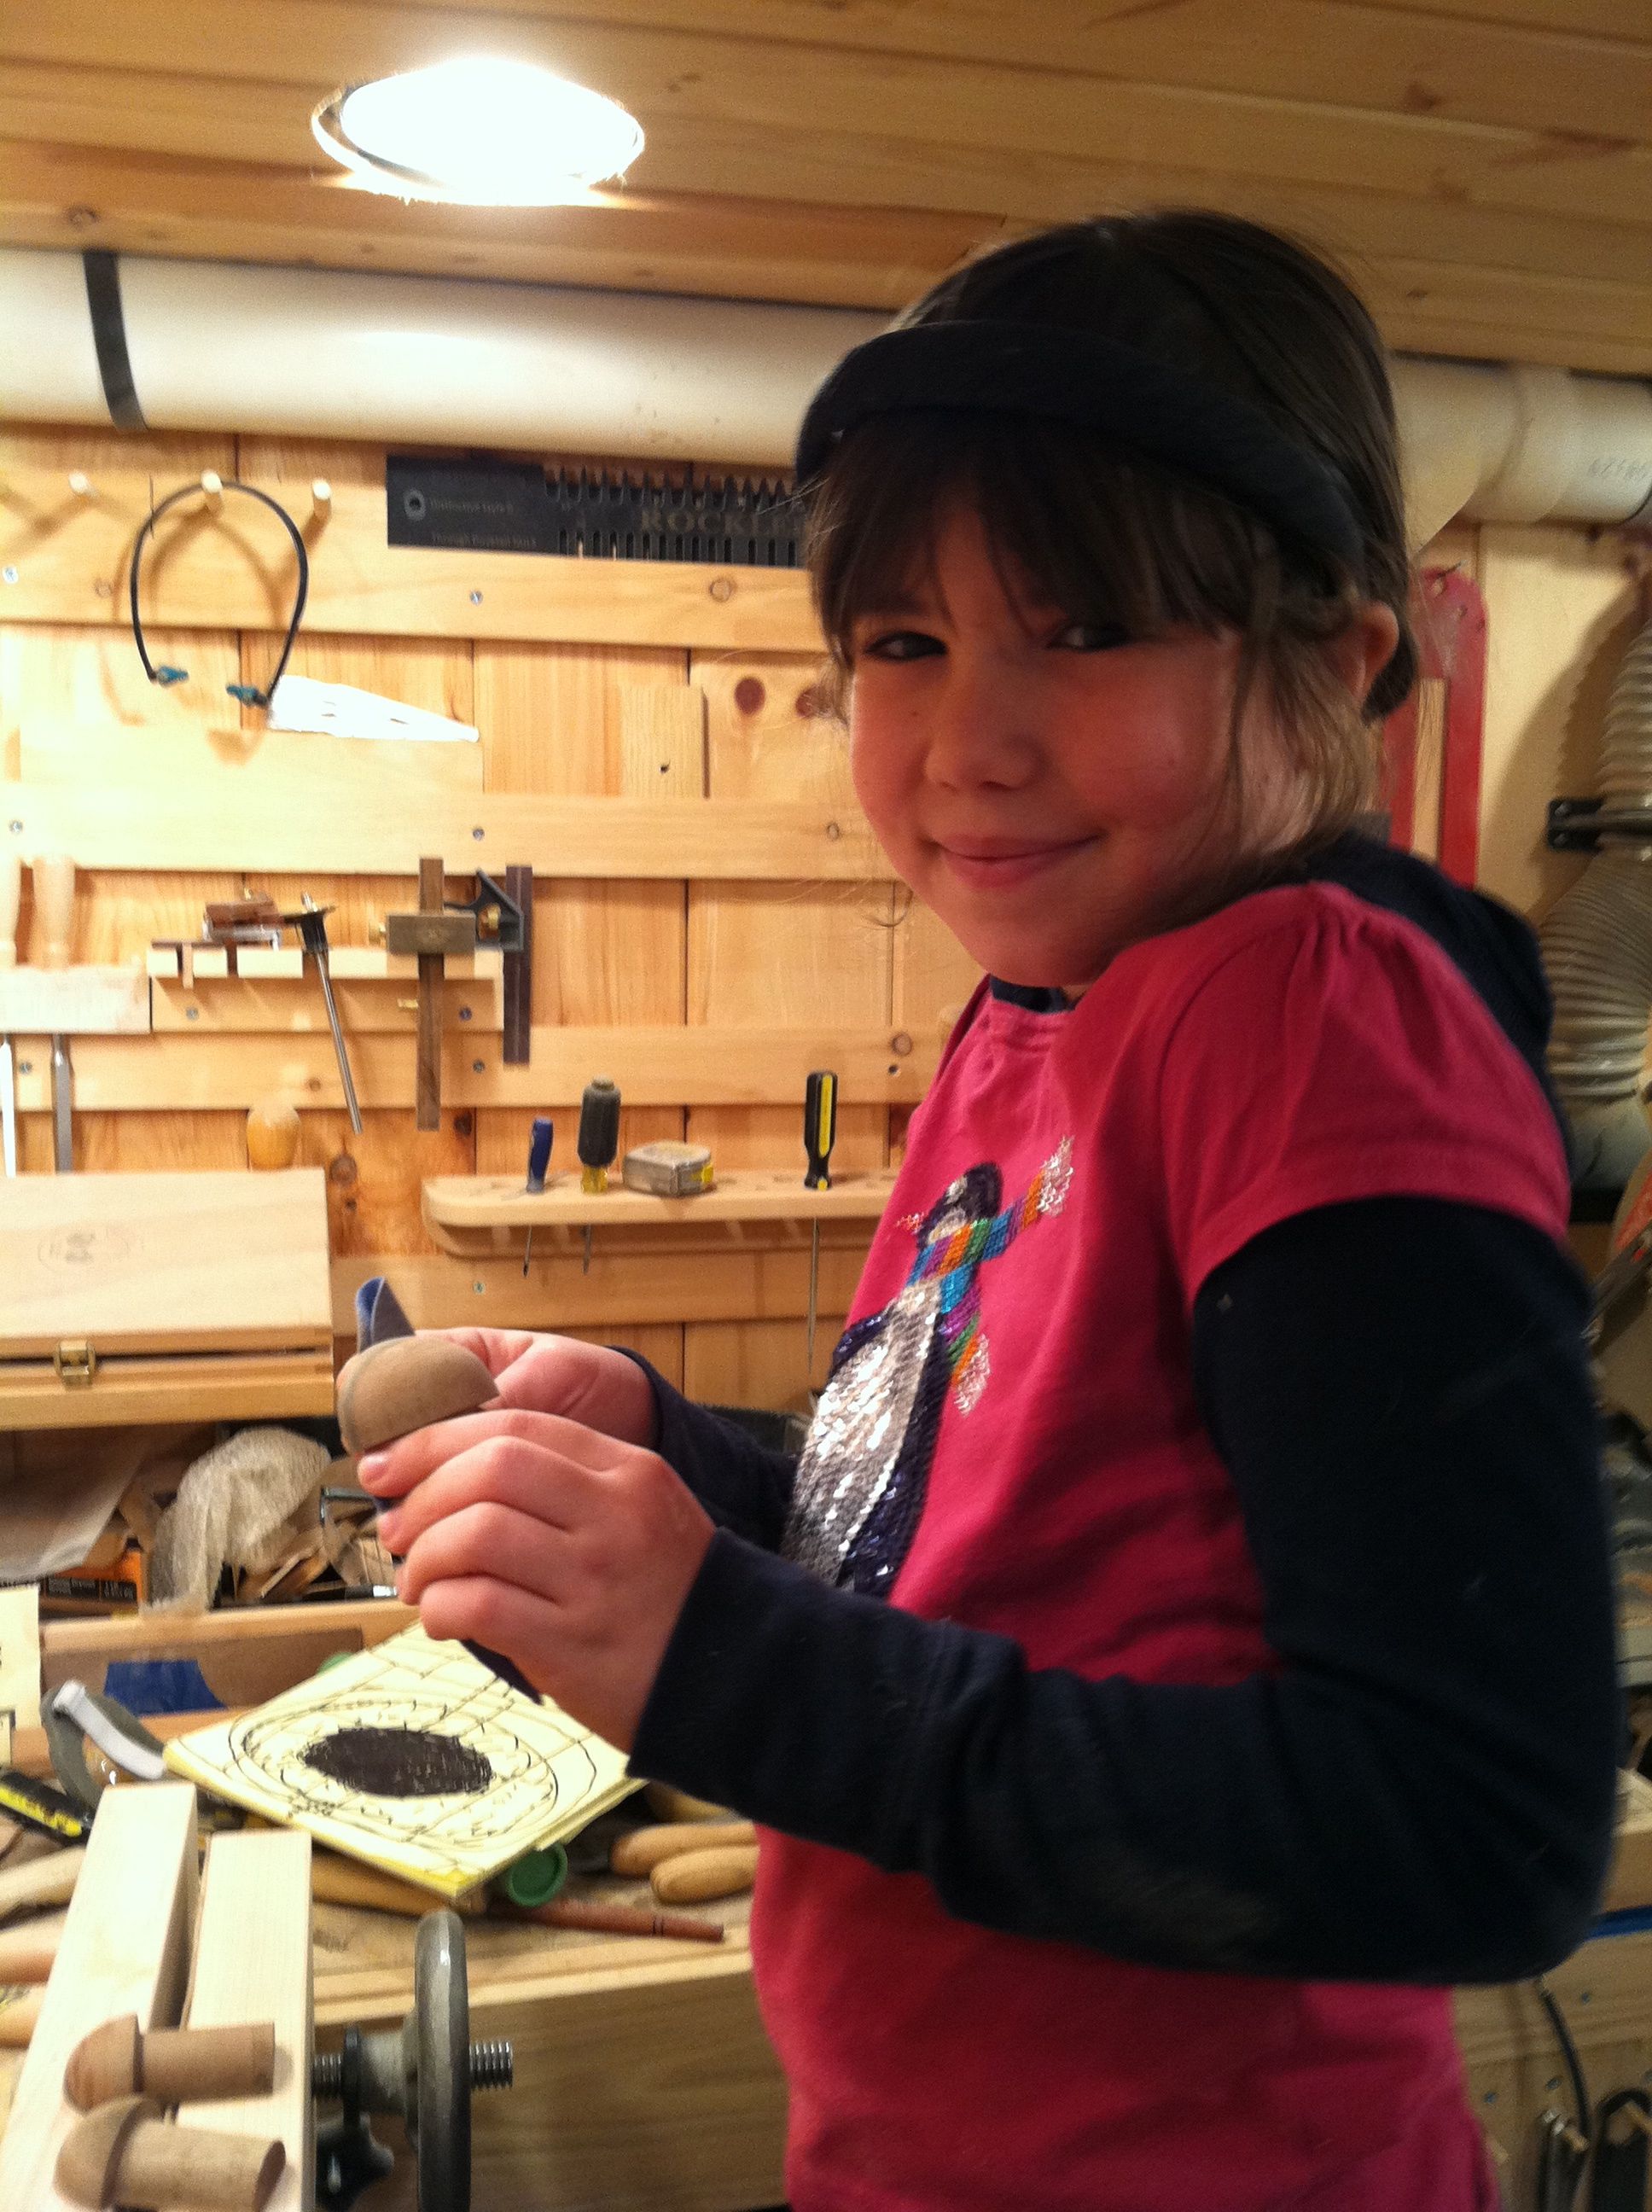
I had the cutest of shop assistants help me sand each of them down.
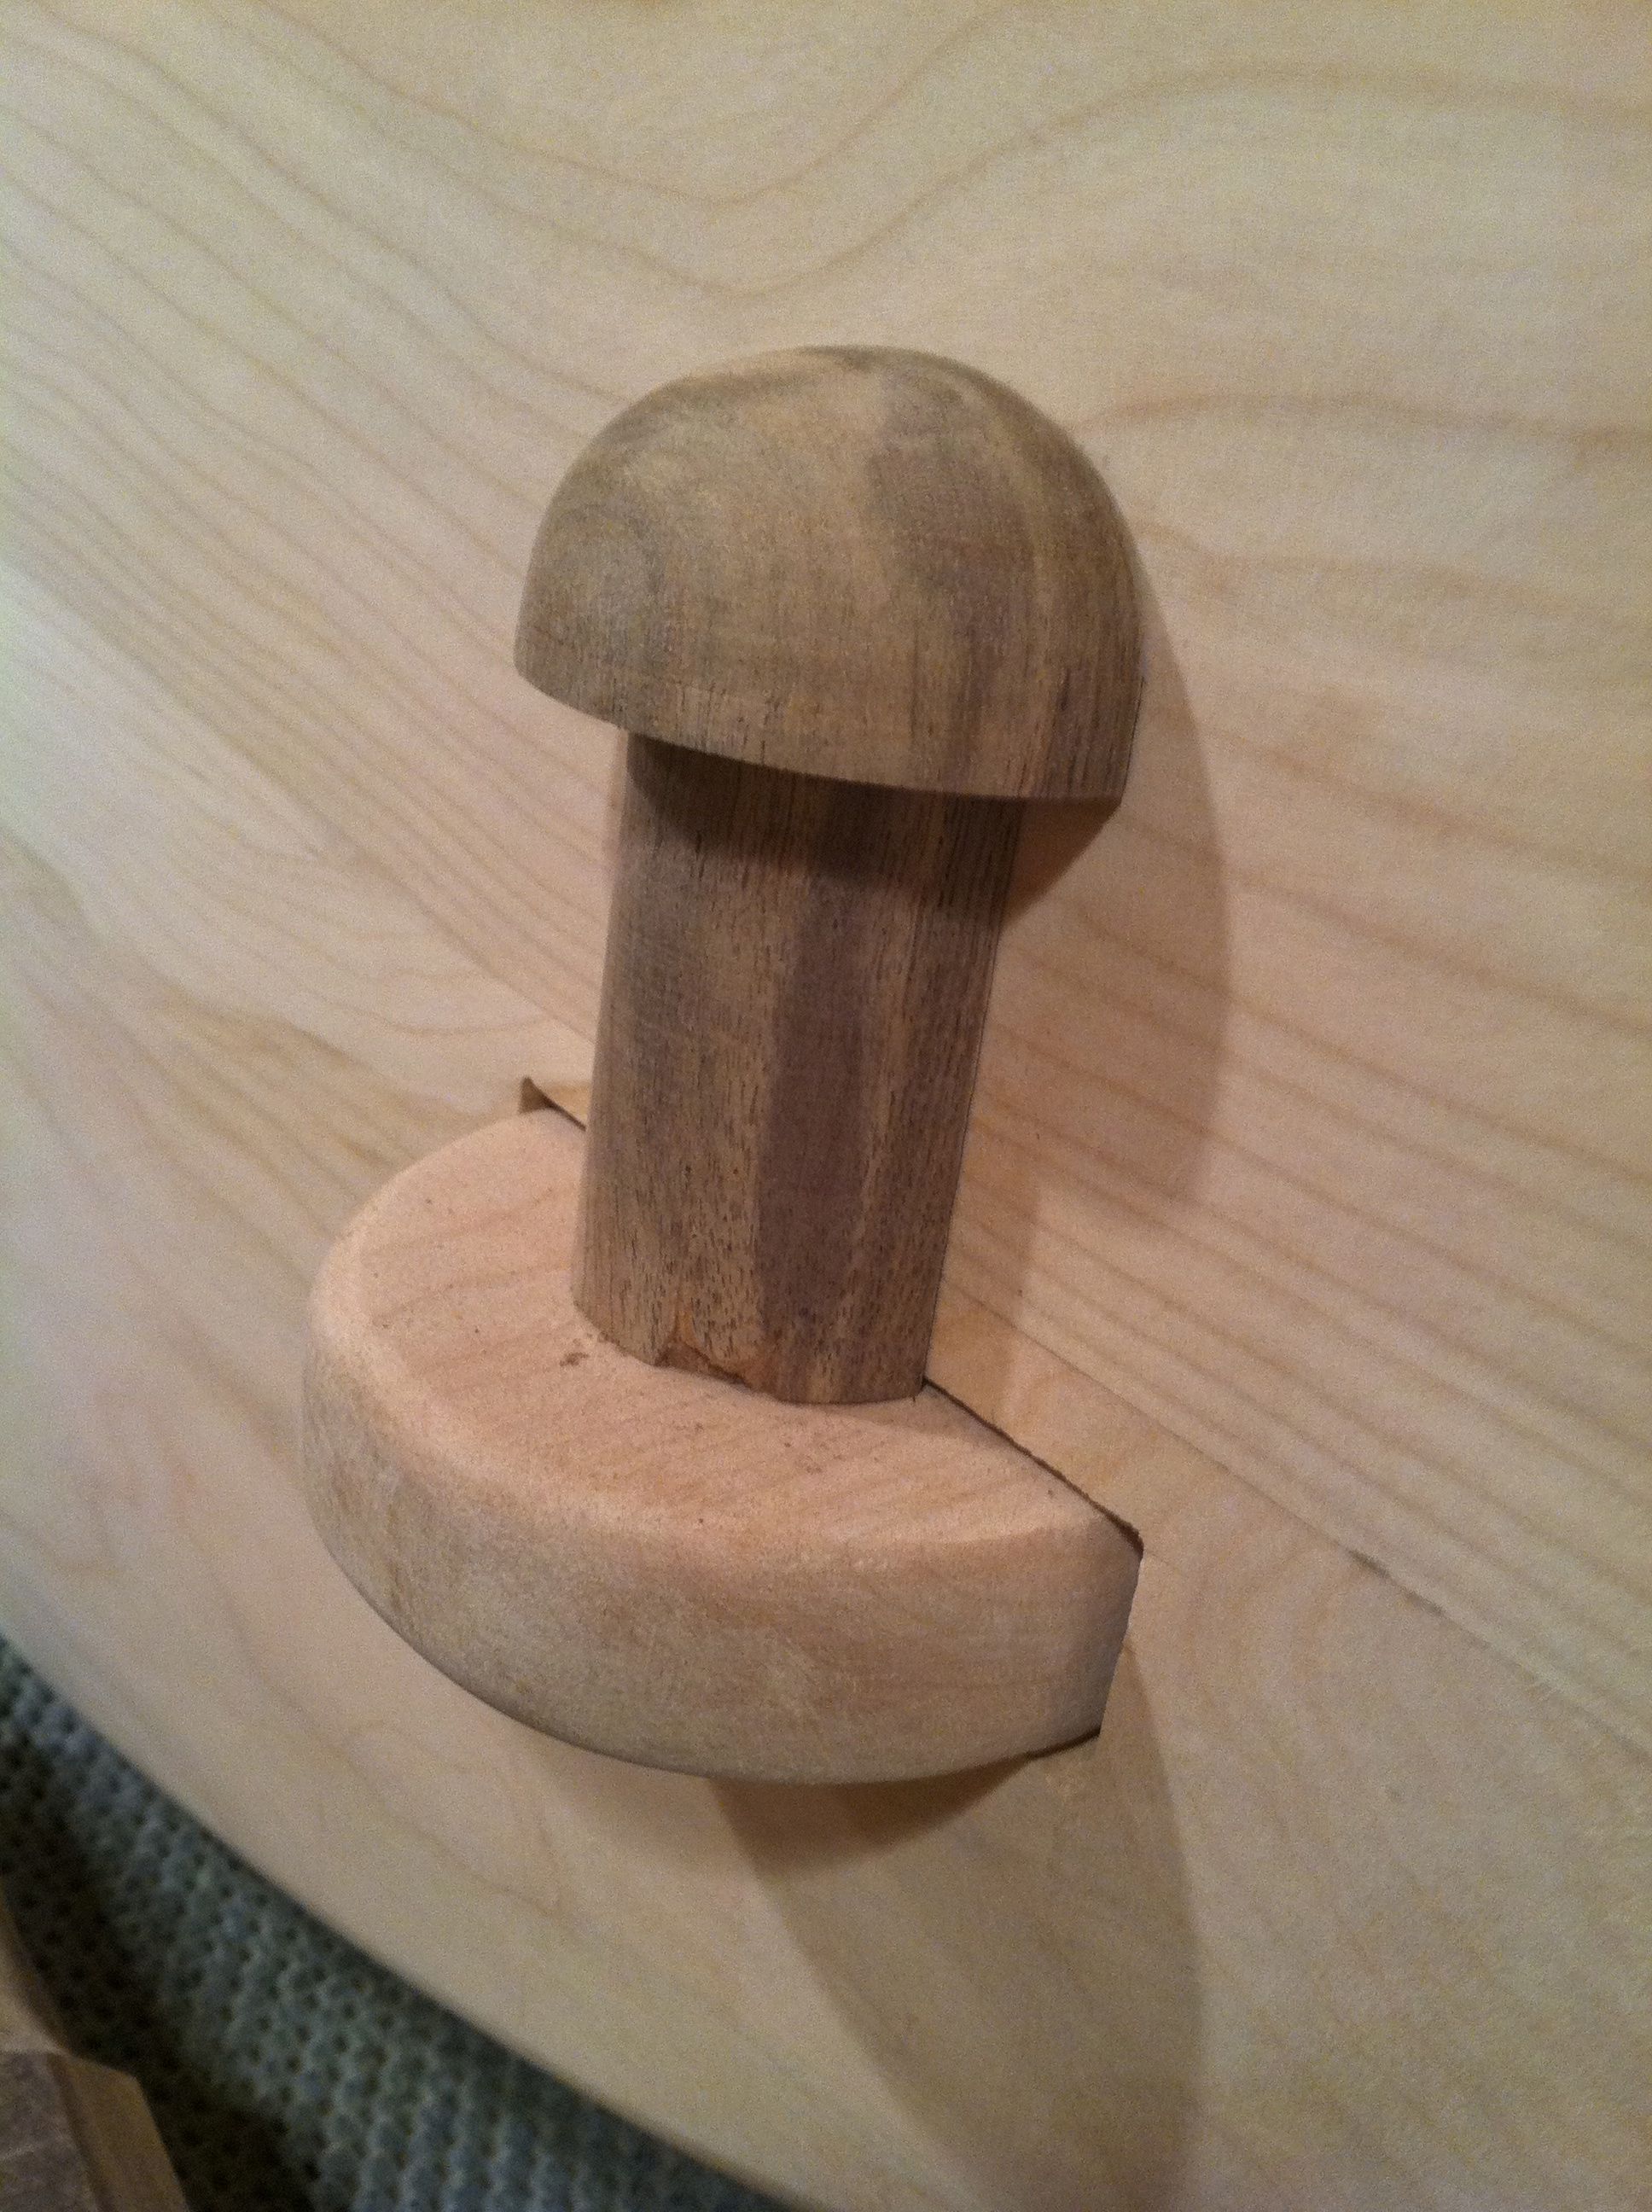
I laid each tenon out in order to trace out the mortise.


This made for a snug fit!
I must say this was really the 1st project that I had created using the lathe. I am no turner (yet), but can see how the lathe and what I can create with it will begin to be in integral part of my designs and woodworking experience.
Thanks for stopping by the shop.


