Incarnations of a Reoccurring Dream

As with all dreams I’ve had a lot of incarnations of my dream shop, and lots of ideas to mull over in my head.   What tools would I want to put in it? How would I use a Roubo type bench?  How much space do I really need?  With all this new space maybe I’ll take up blacksmithing as well!  I’ll need a welder!  Wow– I need more power!  Windows!  I want lots of natural light!  But most barns don’t have a lot of windows. Hmmm.  We don’t have a garage now, but we now we need a three car garage (in order to house the dream sports car and dream pickup truck)! Dust collection in the floor of course (thank you Vic).  So many things to consider.

This rarn seems about the right size and general shape

This barn seems about the right size and general shape.

I’ve spent hours over the years staring at spots in the yard- sighting and plotting out ideal locations for a barn.  I believe I’ve landed on the perfect spot:

Potential Barn Sight

Potential Barn Sight

So many things to dream about!  It can keep you up at night!  This one I can conceived one night in bed:

The Concept Shop!

The Concept Shop!

Before that I had a friend help me with some basic design ideas I had and figured that would get my juices flowing,  without my sketch-up skills slowing me down.  Here are some of the designs he helped me create:

Barn Frame 1

Barn Frame 1

Barn Frame 2

Barn Frame 2

Barn Frame 3

Barn Frame 3

These certainly gave me a model to play with and be able to consider space.  Probably the thing I gained the most from this exercise was to realize I don’t want or need a full second floor. The third garage door makes the building a littler grander than I would like. And while I like a modern spin on traditional design, I would most likely go with a more traditional design.

What do you think?  What version do you like?  Leave a comment below.

Advertisement

A Guy Can Dream Can’t He?

The weather in the northeast and much of the entire United States has been unreasonably cold over this winter.  I have several small electric heaters in my tiny basement shop, and finally found the motivation to finally rewire a 220 heater I had and now I can get it quite toasty in there.  But that was nearly all the work I got done in the shop the past few weeks, outside of a good cleaning and assembling some Christmas goodies.

So I decided to stay in by the wood stove, work on my sketch up skills and design my Dream Shop!

We have talked about building a barn on the property for almost as long as we’ve owned the house.  In fact, when we were looking for houses, we really were looking for barns that could be converted into a home (thank god we did not do that!).  We own 10 wooded acres, we’ve attempt mini-farming and a barn only seems natural.  Thankfully my wife has always been on board that this barn would also be my wood shop.

For as long as I can remember I’ve been obsessed with barns and timber frames.  Being from New England we’ve had our fair share of amazing barns dotting the countryside. There is something so incredible about these structures.  Although built primarily to house livestock, feed and farm tools these buildings have come to represent so much more than that.  When you stop and think about went into building a barn, entirely hand built by a community, with engineering skills past on from generation to generation.  Then think about the amount of trees that needed to be forested and moved, to the milling and joinery, to the actual raising.  Each and every structure is an amazing feat.  I could go on and on about barns…..in any case what better place to create a shop than within a timber frame barn?

I’ve gone over and over in my head what the best design for a barn/shop would be.  Our property is on a hill– so a bank barn certainly seemed to make the most sense.  I knew approximately the size shop I would want and that I wanted room for a 2-3 car garage, something we do not have right now. I also want to keep the size in scale with our house and the property.  This helped dictate many things and I started pulling together research of barns that would fit the bill.

Barn Research

Barn Research

I say all of this as if I only started thinking about this idea few weeks ago, but the truth is I’ve dreamed about this for years. I love my little shop, but it is incredibly ‘cozy’.  I’d love to be able to spread out and work on larger projects someday.

I drive by barns, sometimes stopping to snap some pics, and try to imagine how that would look on our property and if that would fit our needs.  I’ve sketched out tons of ideas, but it was not until recently that I studied a barn that I drive by constantly and is about a mile and a half from my house.

BarnUndermyNoseThis barn really seems to fit the bill!……….

I’d love to hear about your Dream Shop, leave a comment below.

Stay warm and stay tuned for more on my Dream Shop!

I have to admit, I have a serious vise.

Hello, My name is Chris, and I’m….

Hold up!  Not that kinda vice!!   A fantastic 115 year old Sheldon Vise.

After hearing the Schwarz talk about his Sheldon Vise at a Northeastern Woodworking Show a few years back I decided to start trolling the interweb for this Schwartz approved devise.  After all, if it was good enough for him, it might (just might) meet up to my standards.  I didn’t have a whole lot of luck at first, so I set up an alert on ebay.  Sure enough, my patience paid off and before long I was the proud owner of a rusty old piece of iron!                                                 Wahoo!

My rusty iron boat anchor.

My rusty iron boat anchor.

I am always interested in the history of the old tools I come across. After acquiring a tool such as this, I immediately hit the google machine to see what I can find, (especially when I have to wait for a delivery!).  In the case of the Sheldon vise I did not find a ton of information, I did, however, find a lot of people asking for “what kind of vise is this???”

In any case, what I did discover was that:

E.H. Sheldon, began his career as a woodworking teacher and was always looking for ways to improve the learning experience for his students. That passion led him to invent a rapid-acting vise, which was quickly followed by benches and eventually a line of laboratory furniture and furnishings for the school market.

1898 E. H. Sheldon builds and sells a rapid-acting woodworking vise he invented while teaching manual training in Louisville, KY.

1900 – 1910 Sheldon begins building benches to accompany his vises when manual training and domestic science are added to the curriculum of many schools.

Initial production is handled by a Chicago woodworking shop, but the high-quality product soon results in more orders than the supplier can produce. Sheldon sets up his own factory in a Chicago loft.

1911  The company is moved to Muskegon, Michigan in response to an offer of larger manufacturing facilities.1

US Patent 656,793 - Woodworkers Vise

US Patent 656,793 – Woodworkers Vise

I must say I was on the fence about how to approach old tools. There are two schools of thought on old tools:  collectors and users.  Part of me wanted to be a collector, to restore the tool meticulously to its original state, but the practical side of me looked at all the rusty old tools I have sitting around and determined that I was in the user category.  My decision was certainly influenced by Derek Olson’s restoration of his mitre box.  A perfect balance of “restoring for use”.  BTW, If you have not checked out Derek’s blog, you are missing out and should stop reading this and go over there!   I had read enough about restoring tools and figured this was a perfect opportunity to give some techniques a try.

I decided electrolysis was the way to go.

I got a plastic bin and wired up some rods in order to surround the vise.

I got a plastic bin and wired up some rods in order to surround the vise.

 Leave it to me, I had just thrown out an ancient, inherited battery charger I had never used.  So I acquired a new charger.

Leave it to me, I had just thrown out an ancient, inherited battery charger I had never used. So I acquired a new charger.

Add a little Arm & Hammer to the H2O...

Add a little Arm & Hammer to the H2O…

The positive is attached the rods and the negative attached to the tools.

The positive is attached the rods and the negative attached to the tools.

...and what do you know about that it actually works!!

…and what do you know about that it actually works!!

The results are pretty remarkable.

The results are pretty remarkable.

While I didn’t find a ton of information on the vise I did constantly refer back to a blog post by Megan Fitzpatrick about the installation of her Sheldon vise.  The base is angled and can be a bit tricky to install.  Thank you Megan!

vise 20

After reading Derek’s blog I did make the decision to give it a coat of black acrylic.

I added some suede to the inside of the face

I added some suede to the inside of the face

vise 21

Installed!

Grips great and can really hold a work piece.  Not bad for a 115 year old tool!

Thanks for stopping by the shop.

Source: 1 http://www.sheldonlabs.com/meetus/our-story/

My problem with Woodworking in America!!

That’s right!  You read correctly!

I attended Woodworking in America 2013 this past weekend.  This was my second WIA. It’s been a few years, but I have to say I thought perhaps things had changed since I last attended.  But no, same as before.

Allow me to explain.

I started Friday off by attending a class called Timber!  by Roy Underhill.  Roy had an 8’x 24″ log that he turned into a square beam right in front of our eyes.  While he did break a sweat, he was able to keep up his classic witty repartee.  Naturally he used nothing but hand tools: an axe, an adze, a froe and a mallet.  Who owns these tools??  Roy used his regular “camera tricks” to make it look easy and to make matters worse he make it look like sooo much fun!

Roy

Roy

Next attended Peter Follansbee‘s class on carving wooden spoons.    Boy, again  with a guy who can split a log with his froe and carve up a spectacular utensil in no time, all while telling amusing antidotes and make it look so easy that apparently even I could do it. Don’t be fooled though, Peter “cheats” and uses green wood.  Oh sure, green is easy, Peter! I’ve been struggling a lifetime with hard, dry wood, not to mention dull tools.  Oh, and if I had a hand made knife made from forged steel and made my own handles I bet I could make it look that easy too.

Peter

Peter

I needed a break and headed down to the marketplace.  They really needed to trim down the number of vendors!  Who has the time to spend with all these amazing toolmakers? Not to mention the amount of woodworkers roaming the floor? You can hardly move one booth without running into someone and spending thirty minutes in chatting about tools wood or just sharing a laugh.  Who has time for this?

I spent the end of the day at an online forum of bloggers, the people who keep me entertained with woodworking content throughout the year.  Sure it sounds great to put a face to a screen name or an avatar, but its entirely another thing to spend three nights swapping stories and sharing libations late into the night.

The gurus of the online woodworking community.

The gurus of the online woodworking community.

BeerSaturday morning I popped around to several classes, unable to make up which one I wanted to attend and then spent the afternoon with Chair Maker Peter Galbert in his class “A Windsor Chair, From Log to Living Room”.  I have to say, I feel a little sorry for Peter.  He spent the entire afternoon giving away all his secrets of how he builds his beautiful windsor chairs.  Step by step, he demonstrated how he uses his froe, splitting a log, shaping and steaming it into the arms, creating the seat and the spindles, even his tricks for alignment and assembly.  Another one who made the building process seem fun and attainable. Peter- pretty soon everybody will be building Windsor Chairs!!

Peter

Peter

So what’s my beef with Woodworking in America?  I left Sunday with a rush of enthusiasm that I could hand hewn enough logs to build a barn, carve a kitchen full of spoons and fill my house with Windsor chairs.  Of course, in order to do that I am going to need a lot of new tools!  Oye.

As if that weren’t enough I had intended to take a nap and catch up on episodes of Dexter on my plane ride home.  Instead I found myself reading “Home Building and Woodworking in Colonial America” cover to cover (I picked it up while chatting with Joel from Tools for Working Wood).

Now do you see my problem?

I guess my biggest problem with Woodworking in America is I need to wait a whole year for WIA14!

The "new" tools I picked up at a tag sale this morning for $12.

The “new” tools I picked up at a tag sale this morning for $12.

A penny saved is…..well, perhaps a finger saved!

I attended my first Woodworking in America back in 2010, and had an amazing experience.  I learned a ton in the classes, enjoyed strolling the marketplace and of course hanging out and bonding with so many fantastic woodworkers.

So the next year I was determined to go again. Although it would be tight, I had saved the money to go, but then a little thing called ‘work’ got in the way and I had to change my plans.  Luckily I had yet to sign up or make any travel arrangements.  Pretty bummed, I decided to take the money I had saved to go to the show and put it to good use.  I decided it was time to start saving for a new table saw.  I had my eye on a SawStop for some time but couldn’t see spending that much money on a tool for myself (instead of on my kids). Just about all of the large tool purchases I have made have been bought entirely though some other means:  thank you Amex points!  My Powermatic 14″ bandsaw, for instance, was literally bought from my coin bucket (something we have done for years!  We bought an antique bed years ago, with $600 worth of pennies.  It’s amazing how it adds up!). And so my SawStop savings began.

Jump ahead a year, and once again I was determined to attend WIA.  Work had been good to me and I was able to afford the trip.  I did not procrastinate and I booked the conference, the flight and a hotel several months in advance.  But the weather had other plans, Hurricane Sandy came barreling into NY that week, wreaked unbelievable havoc and my flight was therefore cancelled.  Our family was safe, and WIA was the least of my worries.  I was grateful to the folks at WIA for their understanding and reimbursing my funds (which went straight into the saw bank).

The Saw Bank!

The Saw Bank!          (The cheap saw in front was to cut the top off.)

The kids and I broke it open shortly after that to see how sweet our pot actually was and to see where we stood.  Kids love counting money, BTW!  I have to admit, I didn’t drop just my coins in the bucket.  There were plenty of days where bills were shoved in, days where I didn’t eat lunch or I had some per diem left from a business trip or I would just wanted to feed the beast!

Teaching my kids some math!

Teaching my kids some math!

So, it  added up, but I had my eye on a 3hp Contractor saw and the pot was not deep enough yet.

Nearly a year passed and the kids and I cracked open the “safe” once again.  I had been even more diligent about stashing money away and it paid off.  This time I had not only enough for the SawStop, but the accessories I wanted.  Wahoo!

So it took a few weeks before I was ready to order it.  I wanted to give the shop a really good cleaning and rethink some things.  This saw was going to take up a much bigger footprint in my tiny shop.  I also needed to add a 220v outlet, and I’ve been in the middle of several other big projects around the house.

Goodbye old friend!  You were quite good to me as I grew as a woodwoodworker.  the good news is your are going to a good home, with some good friends.

Good-bye old friend!  You were quite good to me as I grew as a woodworker. The good news is your are going to a good home, with some good friends.

Wow! My tiny shop looked huge without a table saw in it.  I did have a minute where i thought, maybe a nice Roubo instead...

Wow! My tiny shop looked huge without a table saw in it. I did have a minute where I thought, “maybe a nice Roubo instead…”

Finally I bit the bullet and ordered the saw I had saved up for for so long.  It took just over a week to come into my local Woodcraft over in Springfield MA.

I took the day off and went an picked it up.

I took the day off and went an picked it up.

The only time I ever threw my back out was the day I tried to put my old saw together by myself.  Not again.  This time I had the assistance of my friend David, in return --he got the old saw.  A great deal for both of us!

The only time I ever threw my back out was the day I tried to put my old saw together by myself. Not again. This time I had the assistance of my friend David,  in return –he got the old saw. A great deal for both of us!


So last weekend I finished assembling the Sawstop after saving my pennies for two years.


And next weekend I will be attending Woodworking in America after waiting for two years!


I can’t wait to take classes, stroll the floor and of course hang out and bond with some great woodworking friends.

Thar' She is!!

Thar’ She is!!

Thanks for stopping by the shop.

Cradle Pegs

When I was designing the cradle I went back and forth about what I would use for the though tenons.  I really like the look of through tenons and found quite a few options I responded to, but they were all linear spikes that didn’t feel right with the curves of the cradle.  I decided I needed to come up with a curved, or rounded tenon.  I also wanted to create one that would be easy to take in or out when the time came.

Sketchup was certainly my friend on this project:

Sketchup

My Sketchup helped me realize the head needed to be curved.  My sketchup skills however were not going to allow that!

Once I was happy with the design I needed to approach the one tool in my shop that I had yet to even come close to perfected–the lathe!

I started by glueing up two pieces of walnut.

I started by glueing up two pieces of walnut.

Cradle peg02

Next I headed to the nearly unused lathe to start to rough my stock

Next I headed to the nearly unused lathe to start to rough my stock

Based on the lines I roughed in--the pegs actually began to take shape.

Based on the lines I roughed in–the pegs actually began to take shape.

Cradle peg05

As I got closer, I cut the pieces down in order to create a smooth curved top for each.

As I got closer, I cut the pieces down in order to create a smooth curved top for each.

Dance of the Wooden Soldiers

Dance of the Wooden Soldiers

Next I headed to the band saw in order to cut the pegs  cleanly in half.  I don't use these wooden clamps often  enough, but sometimes they really come in handy!

Next I headed to the band saw in order to cut the pegs cleanly in half. I don’t use these wooden clamps often enough, but sometimes they really come in handy!

and then there were eight...

and then there were eight…

I had the cutest of shop assistants help me sand each of them down.

I had the cutest of shop assistants help me sand each of them down.

I laid each tenon out in order to trace out the mortise.

I laid each tenon out in order to trace out the mortise.

Cradle peg13

This made for a snug fit!

This made for a snug fit!

I must say this was really the 1st project that I had created using the lathe.  I am no turner (yet), but can see how the lathe and what I can create with it will begin to be in integral part of my designs and woodworking experience.

Thanks for stopping by the shop.

It’s Bed Time!

I recently finished up two loft beds for my son and daughter and I realized that before I blogged about that I needed to actually post the final results of the Twin Cradle.  I know, I know.  I’m a terrible blogger.  But then again, on the internet time kinda stands still.   I could blog about about anything and pretend it’s current.  Half the time I go back and catch up on ancient blog posts filling my reader.  Well enough procrastinating… Here in one post is the end of the Cradle Series.

 Twin Cradle; Part 4  The Wrap up

Well the twins are off to college by now…well not really, but they have certainly outgrown this cradle.

You might remember that one of my goals as to build this sans hardware.  I wanted it to be a piece of furniture that could be quickly assembled and then knocked down for easy storage.  It needed to be a beautiful piece of “temporary” furniture.  I’ll let you be the judge.

Cradle01

The finished product

Cradle02

My wife provided a luxurious pad for them to sleep on.

Cradle03

I was very happy with the grain selection in this beautiful piece of cherry.

Cradle04

A side view showing the curves and the divider

Cradle06

This little piece I designed to hold the divider in place.

Cradle05

…said divider in place.

Cradle07

The divider can easily be removed, allowing the twins to sleep together.

Cradle08

I designed & built foot rests on each side, so the cradle could be easily rocked with your feet.

Cradle12

The peg and though mortise

Cradle15

Introducing Alex and James!

Cradle20

Me and the best clients a guy could ask for!

Cradle09 Cradle10 Cradle11 Cradle13 Cradle14 Cradle16 Cradle17 Cradle18 Cradle19

So that wraps my cradle series.  I’ll post one more related post on how I built the pegs, so look for that.  Then I’ll catch up and share the loft beds.  I’ve also been building a chicken coop!

Thanks for stopping by the shop, it’s great to get back to blogging.

Japanese Woodworking Tools For The Western Workshop w/ Wilbur Pan

If you are in the NYC area please join us tomorrow night for the

NYC Woodworkers Guild April Meeting:

Japanese Woodworking Tools For The Western Workshop

Guest Speaker:  Wilbur Pan

Japanese tools are useful to have for woodworking, but knowledge on how to use them has often been cloaked in terms of mysticism and exoticness. This talk will provide an overview of Japanese saws, chisels, and planes in plain English: how they work, how they are made, and how they can be used for any woodworking project, Asian or otherwise. Check your Zen at the door.

Monday April 22nd 7-9pm

Makeville Studios  119 8th St Brooklyn, NY 11215

All are welcome!!  Hope to see you there!

———————————————————————————————–

Wilbur Pan is a woodworker from New Jersey, and has been interested in Japanese tools ever since discovering the joys of hand tool woodworking. He has published articles on Japanese tools in Popular Woodworking Magazine, and is responsible for giant Cypress (http://giantcypress.net), the best Japanese woodworking tool blog in existence.

12 Lighthearted Questions for Tom Hintz of Newwoodworker.com

All of us have been there.  As we start building our arsenal of tools we hit the internet and search for tool reviews.  There are more tool reviews than there are tools!  We all want someone to give us the inside track before we make a substantial investment.  Thank goodness for Tom Hintz’s site newwoodworker.com!  His straight forward and honest reviews are delivered with an extremely dry wit that has no BS about it.  Tom recently came forward about his fight with Alzheimer’s with the same direct, honest approach.  The timing seemed perfect for me to thank Tom for his huge contribution to the woodworking community and naturally to ask him some lighthearted questions….

1-When did you become a new woodworker?

Around 40 years ago I needed a workbench and decided to build it myself to get the size needed. I then made my first true woodworking tool run and bought a cheap circular saw, a hammer and a bunch of nails. I built that bench out of 2 X 4’s, most cut crooked and none to the exact length I meant to but I got it together and then found enough scraps to stuff under the shortest leg to get rid of the major wobble I had built in. The bench sucked but I was intrigued with making things out of wood.

2- Do you buy all the tools you review?

I buy way too many of them but I do get samples from some manufacturers. If you look at the hundreds of tool reviews I have done over the years it is obvious that if I would have had enough money to buy all of them I probably wouldn’t and instead would go live like a minor king on a tropical island somewhere. It is that cost in doing NewWoodworker.com that is slowing the pace of reviews today. With my Alzheimer’s I just need to commit more of my money to medical expenses. Maybe I should have the seemingly endless fund drives I see other sites get away with!

3-What video has gotten the most hits?

The MLCS 6-Piece Pro Cabinetmakers Bit Set Review, now with a bit over half a million views is #1. Some of that is a function of the subject being router bits but a lot of it was MLCS making use of their world-class mailing list! I like to think the traffic was due to my being cute but I think we can all agree their mailing list and my site traffic are way more plausible.

4-Where in the garage do you hide 13 years of tools you’ve reviewed?

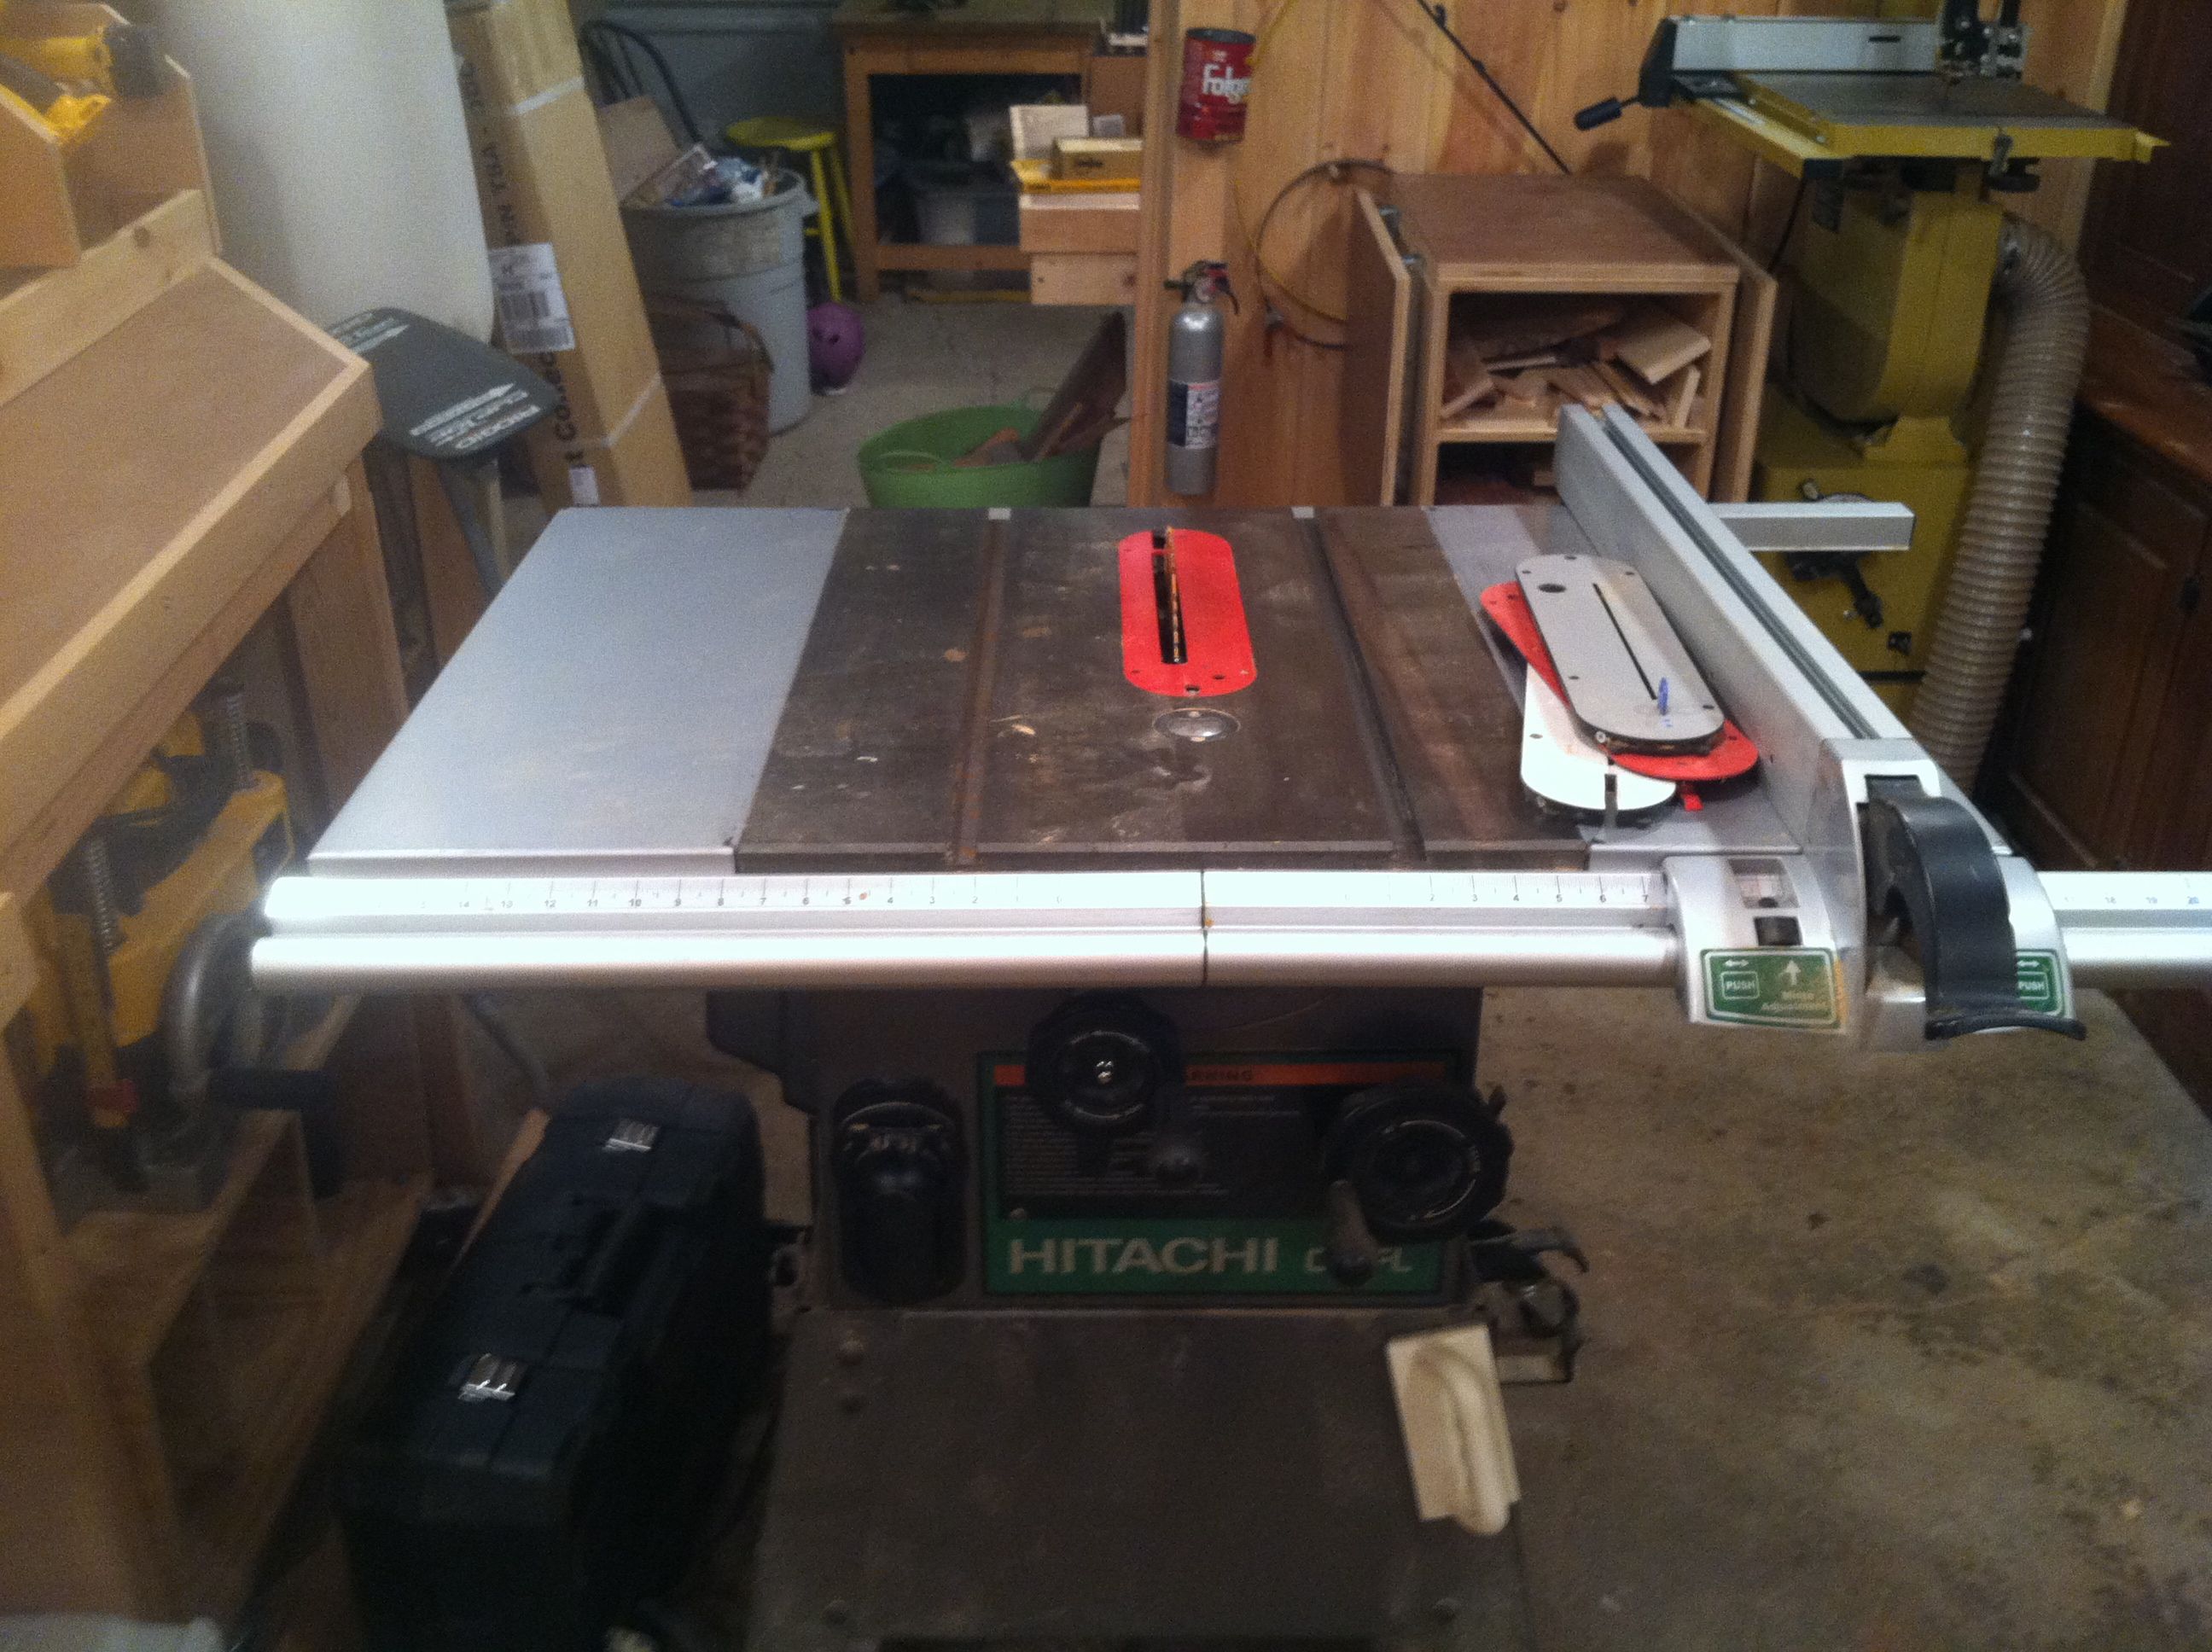
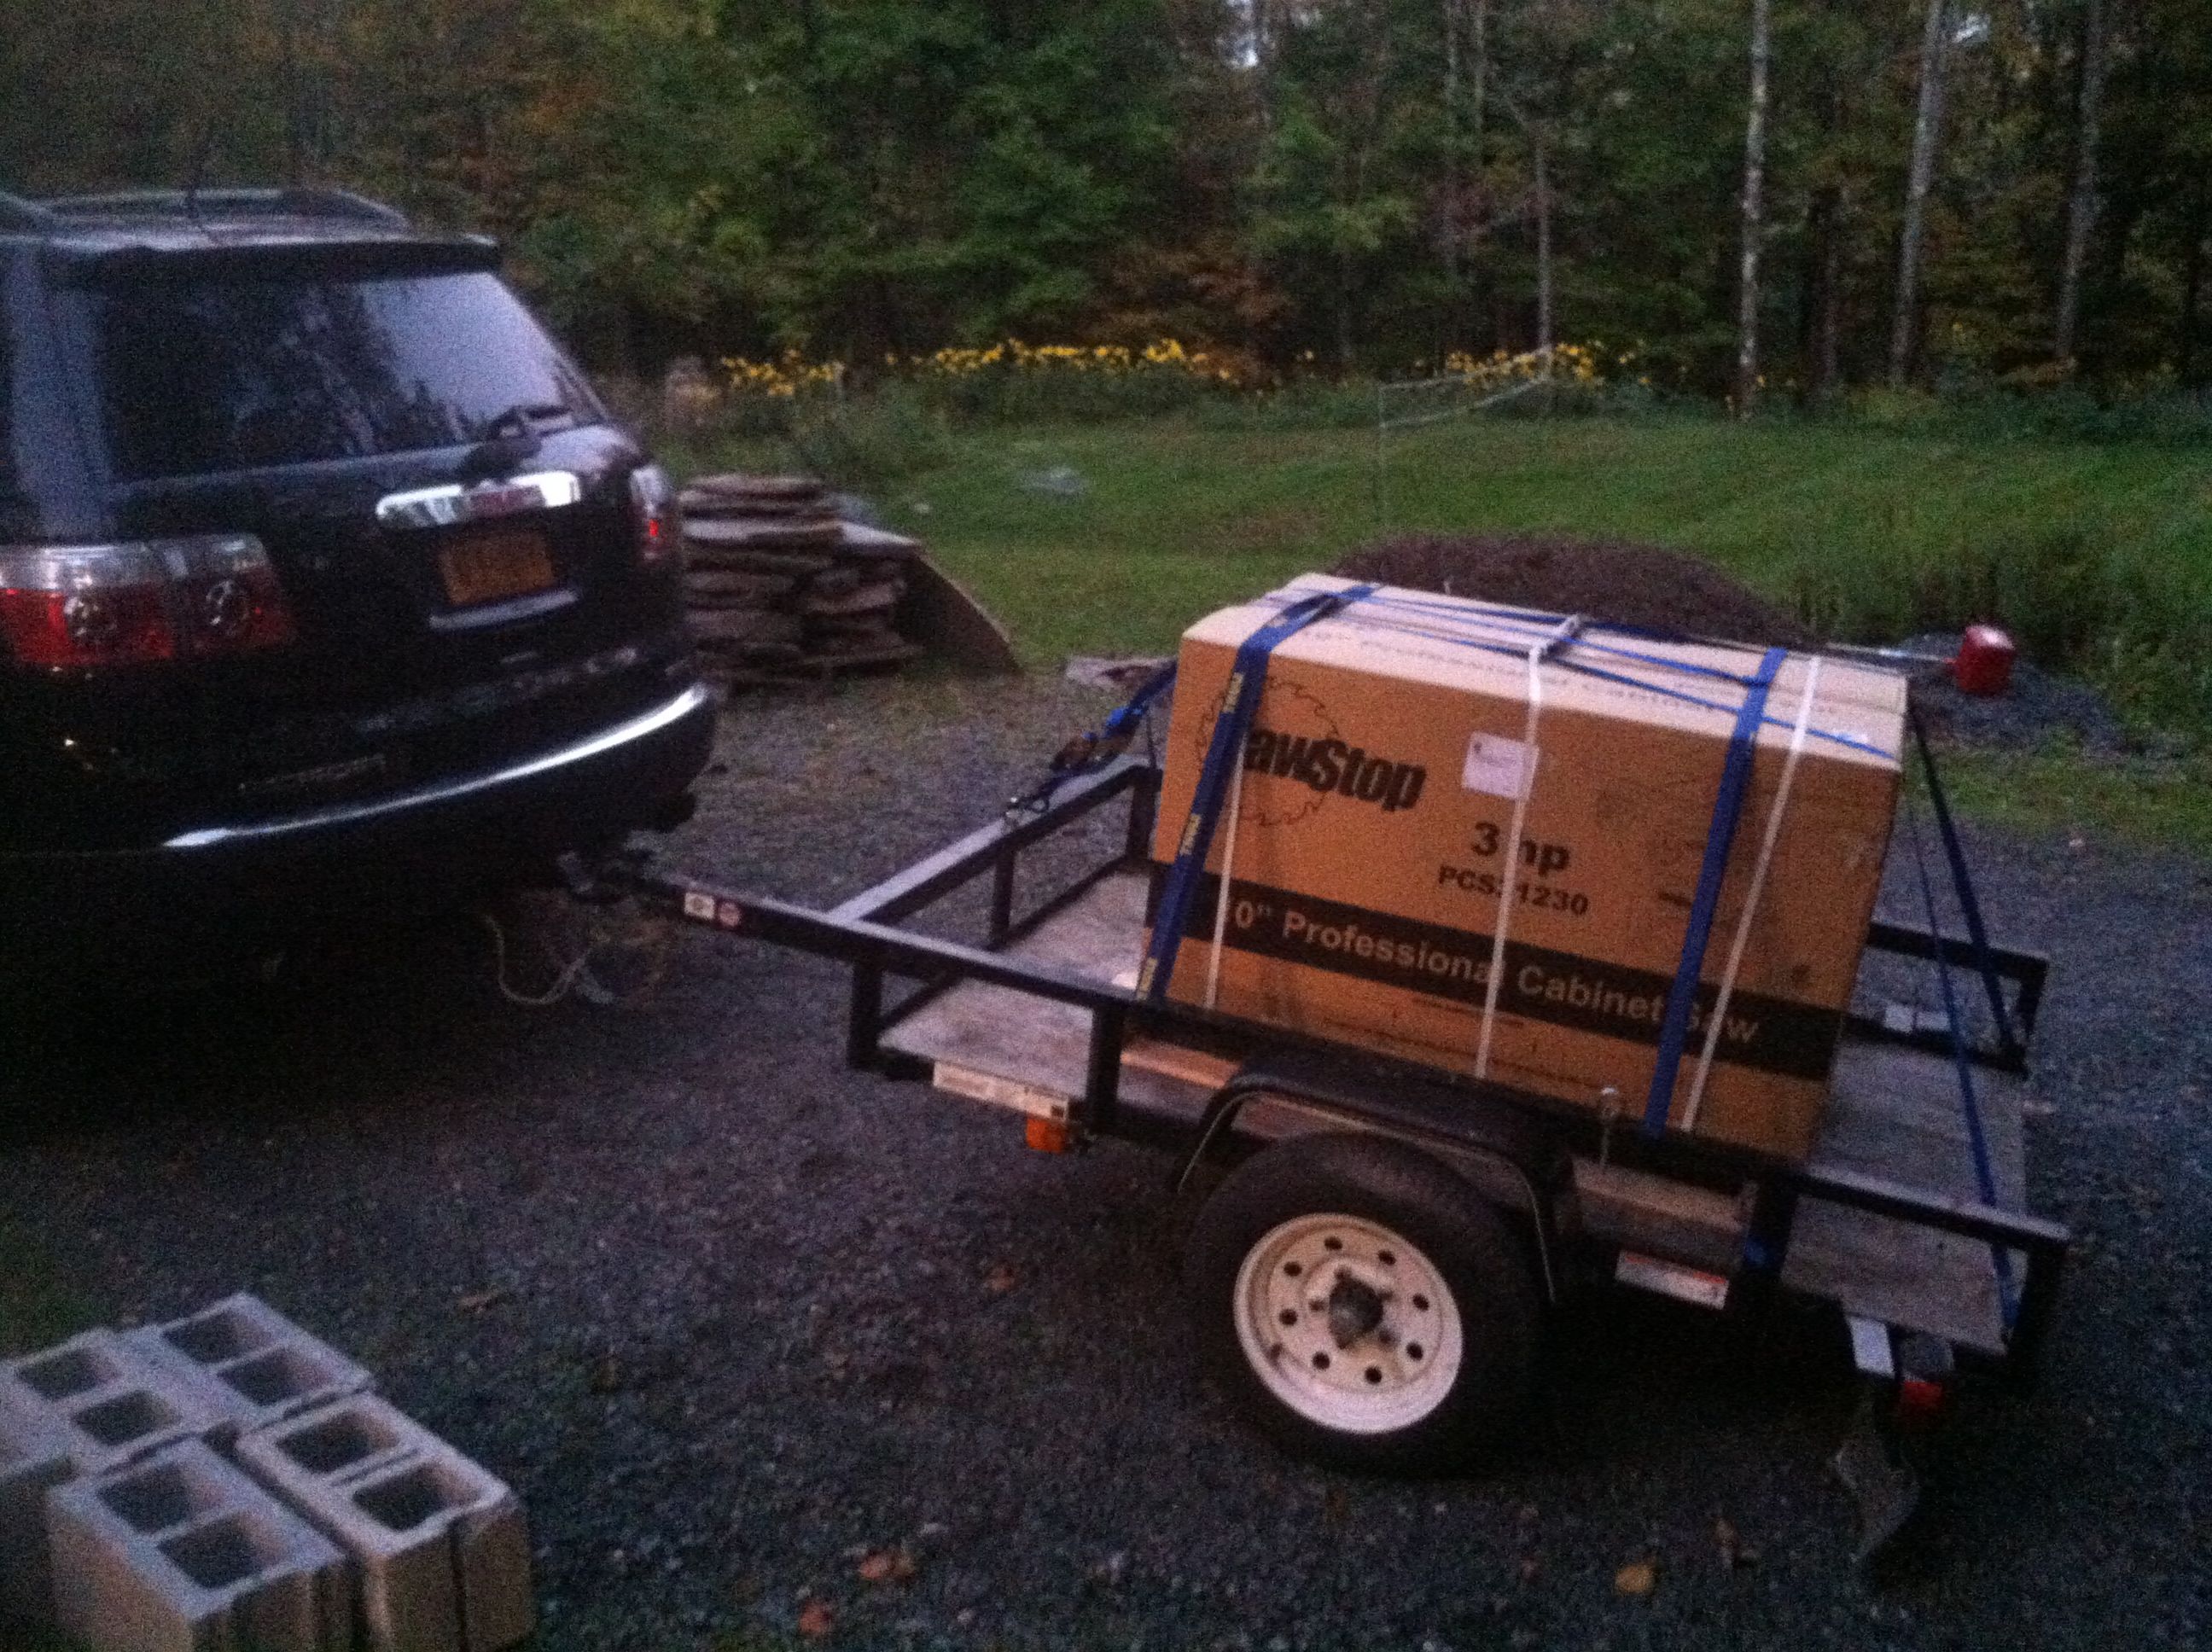
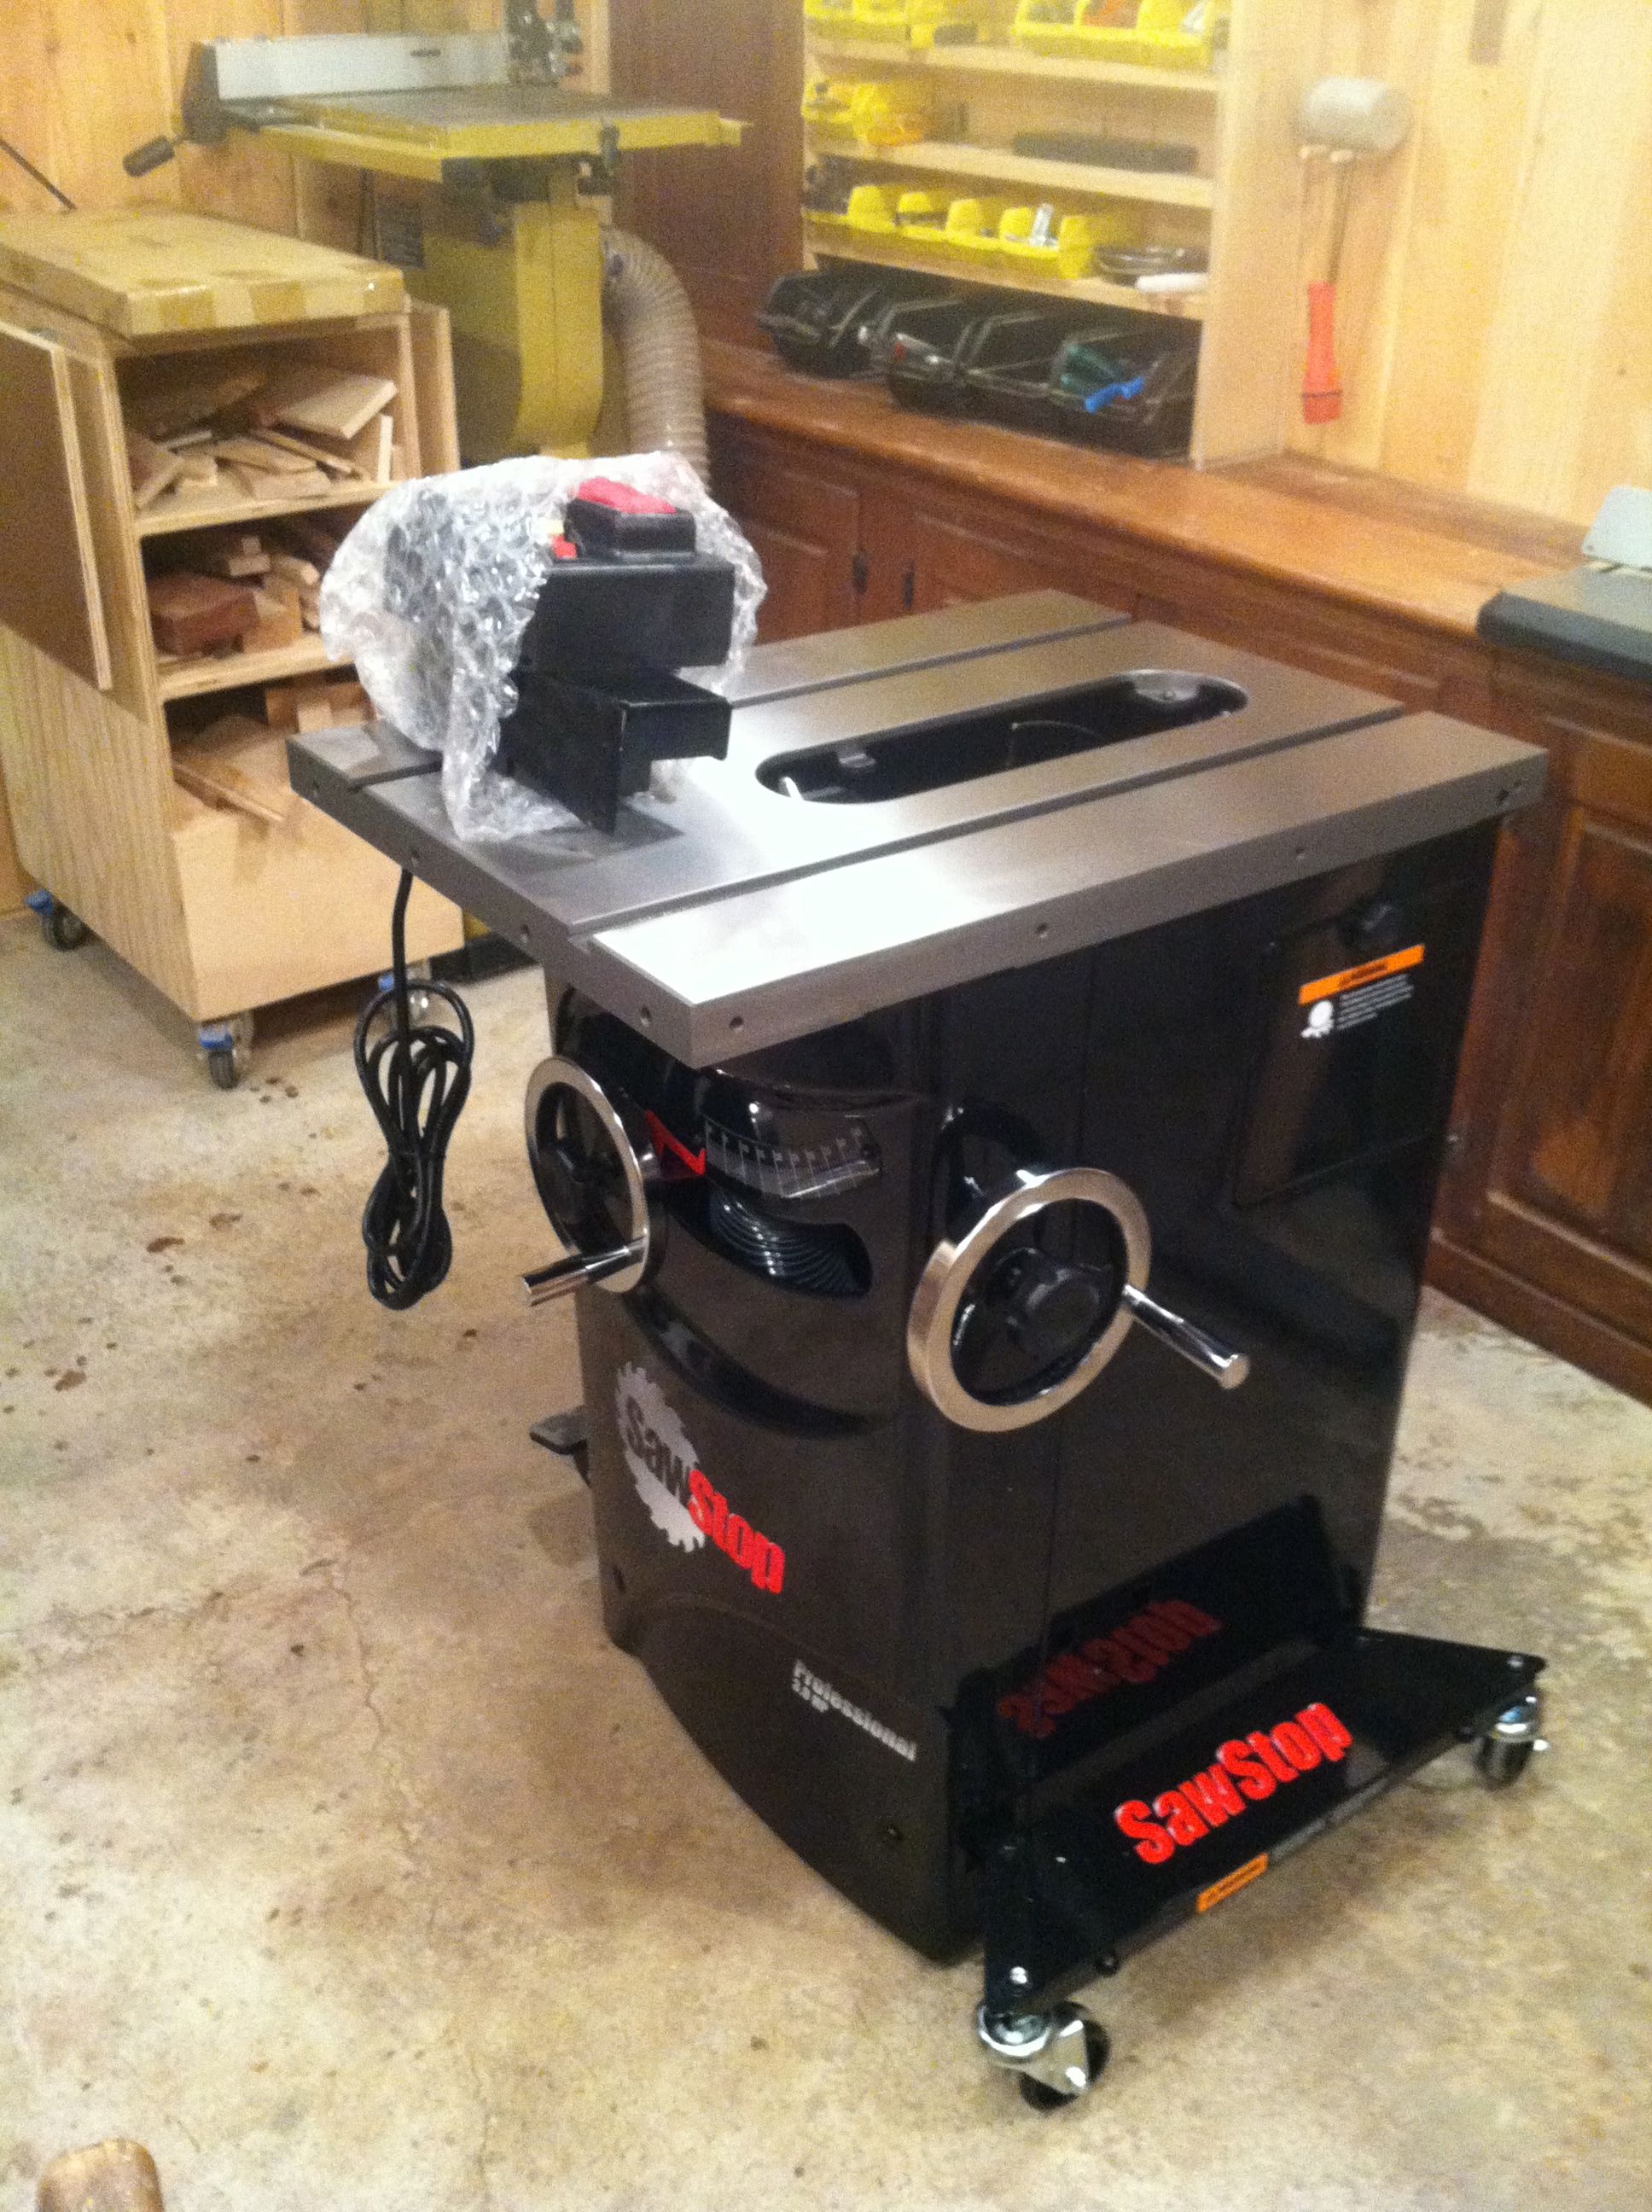
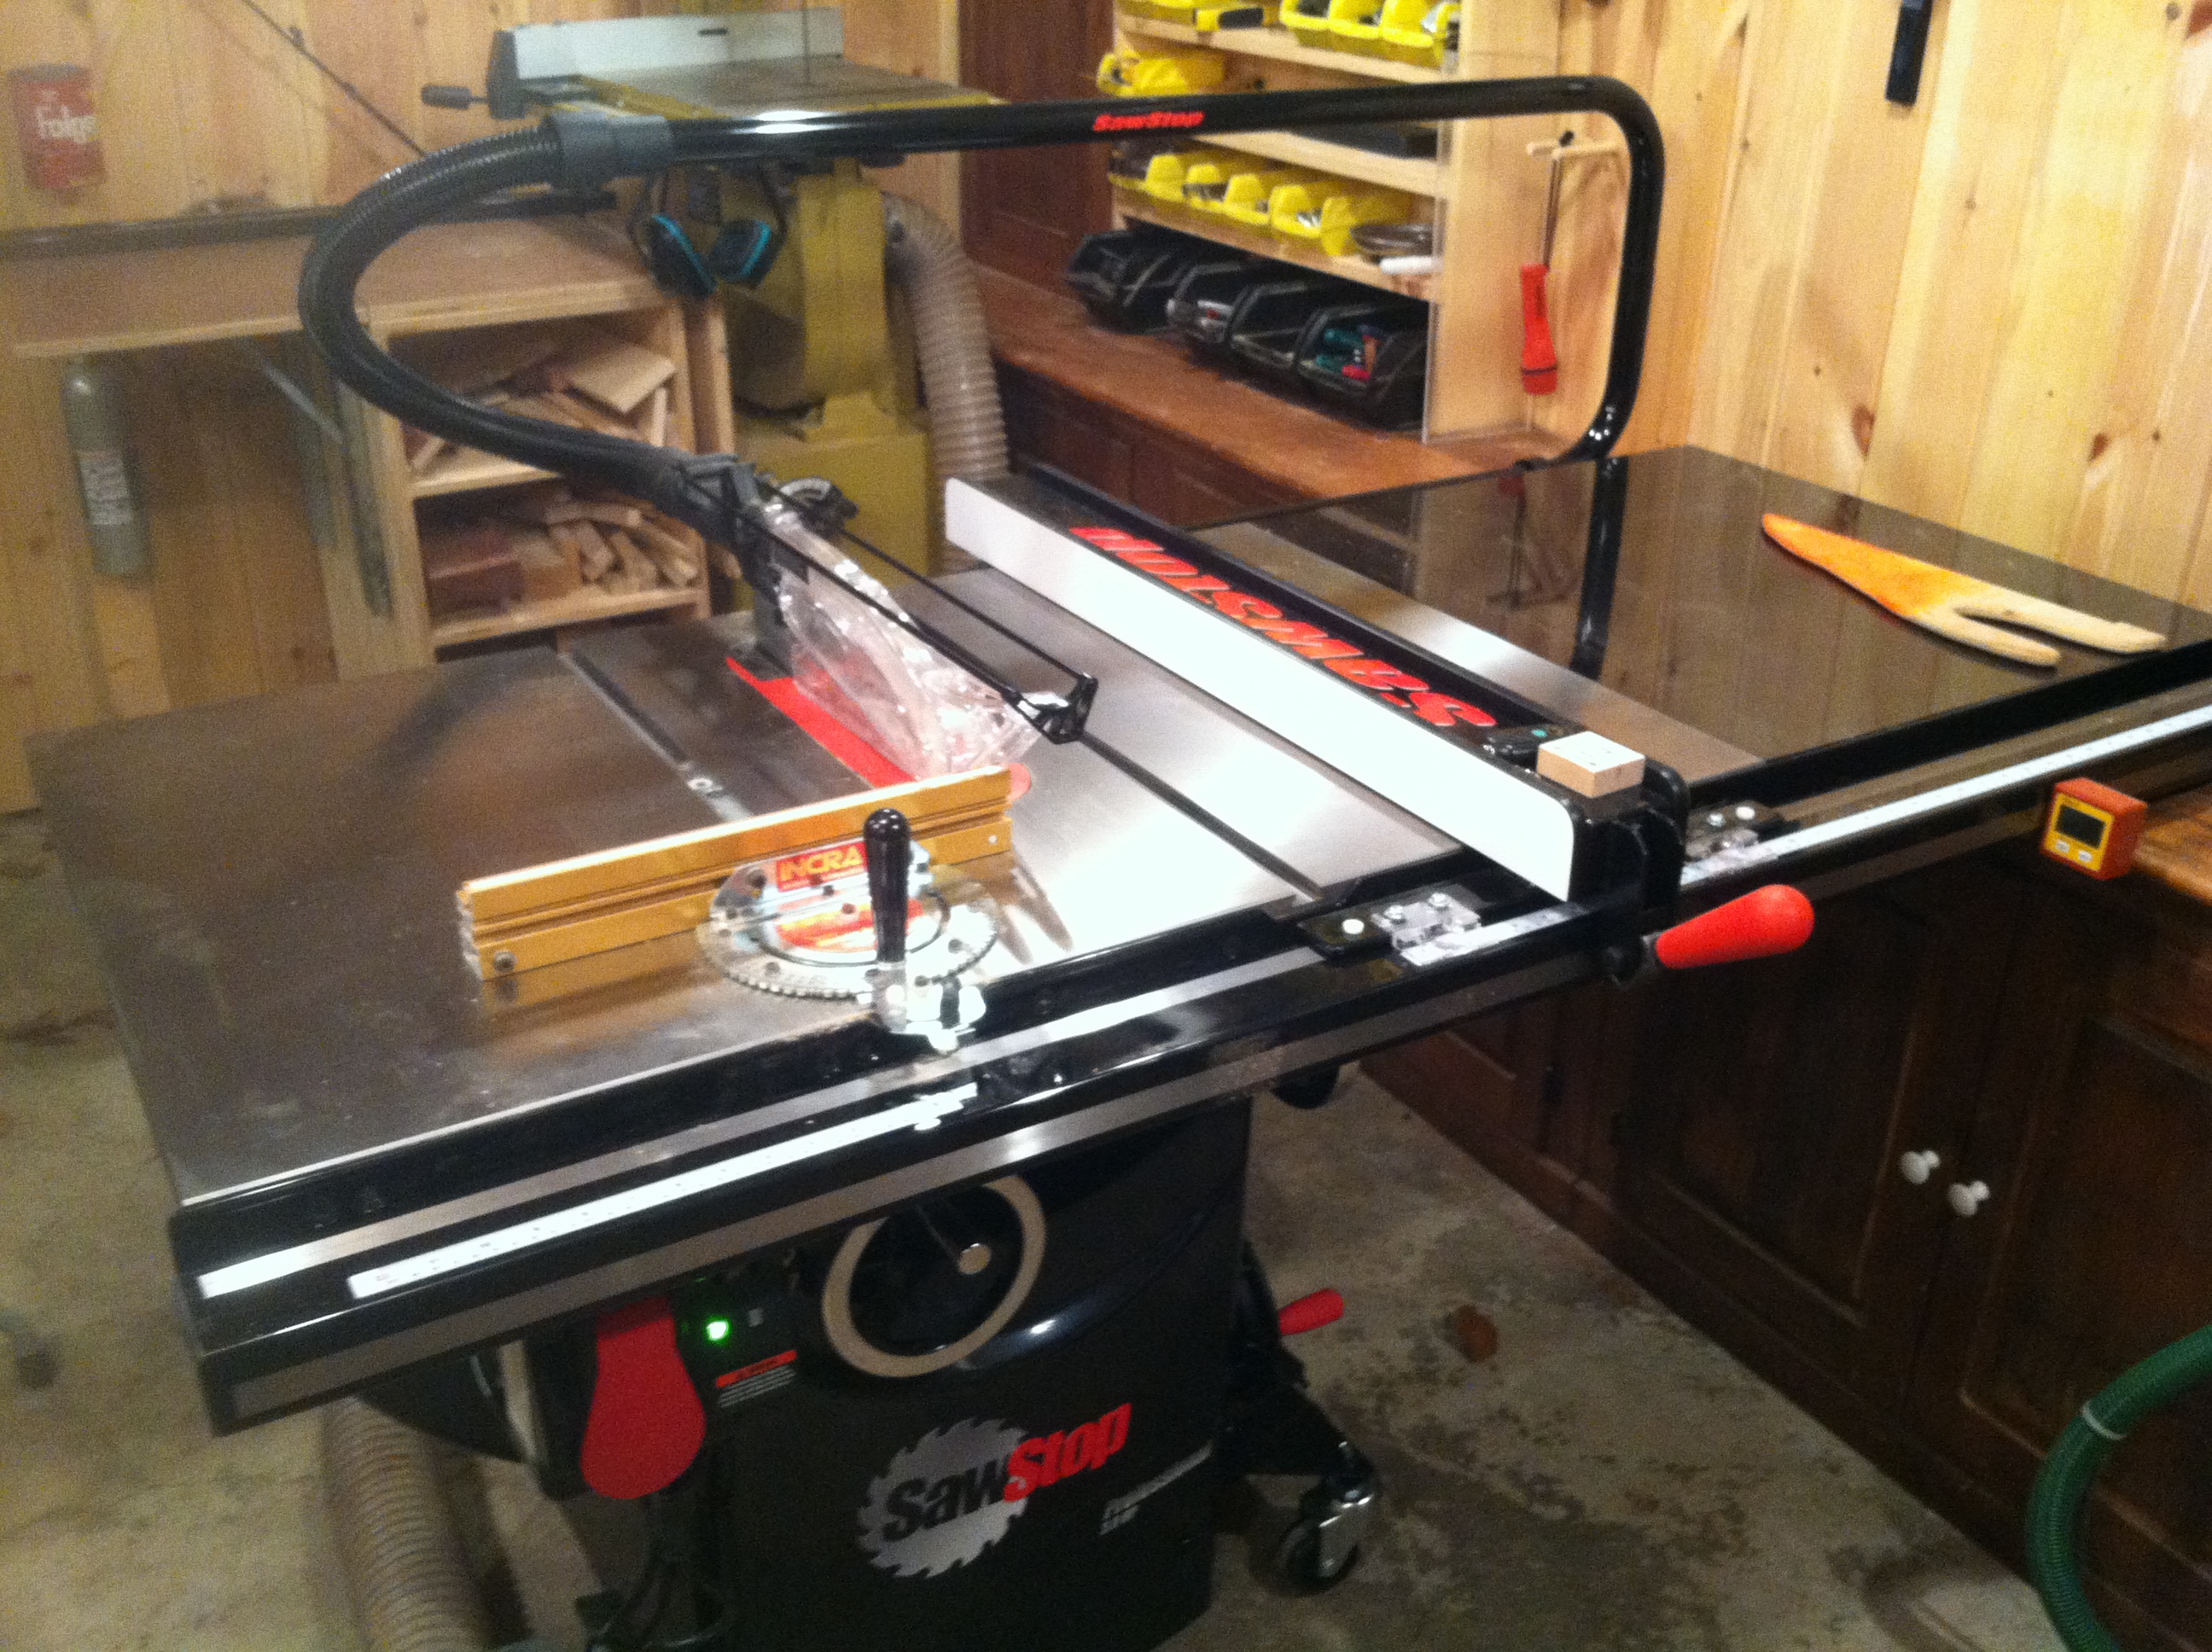
The simple answer is that I don’t. From the start the plan with NewWoodworker.com was to sell off one tool after review to help fund the next one and that continues today. I can’t even remember how many table saws I have had on the way to my SawStop. I always buy or accept tools that I like and would buy for my shop. Focusing on the better tools also makes it easier for me to sell those slightly used tools to other woodworkers at a very good price. Over the years my Tool Reviews buy – review – sell plan has subsidized a bunch of woodworkers to some degree.

5- Have you considered making a blooper reel?

At my age I usually know ahead of time when I am about to do stupid stuff so don’t start the video camera until after that. The other big problem is keeping and organizing the huge volume of video I shoot from which the outtakes would come. Keep in mind that I do all of this myself so that would mean another job for me and I already start most days at 2 am. Just storing all that footage would itself would be a monumental undertaking.

6-What would folks be most surprised to learn about the man behind the reviews?

Most people are surprised that there is just me. There are a disturbing number of people out there that “know for a fact” that I am actually owned by one of the magazines or tool manufacturers and just making this look like a small shop outfit on a set in some big warehouse. The truth is it really is just me. I have written every word, taken every photo (and processed them) and shot and edited every frame of video. Also, I have no formal training for any of this. I got into this after being a staff writer at Circle Track Racing and Stock Car Racing magazines, which I did not have formal training for either. I wrote a story and sent it in to Stock Car Racing around 1972 and then Editor Dick Berggren bought it. So, a lot of all this is Dick’s fault!

7- Wood, Metal, Guitars…What other hobbies do you have hiding?

The most recent additions to my hobby stable are radio control helicopters and airplanes. I used to fly RC planes about 25 years ago but now with the Alzheimer’s diagnosis flying RC is actually beneficial because of the focus and concentration it demands. That kind of workout for the brain is known to be good for combatting some of Alzheimer’s symptoms. It’s also a way cool justification to buy grown up toys.

8- Have you ever heard of a tool company experiencing the “Hintz Bump”?

Sure. My audience has grown way beyond anything I could have imagined and those numbers catch the manufacturing worlds’ attention. Tool makers thought it was cool when I was getting hundreds of thousands of visits per year but now with the annual number well over 5-million the manufacturing world perks up a bit, not enough to give me money but they know who I am, especially if I pooh-pooh a product.

9– What type of racing?

Dirt track stock cars. I don’t follow racing much anymore. I worked for years in the stock car world, a lot of that in the southeast where I got fed up with the BS and phoniness in the “big leagues” (no I am not going to give them any print) so when the opportunity to go full time with NewWoodworker.com came along I took it. I have been happy-happy ever since.

10-What have you built that you are most proud of?

Years ago I built a 6-foot-tall, all oak chimney cupboard for our kitchen. It cost a ton to build from all clear red oak and it takes a dolly to move it around but it is nice and looks just as good today as the day we brought it in from the garage shop.

11-What’s the most peculiar email you’ve received?

You have to remember the more than 5-million visits per year that generates around 200 emails per day so picking the strangest is a chore. I even based the whole I Get Email series around the goofy emails and never seem to run out of material for those. (Another new I Get Email segment is coming soon).

I do think that the hardest to understand email came just recently. When I went public with my Alzheimer’s I knew I was opening the door to the lunatic fringe but was gratified by the overwhelming support I have received. Naturally there had to be one in the negative column. I can’t use all of the words he did but he said that since the Alzheimer’s was going to kill me anyway that I should eat #$%# and die and get it over with so I wouldn’t be bothering him with my site any longer. Since getting that email I have found the energy to work a little harder at fighting this disease so I can keep working on my sites to tick this guy off as long as possible.

 12- When am I no longer a new woodworker?

I don’t know that you ever stop being a woodworker. I think once we are woodworkers we will always look at a fallen tree or a piece of wood and know that we could make something out of that. I’m not a big believer in reincarnation but I do worry now and then about coming back as a fallen tree and having some guy with a bunch of Harbor Freight tools torture me to death (again) trying to get them to work.

Tom Hintz at 3am

Tom Hintz at 3am