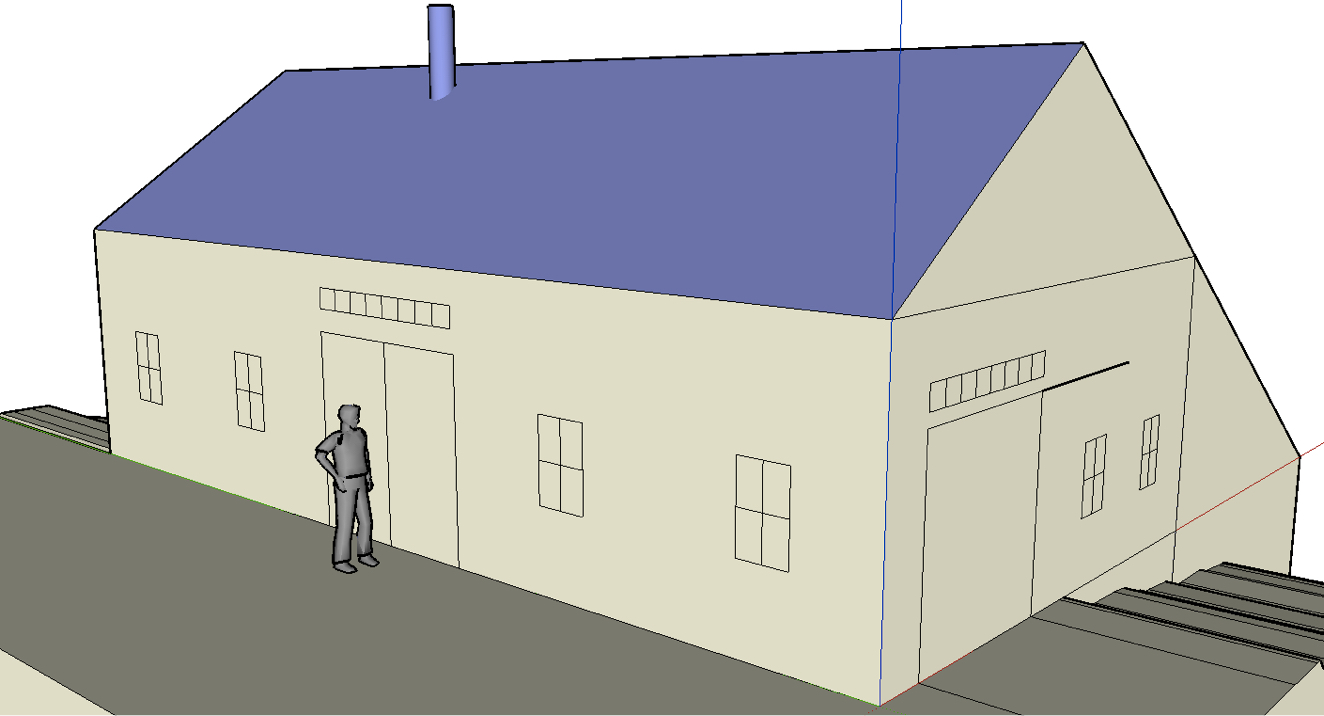
Now I have not confirmed with The Schwartz but I do not believe Roubo ever made it to this side of the pond. If he did he probably would have moved to Brooklyn, with the rest of the French hipsters.
I’d like to think that if Roubo had lived in Brooklyn he would have designed his now famous bench to fit in his apartment. You see space is a premium in NYC. My “garage” (which is a mortgage payment alone) is down the street and shared with 100 other folks, and my landlord would not take kindly for me building a shop in the basement of our eight unit apartment building. So its no woodworking during the week in Brooklyn.
Now I am fortunate enough to spend my weekends upstate at our house in the woods, where I’ve built a tiny shop in the basement. However, during the weekdays, in the city that never sleeps, I find myself very envious of others who can steal a few minutes after work and spend time in the shop.
Then it occurred to me that I might be able to carve out a corner of my home office for a little woodworking. I presented this idea to my amazing and supportive wife, who agreed on one condition: we renovate the office, rethink the space, add some closets and make some desk space for the kids. We’ve been in our apartment for 24 years and the room had not been touched in nearly 14 years, so it was time.
So it got me thinking of what I wanted. Space was still a challenge, but as a designer I have always thrived on having restrictions. The truth is I just wanted a space the I could spend an hour on a project, perhaps tune up some old tools, sharpen some handsaws and work on some smaller scale projects. With NYC apartments you become very intimate with your neighbors, whether you like it or not, so hand tools was a no brainer. A quiet neighbor is a good neighbor!
Even in my upstate shop I don’t have the space for a proper workbench. Perhaps if I started from scratch, but not anymore. So I was merely observer at the height of all the Roubo bench building frenzy.
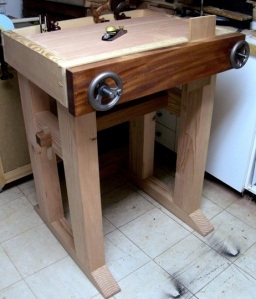
As a Hand Tool School member I admired Shannon’s Joinery Bench. This seemed perfect.
Shannon’s Joinery bench was my inspiration. The size was certainly compact and would give me a solid workstation. I headed to the google I found a few variations.
I liked this one in particular.

Forgive me– I cannot find the owner to give due credit! Please let me know if you know the owner!
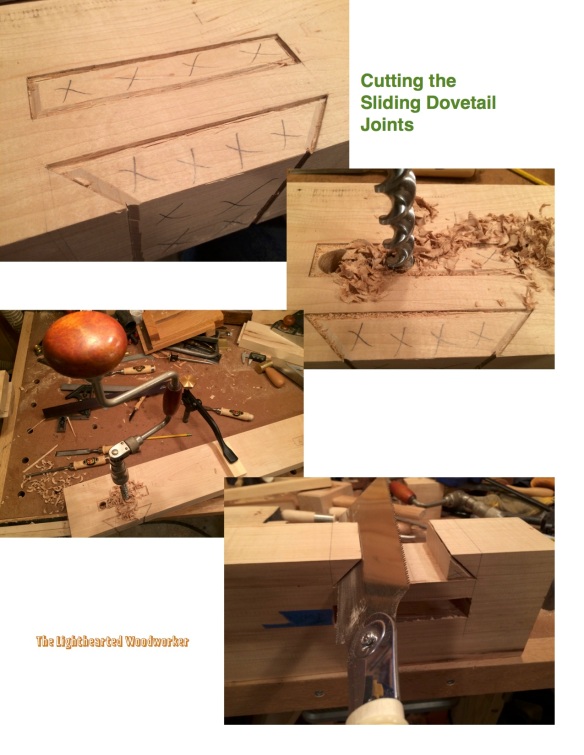
I have certainly been intrigued by the Roubo joinery and I have a certain affinity for building items sans hardware. So I decided to adapt the Roubo design for my needs: which really just meant the size. 24×36* seem to do the trick. Naturally I over researched it, looking at different bunches and techniques. Finally I turned to Schwartz’s French Workbench DVD. Straightforward and just what I needed.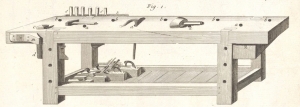
*In the end the top was 24×32 as it had to fit thru the narrow hallway and a turn into the narrow doorway.
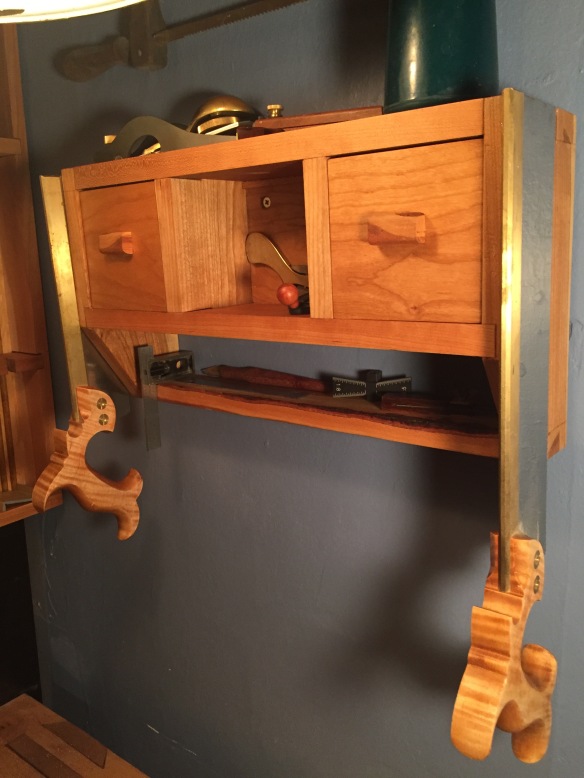
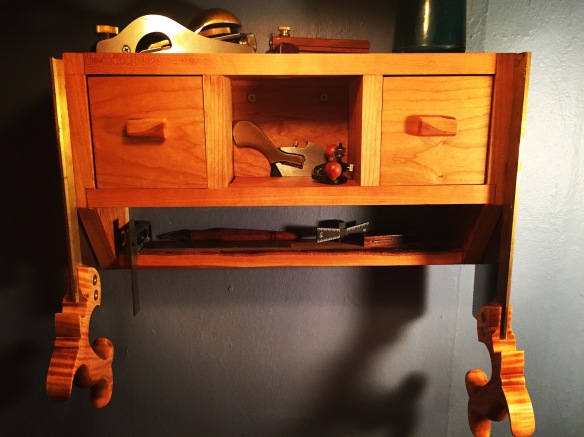
I headed to sketch up and drew up some options. As stated some measurements were dictated, so the height was the only question . I knew I wanted a Moxon vice, but when not in use storage would be an issue. So I decided to integrate it into the front. This certainly made me think about the overall height of the bench. After all, the whole point of the Moxon was to raise the piece higher while cutting dovetails.

My final sketchup drawing. Very helpful in this case.
After overthinking it I landed on 33″ high.
Based on this design I found: I started considering what other storage options and accessories I could bring to the table (pun intended). This guy went all out. I decided to keep it simpler, in the Roubo tradition, adding two shelves and a tool rest attached to the back. I wanted to finish it this year!
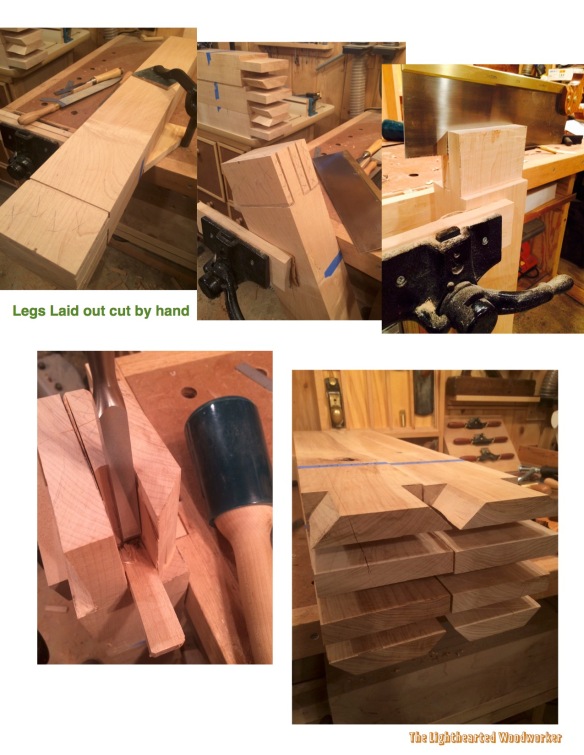
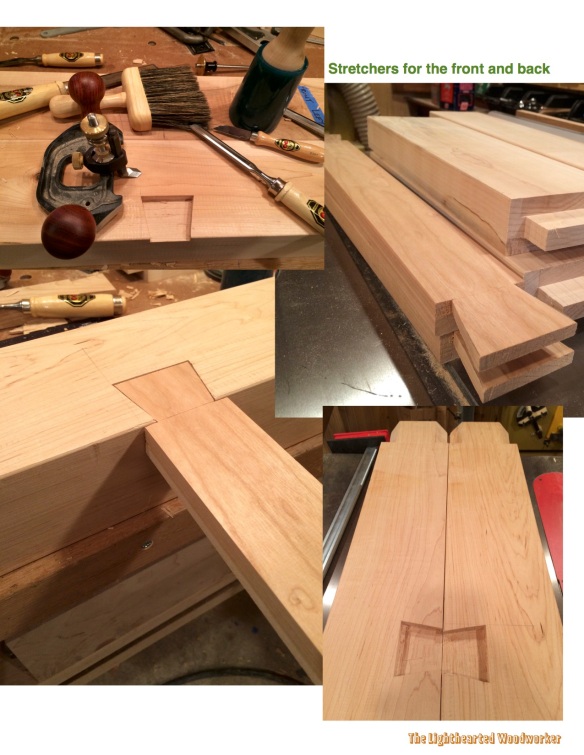
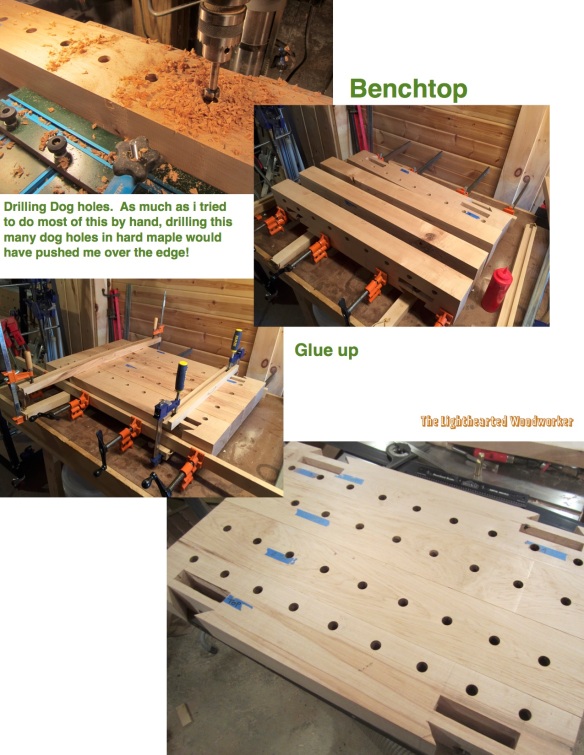
With measurements and a cut list in hand I headed to my local lumberyard, Ghent Products. I wanted the stock to be as beefy and the Schwartz/Roubo described. I found some beams that were 16/4 x 7″ by about 10′. Of course they were on the bottom of a massive pile, so I had to be ‘that guy’ and ask the yard guy to forklift all the smaller, inferior wood out of my way.

These massive beams took up room in my shop for nearly a month.
I had no misconceptions that they would acclimate to my shop in this short time but rather that’s sometimes how often I’m able to get back into the shop.
All in all it took me about six months. That certainly does not translate into man-hours, but it does give you an idea of how often I am able to get into the shop. Now that its done I thought I’d share the build with you.
So without further adieu….check out part deux…..

")
")
")


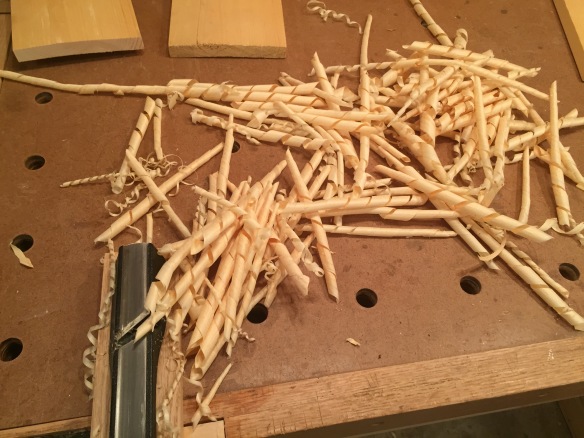
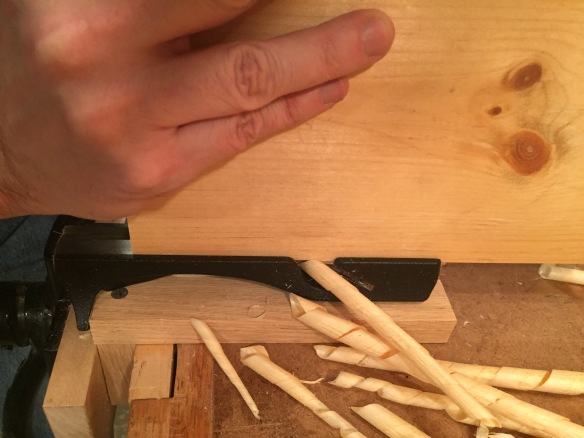
 Also in my research I discovered others are able to make much tighter, cleaner spills than me. What else is new??
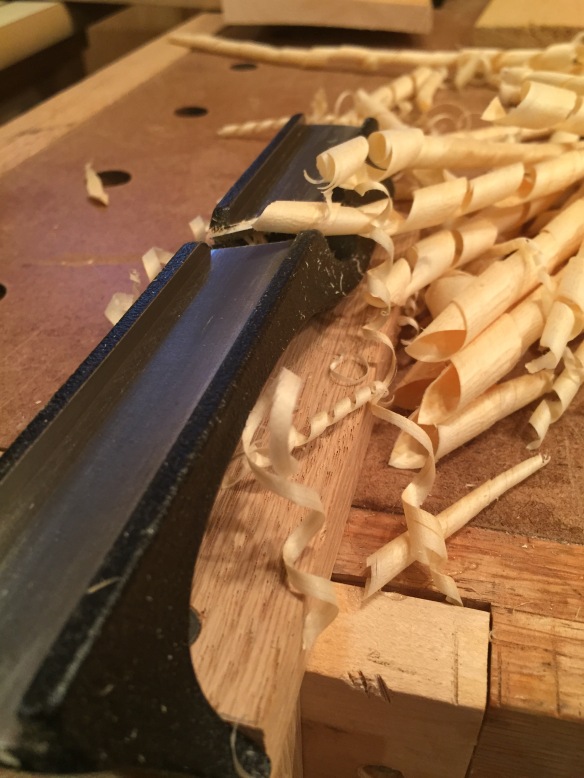